Recycled Vertical A-Shaped Pallet Garden | Project #5

A vertical garden made from recycle an A-symmetric shaped wooden pallet.
Introduction
This project is one of my biggest thrifted project I done so far. I am in love with how this project turned out regardless of all muscle soreness and random bruises it gave me. 😉
There is an empty space in my backyard that I has been wanting to decorate for so long. I didn’t want to put in more planter boxes as I already have 6 planter boxes. I decided to spice up my backyard and make a vertical pallet succulent garden. Luckily, there was a company in SF was giving away a A-symmetric shaped wooden pallet for FREE (best thrifted project ever!). The only problem was it was taller than 7ft and ~10ft wide, yikes! How in the world am I going to fit this my 2-door car?
Luckily my friend who has a giant car came up to visit the Bay area. Even with a giant car, we wasn’t unable to fit the pallet into the car. I am not going to give up, so to Lowes we headed for a jigsaw. Never in my life can I imagine me, a 5ft asian girl, sitting on a side of curb cutting down the giant pallet with a jigsaw. I was super glad that I invested in an cordless electric jigsaw (more wood project to come, yah). If you are the company who was trying to get rid of this pallet as a whole piece, I am so sorry for only taking half.
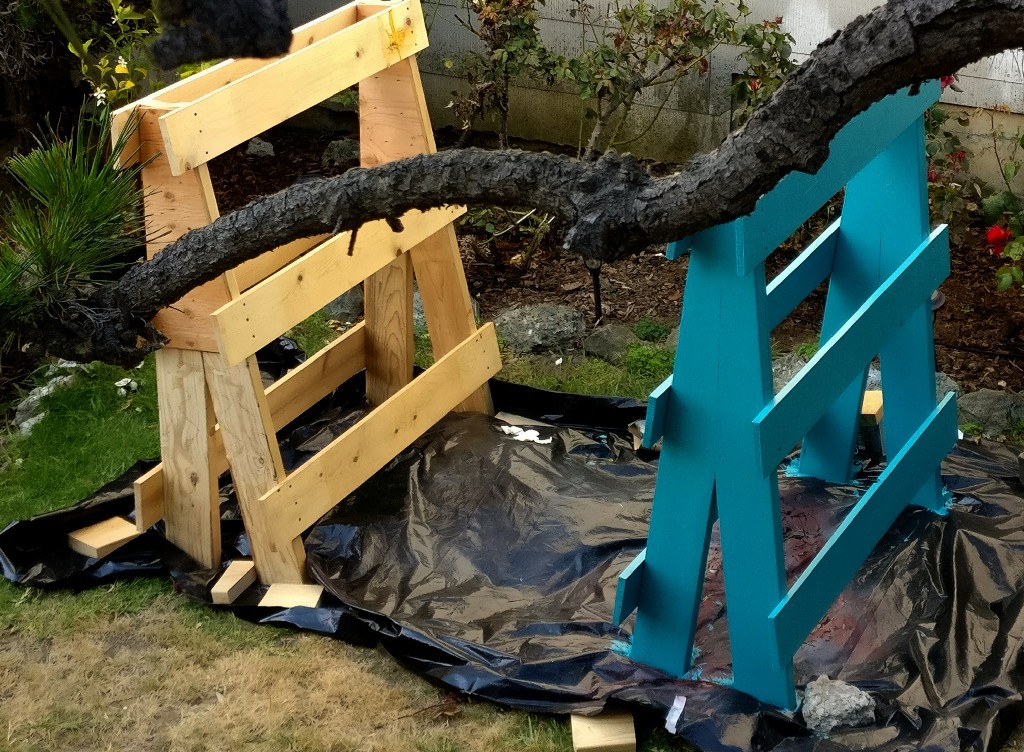
Before and after photos
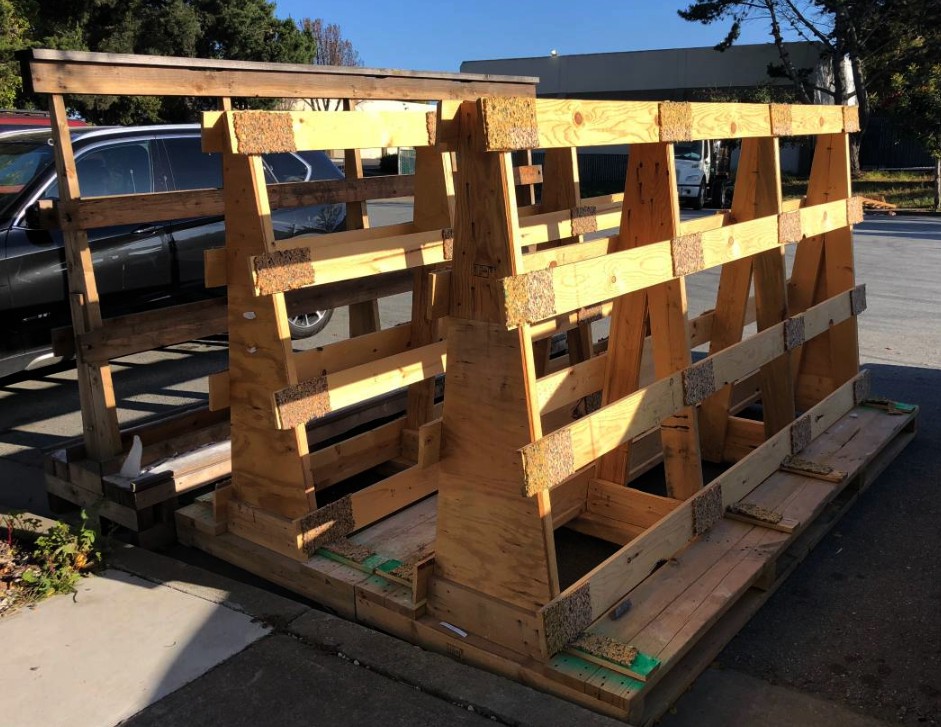
Here is the what the pallet looks like.
Before:
After:
Materials I used
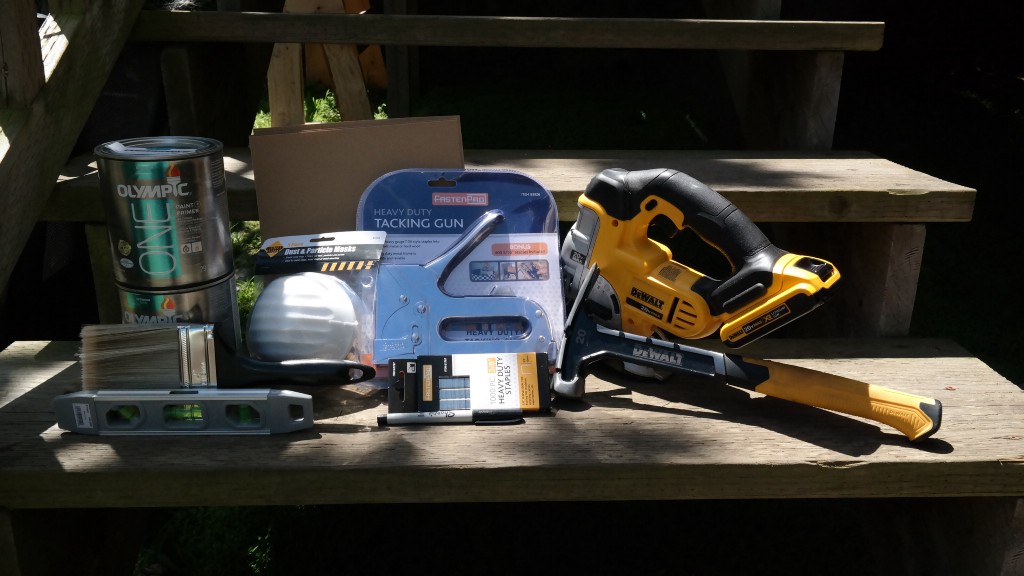
- Dewalt cordless jigsaw
- 2–1 quart outdoor paint in teal
- 4–60 and 120 grits sandpaper
- Wood glue (Please use wood filler instead, I learned it the hard way)
- Hammer and pliers for removing nails/staples
- Heavy duty staple gun with 3/8″ staples
- 1 roll of 6ft x 50ft Landscaping fabric
- 4 bags of 1 cubic ft Palm, Cactus and Citrus Soil
- 1 bag of 0.5cu ft river pebbles
Step by Step Instruction
Find the right pallet and sketching out the plan
I found this A-symmetric shaped pallet on Craigslist for free. Prior to taking it home, I checked to made sure that the pallet was not made using chemical glue. This step was very important as the chemical glue can be toxic if I ended making a vegetable vertical garden. For succulent growing, this step won’t matter much, but I still made sure it wasn’t in case I want to grow vegetables in it. The one I got was made with wood glue, giant industry staples and nails.
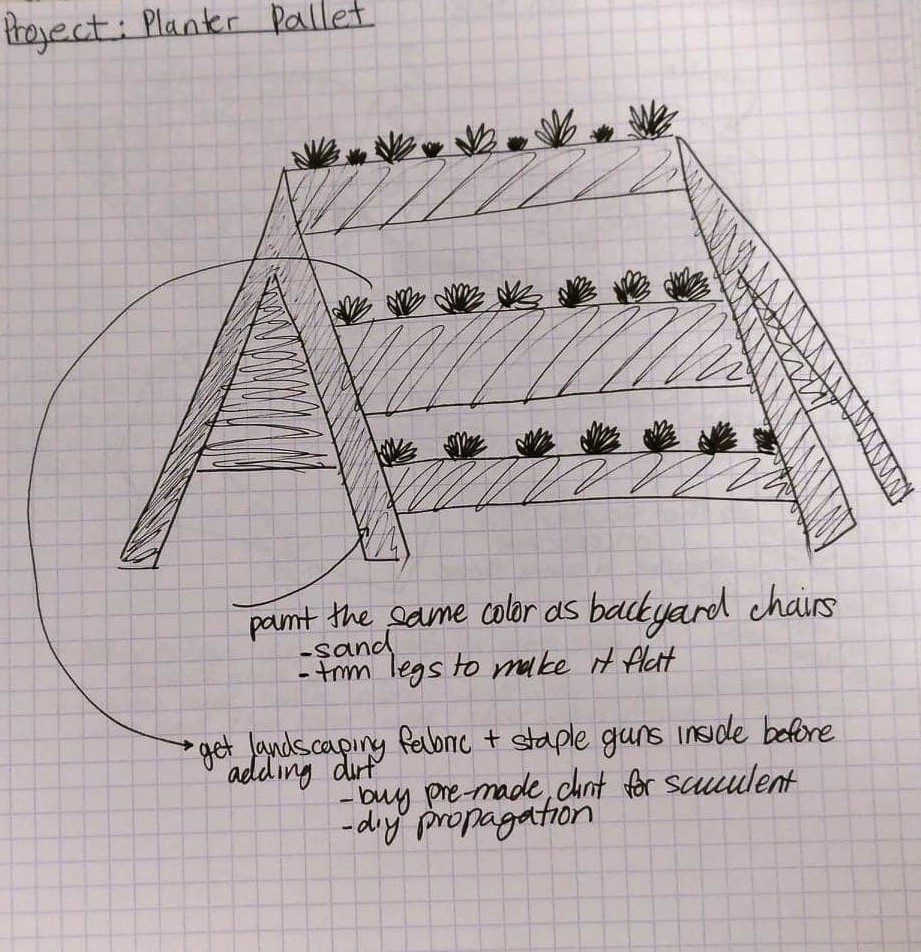
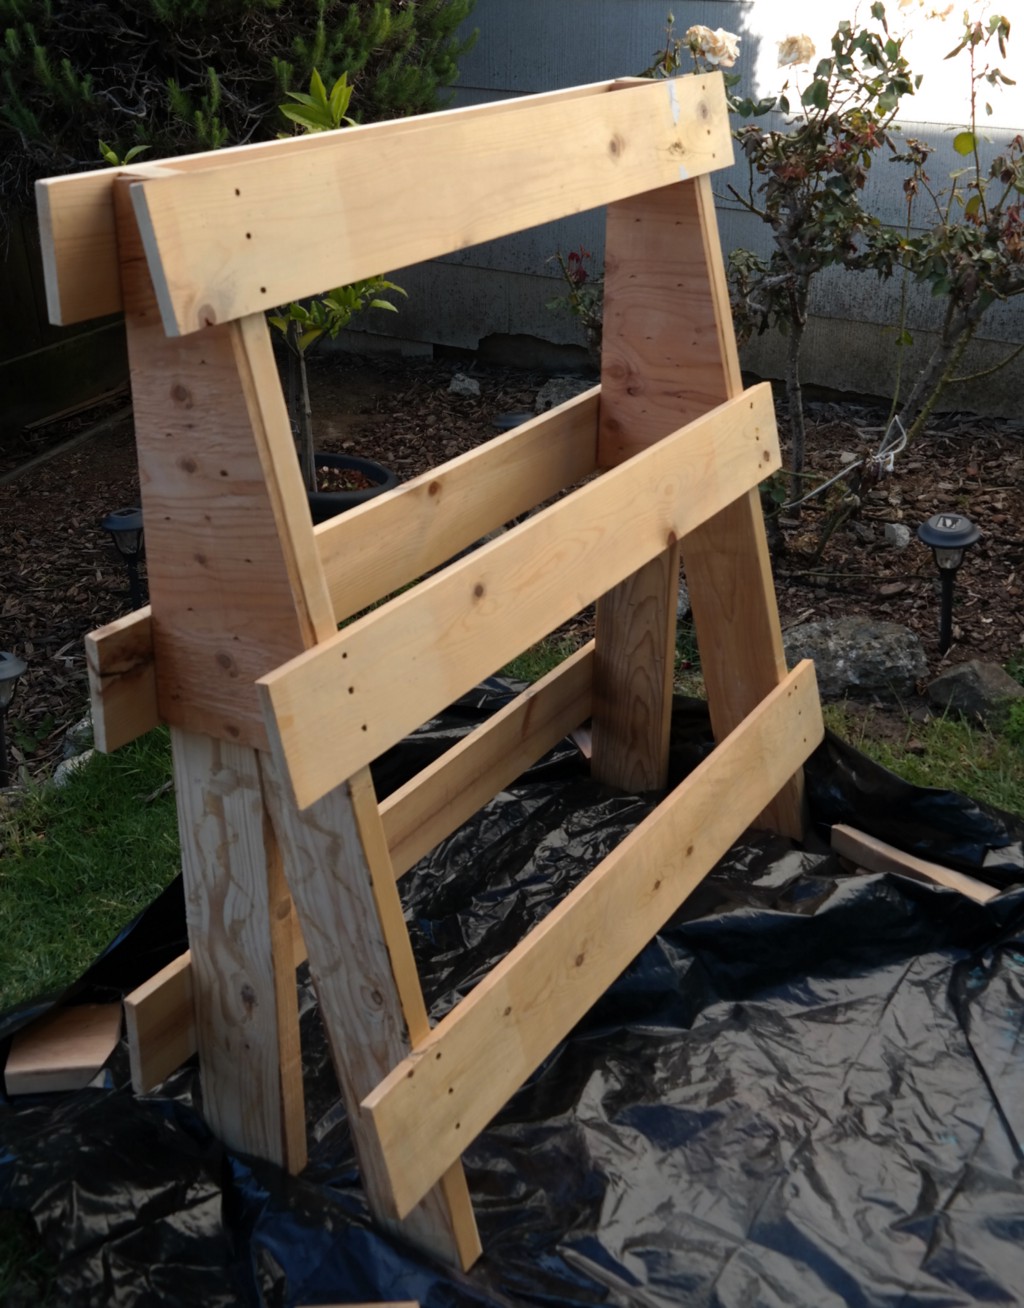
For this pallet, my planned was to shorten it to three tiers or at least my height. I wanted to make sure I can reach the top bin. Since the pallet was really heavy, I didn’t want to use wood board to make the bottom base for each bin. Instead, I opt in for landscaping fabric and staple gun. Hopefully that will be strong enough to hold dirt, plants, and rocks. As for the color, I wanted something that will pop out in my backyard. I decided to match the teal color of the Lowes’ Adirondack Chair with Slat Seat backyard chairs that I planned on getting.
Getting it home, yikes!
For this part, I wanted to thanks my BF and his friend as I won’t be able to do this on my own.
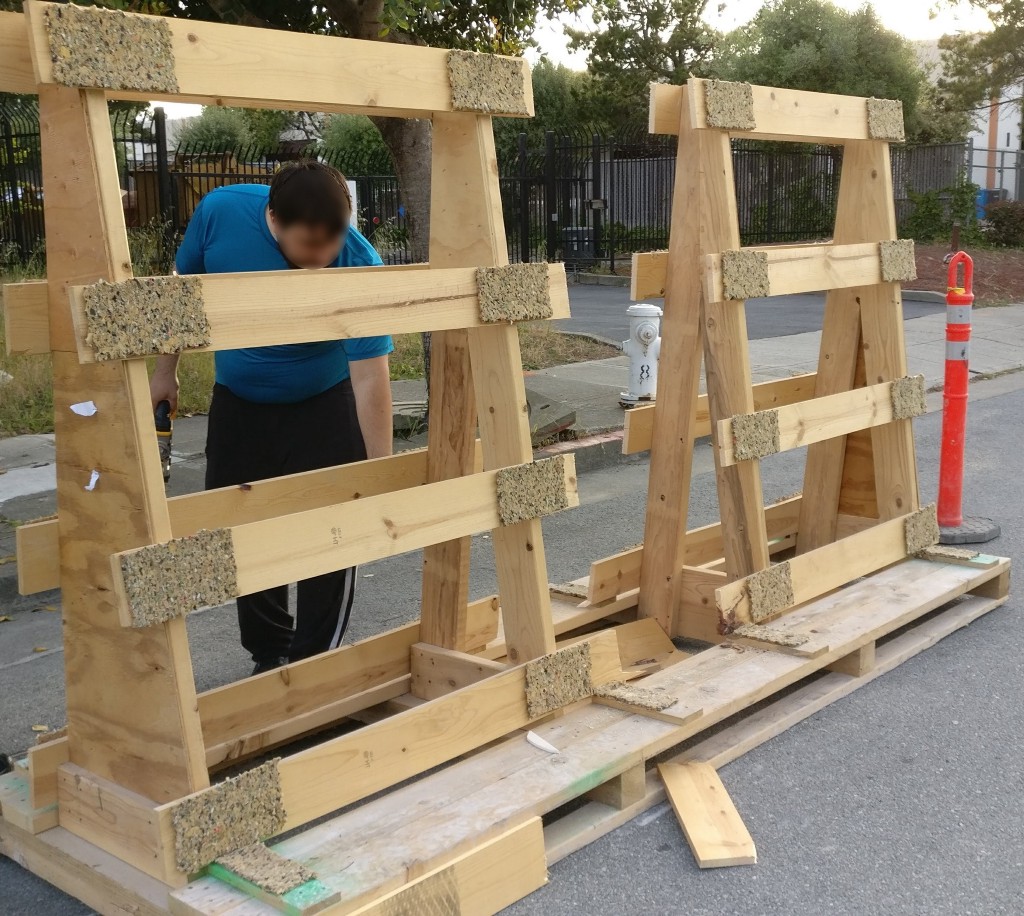

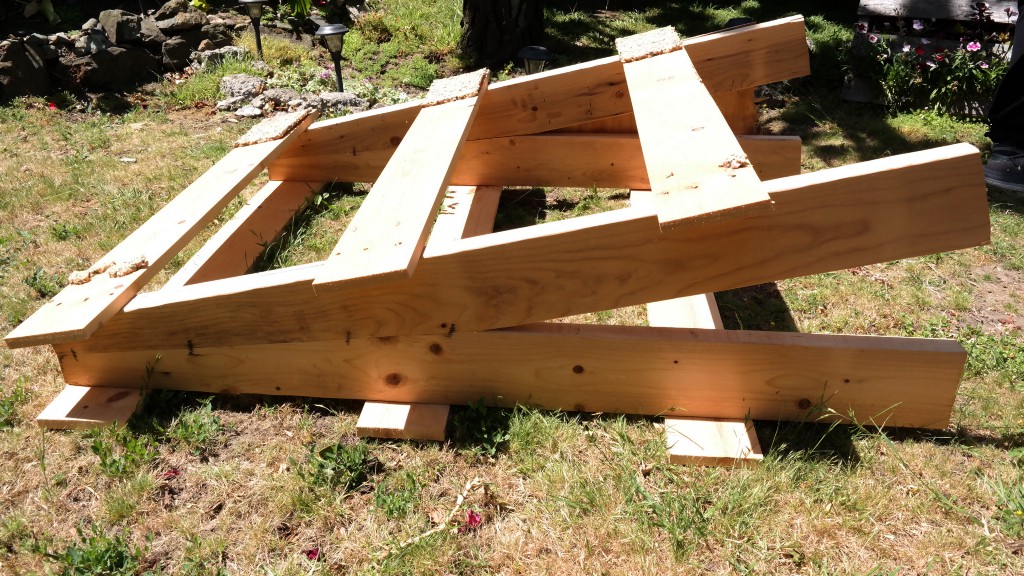
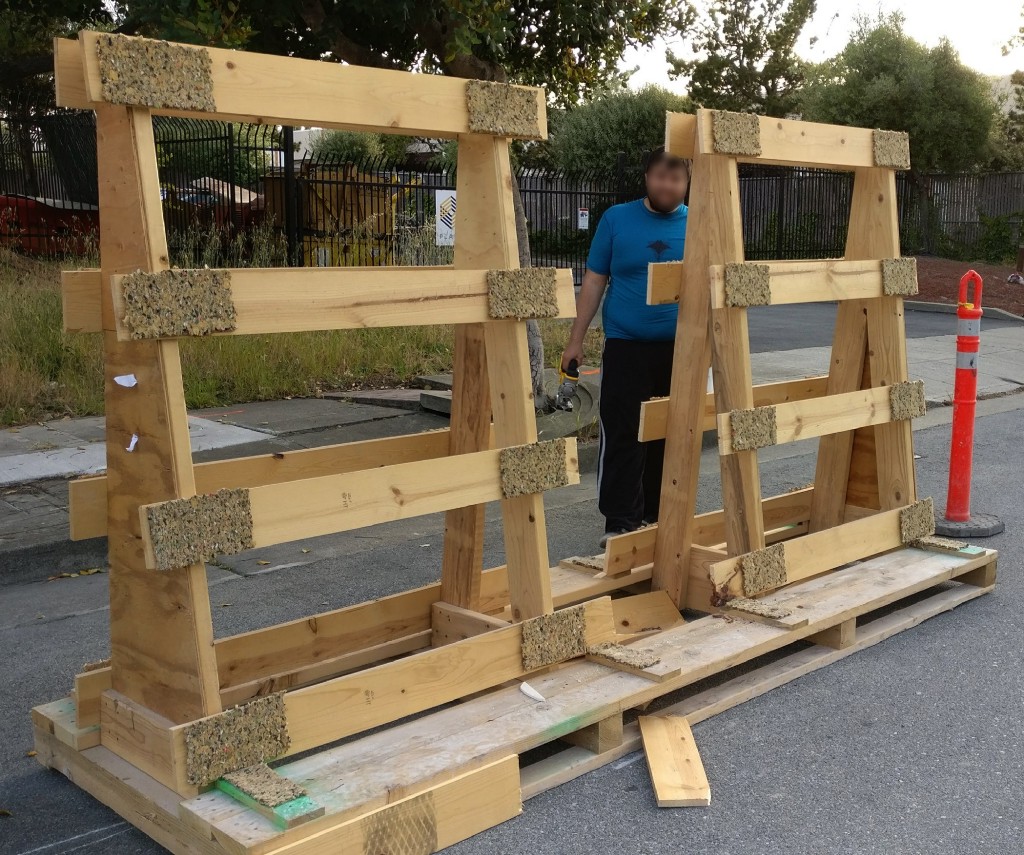
To make the pallet fit into the car, we cut the pallet into two pallets. We removed the middle section and the bottom base. The bottom legs were too long, so we ended trimming it down pretty close to the bottom wood board. Originally, the plan was to have a 5 tiers vertical garden pallet with the existing bottom base as a stepping ladder for me (short person problem).

We also ended up removing the bottom side panels because they were so thick that they broke our jigsaw blade. We removed the side panels with a hammer.
Cleaning up the pallet
Note: for this part up to decorating part, my bf helped me out a lot. He worked on one pallet while I worked on the other pallet. This project was a couple team building project. 😉
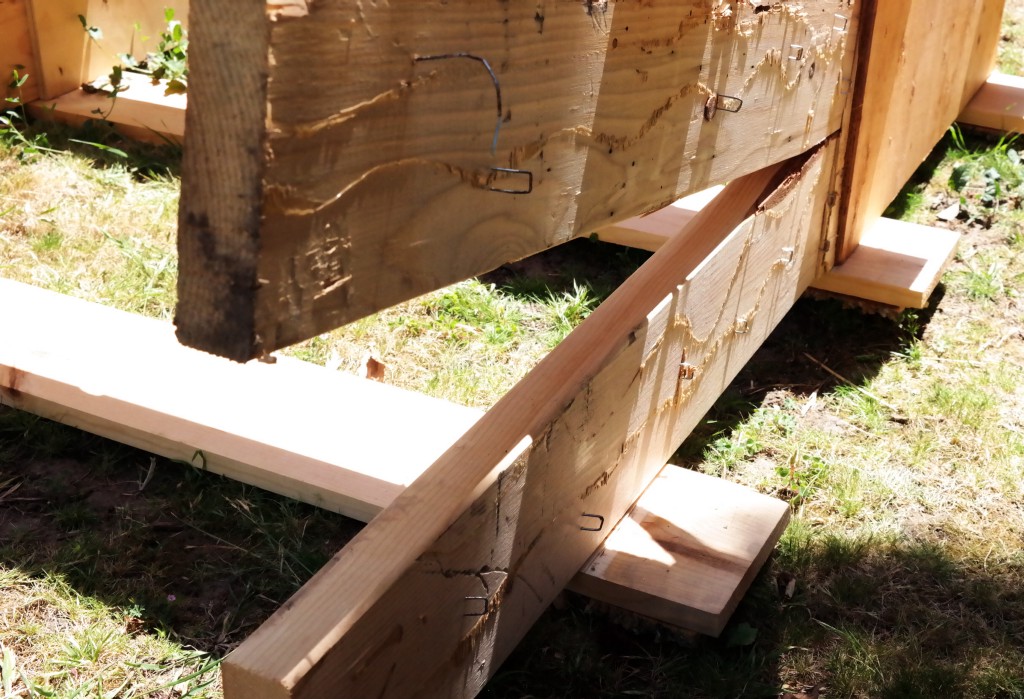
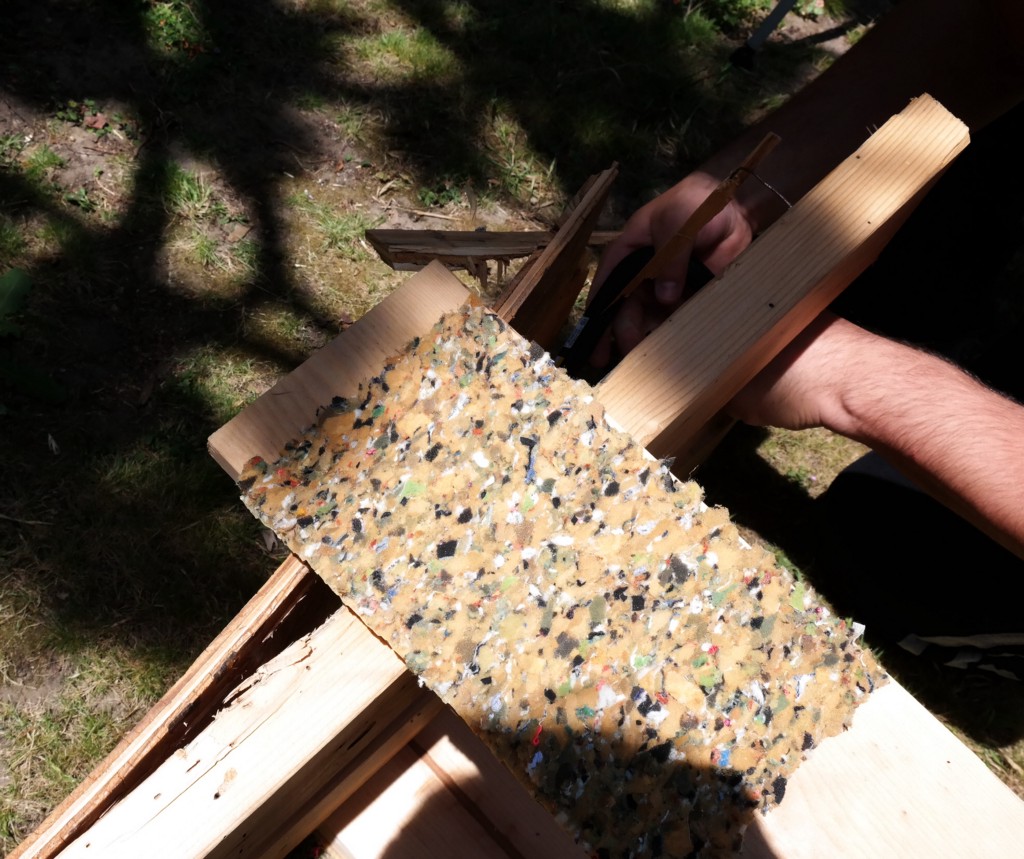
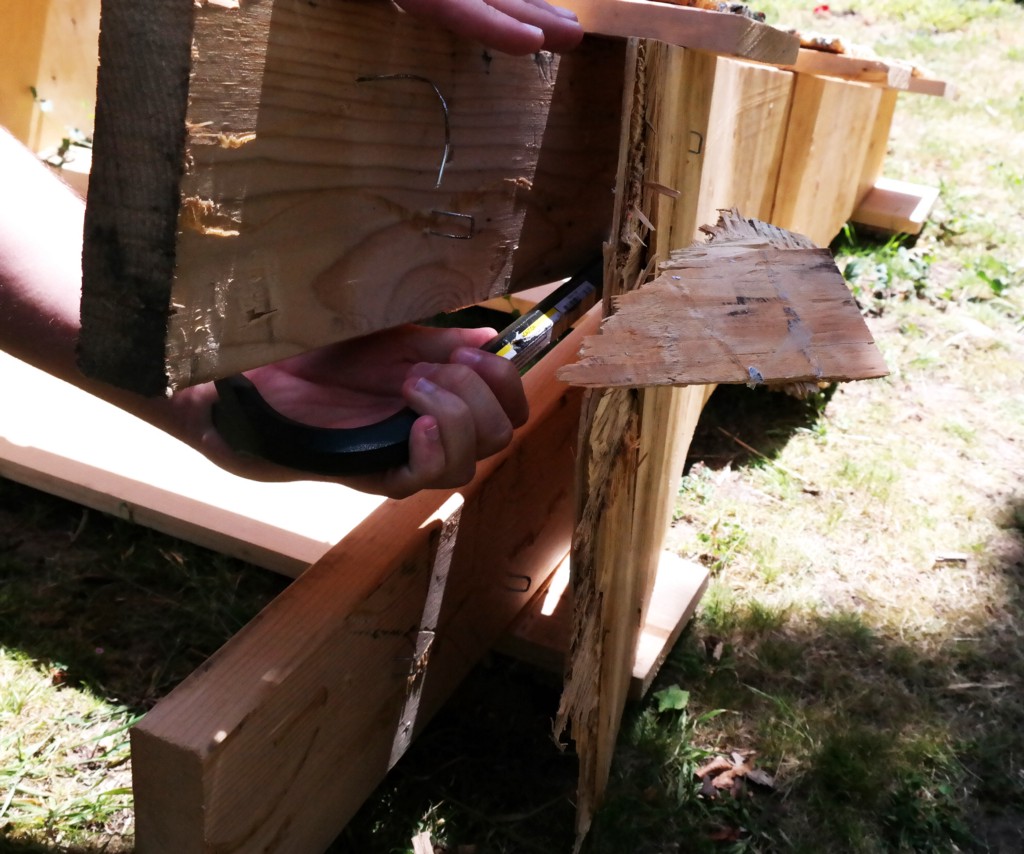
The pallets were covered in nails and staples that were half hanging out. For safety concern, we removed all the nails and the giant industrial staples. These staples were so big, we needed a plier and a lot of muscle power. They were about 2+ inches long. The pallets also had lot of foam padding that we also removed. Luckily, there were now giant cracks or holes behind these foam padding. Throughout this process we tried our best to avoid creating any giant holes in the wood.
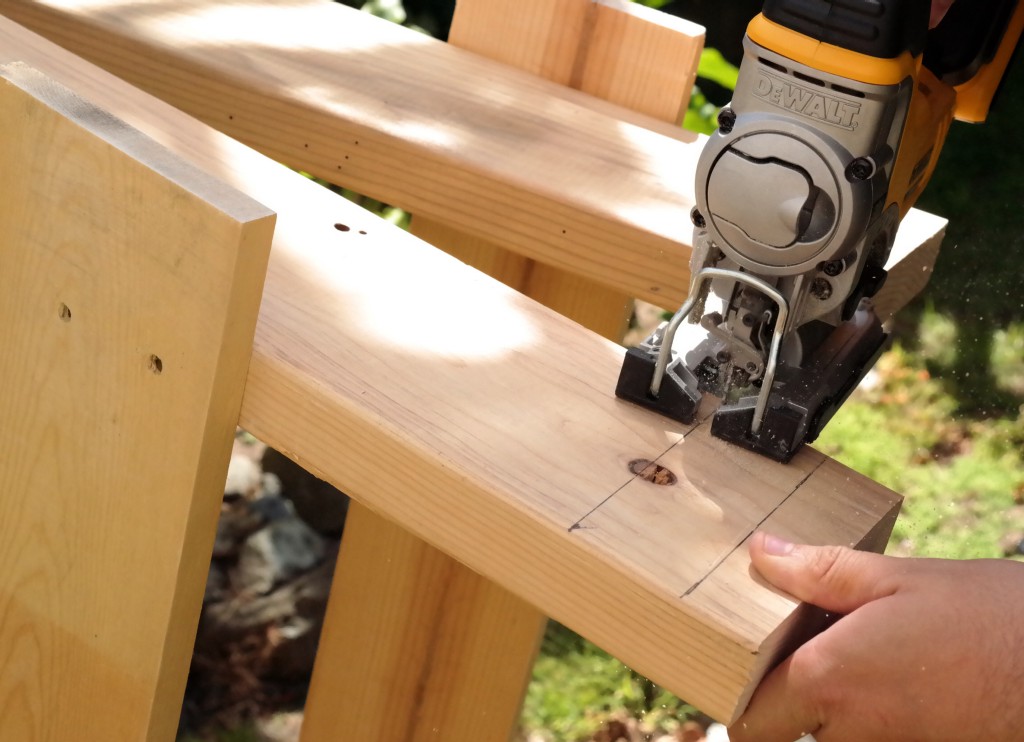
Afterward, we retrimmed the bottom legs so that all the legs are even. My bf taught me a trick on how to mark the wood. The method is known as crow’s foot, which involves making a v-shape with two lines. The point, known as the vertex, where the two lines meet is spot to make the line marking. This method works because it guarantees that all the straight lines are made at 0 degree angle (perfectly straight). Here is a video that explain how this method works.
Sanding
To prevent myself from getting splinters and help the paint sticks to the wood, we sanded the pallets down. We started with 60 grits sandpaper and work our way to 120 grits sandpaper. The higher the grits, the smoother the surface got. The 60 grits sandpaper smoothed the rough woods damage spot and dried glue spot. The 120 grits sandpaper were used to make the surface extra smooth.
To prevent uneven surface sanding due to different fingers/hand pressure, we used block sanding technique. To do so, we wrapped the scrapped woodblocks (from pieces we remove from the legs) with sandpapers and used that to sand the pallets. This idea helped prevent ergonomics hand injury and accidentally sand your fingers on the sandpaper.
Filling in holes and cracks
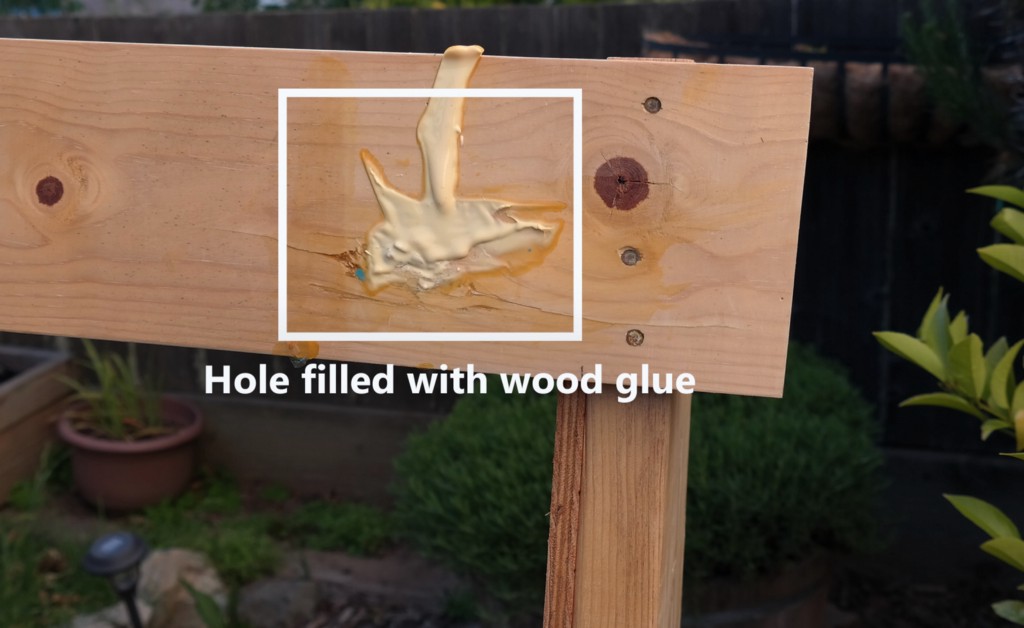
There were tons of nails and staples holes. The small ones didn’t bother as much because we can cover it with paint. There were two or three holes where we accidentally hammer or dented the wood. We didn’t have wood filler, so we settled for wood glue. This technique works only for small dents that were smaller than a quarter size. We had a giant spot where the glue kept on leaking out and created a sticky mess of glue.
Decorating time
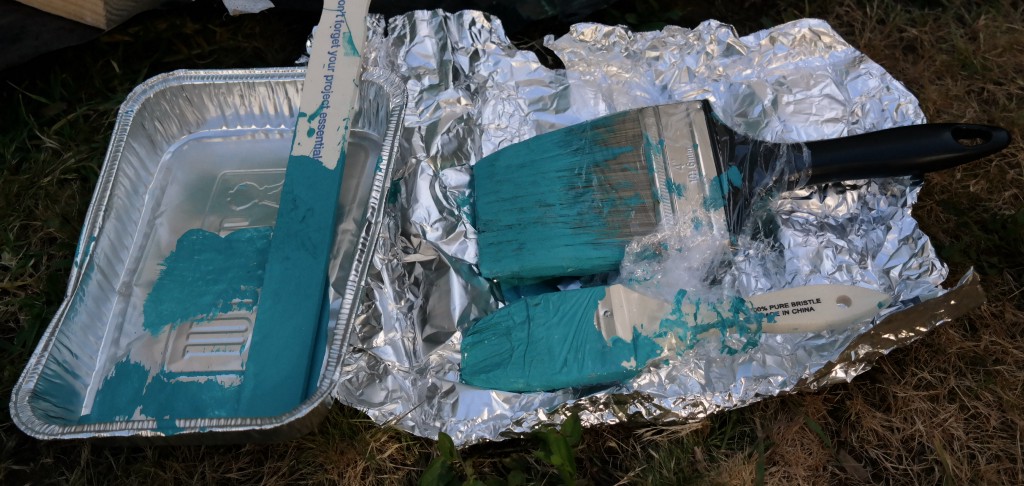
To match the chair teal color perfectly, I went to Lowe and asked for a paint. It was pretty funny that I didn’t have a chair for them to paint match to. Instead Lowe’s staffs (no this was not sponsored) had to remove a chair from their inventory and bring it to the painting station. The chair was so dusty and dirty that they carefully cleaned it to prevent the camera from reading the incorrect color. 30 minutes, out of Lowe I went with two cans of 1 quart teal paint.
Both pallets were painted with 2 coat using two different side brushes. The larger brush worked better for the front panels and side panels as it helped speed up the process. The tiny brush worked well in small area and behind the panels.
Turning each bins on the pallets into planter boxes
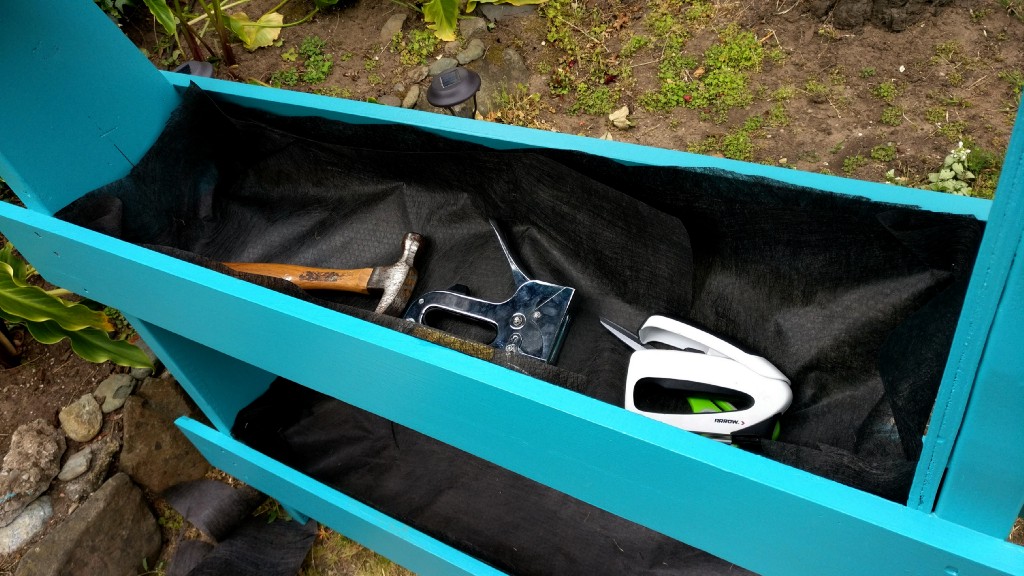
I used landscaping fabrics for this step as these were cheap and add little weight to the pallets. The cons was whether landscaping fabrics were strong enough to hold up the weight of the dirt, plants, and rocks. The pros was that the fabrics were thin enough, it allows water to flow from the top to the bottom. Definitely, a good way to conserve water and add drainage.
I measured out how much landscaping fabric was needed for each bins of the first pallet and used that as templates for the second pallet bins. I doubled up the amount of fabrics used to eliminate the chances of fabric ripping.
Once all the fabric were cut out to the proper size, I used a staple gun to staple the fabric to all four sides and corners to the four side of the bin. To get the four corners perfectly, I folded the tarp into triangle and bend it to one side. This method was the same as how the four corners of gift boxes wrapping technique.
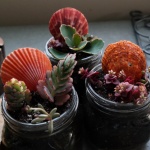
Planting time
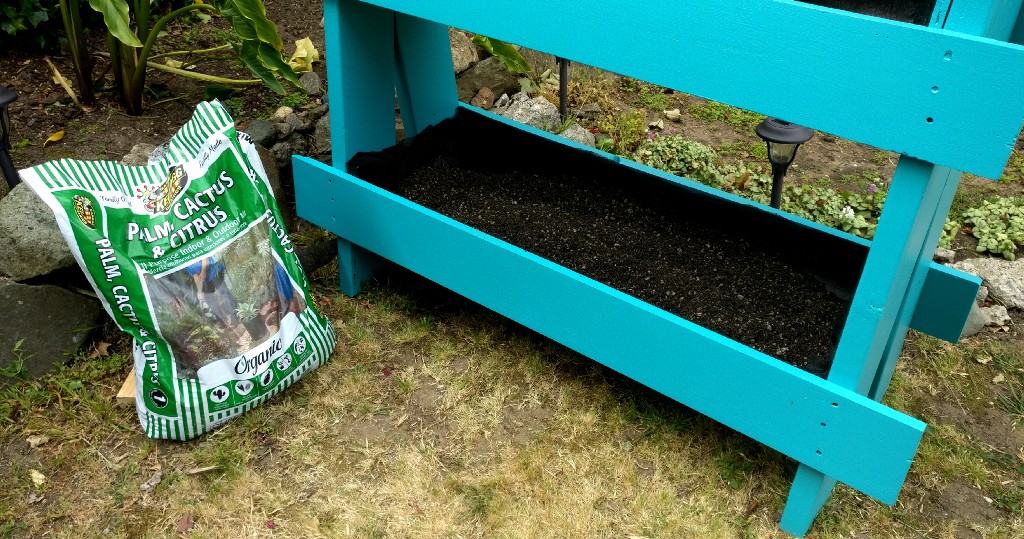
Once all the fabric were stapled to the bin, succulent dirt was added. It took 2 bags of 1 cu ft of dirt to fill one pallet. One bag filled the bottom bin and the other filled the middle and top bins.
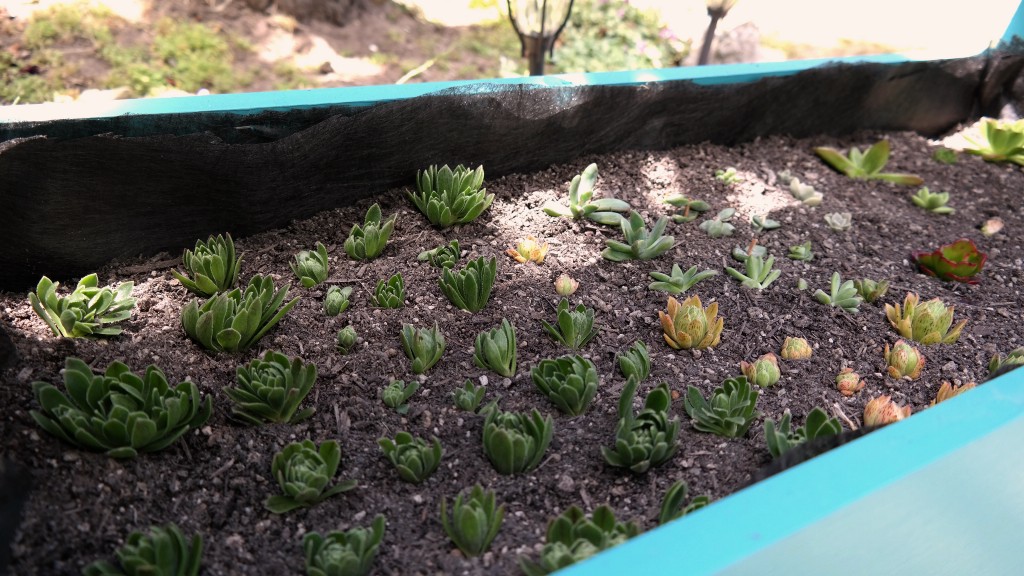
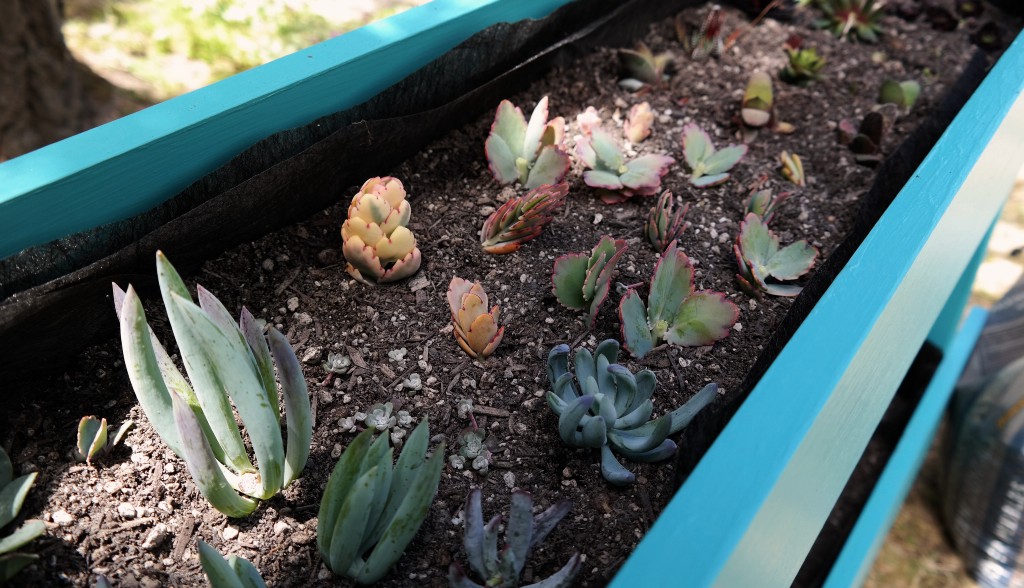
Since I will be using these two pallets to start a succulent business (ssshhh that is a secret for now), I planned out the layout on how I wanted to group my succulents. My succulents were grouped in types and color. I trimmed and removed the succulents before planting them.
Afterward, I added small layers of rocks. The rocks helped prevent the succulents from flying away.
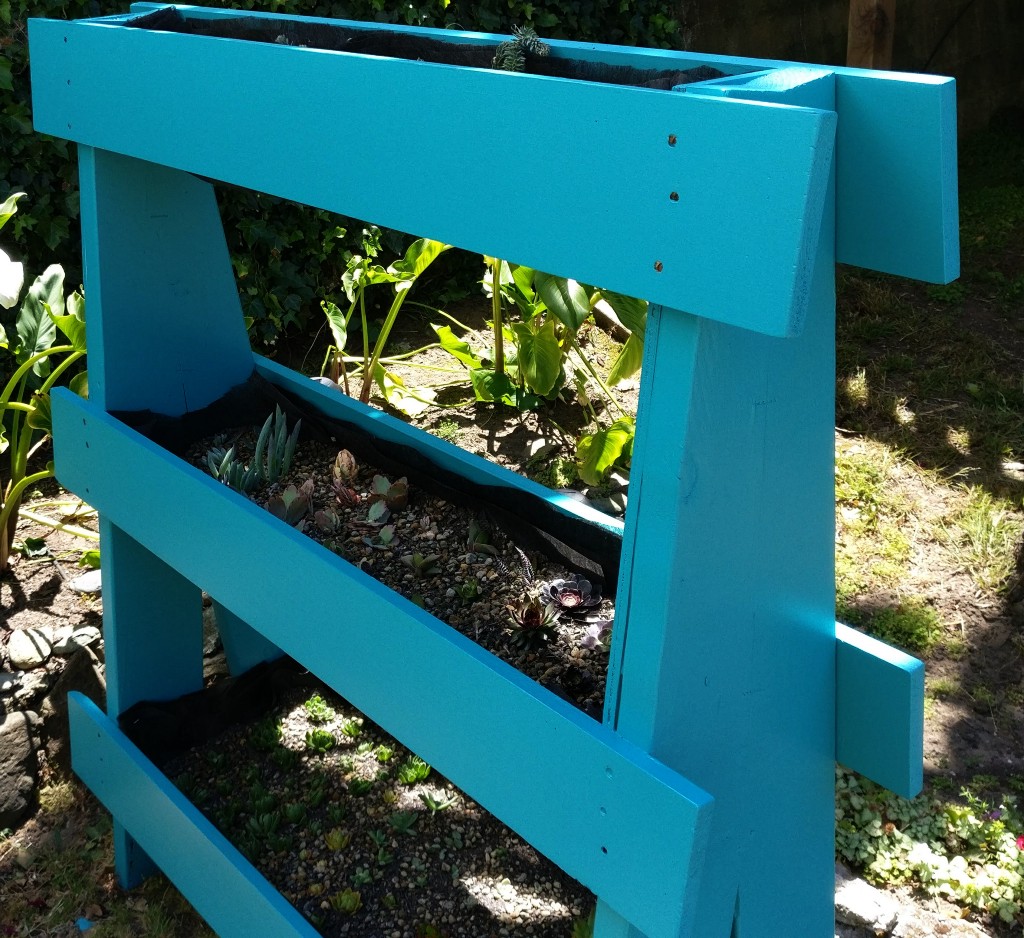
Final Product
Here is how the overall pallets turned out. I am loving it. Once the succulents grow, the pallets will be super beautiful.
Final pictures time!
Tips/Failure Experiences
Conclusion
Overall the project turned like how I originally imagined it. This project took me about 3–4 full days, which in my schedule were 3–4 Saturdays and Sundays. There were a lot of challenges, but I sure did learned a lot about wood making and new gardening techniques. Plus, I now have a cute project to brag. 😛
Failures
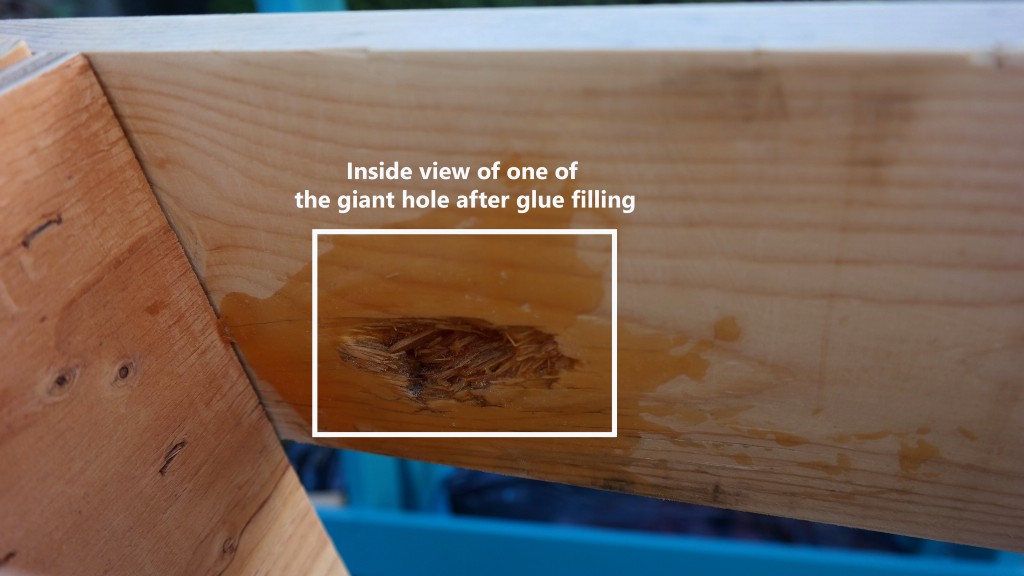
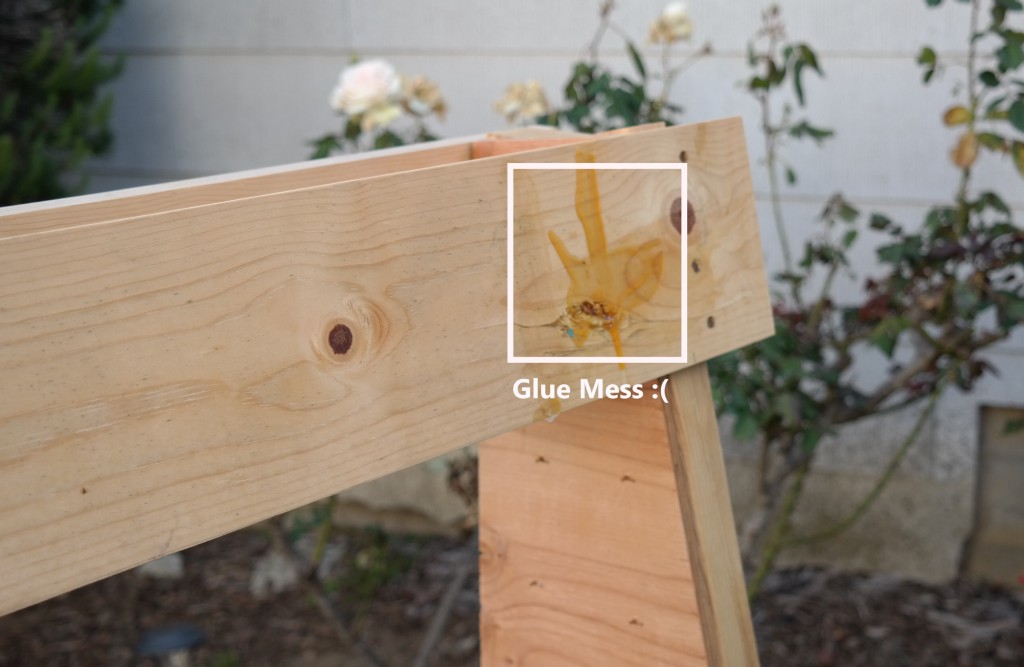
- Wood glue does not fill in giant holes. We tried to tape the backside of the hole and filled it in with wood glue. Problem, the glue took forever to dry. Once dried, we removed the tape and all the glue on the side of the tape poured out. The wood glue got everywhere on the grass and pallet. It was such a mess, we got so frustrated with it, we left it out to dry. Since it was on the inside of the pallet, we didn’t bother fixing it. There were so much glue on the pallet, that we resanded some spots.
- I should have added rocks before starting to plant my succulent, not vice versa. I don’t know what I was thinking at the time, but adding rocks to the bin after the succulent were planted in place was a nightmare. Most of my succulents got crushed by rocks. The flower looking ones got so many rocks in between the pedals that it was so hard to remove the rocks.
Suggestion and Improvement Ideas
- Paint with a roller, not brushes. This will help speed up the process a lot. Use the brushes to paint small area.
- Buy actual wood filler instead of trying to use wood glue to fill in large holes.
- Pliers and crowbars are necessary to remove large massive industrial staples.
- For vertical vegetables garden, make sure to use soil for planter boxes. I made a mistake in the past for not reading and ended up using gardening soil instead of planter boxes soil. I ended up with so much weeds and grass in my planters boxes and that was no fun, so don’t make the same mistake.
- Put the rocks in the bins first before planting any plants.
- For vegetable vertical garden, I would recommend to cover the top surface with mulch instead of rocks. The mulch will definitely help preserve the water especially during summer season.
Recycled Vertical A-Shaped Pallet Garden | Project #5 was originally published in ThriftedCrafts on Medium, where people are continuing the conversation by highlighting and responding to this story.