Jean Tool Apron | Project 1
A art/craft tool apron made of a jean and a shirt
Introduction
One of the things I hate the most when working on a project is not being able to find my tools, so I decided to make a tool apron as my first thrifted project.
The only problem is that I don’t really know how to sew. My only experience with sewing was helping my grandma and mom hemming jeans. At only 5 ft and 1 in (yes when you are my height, that 1 inch matters a lot), it is really hard to find that perfect jeans. Since this is my first sewing project, I decided to made this out of a jean skirt instead of jean pant. Jean pants would works great for this project if you have a pair of jeans that are going to be thrown away.
Don’t forget to leave me a comment/tips if you made one.
Materials
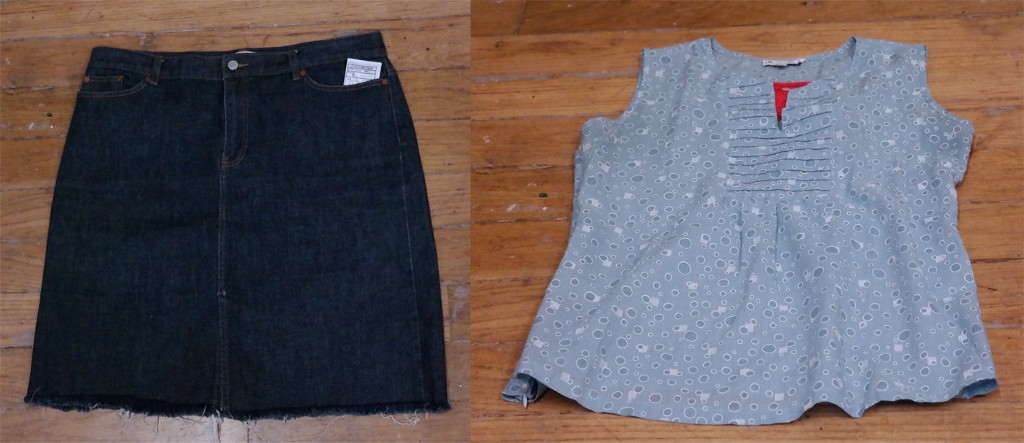
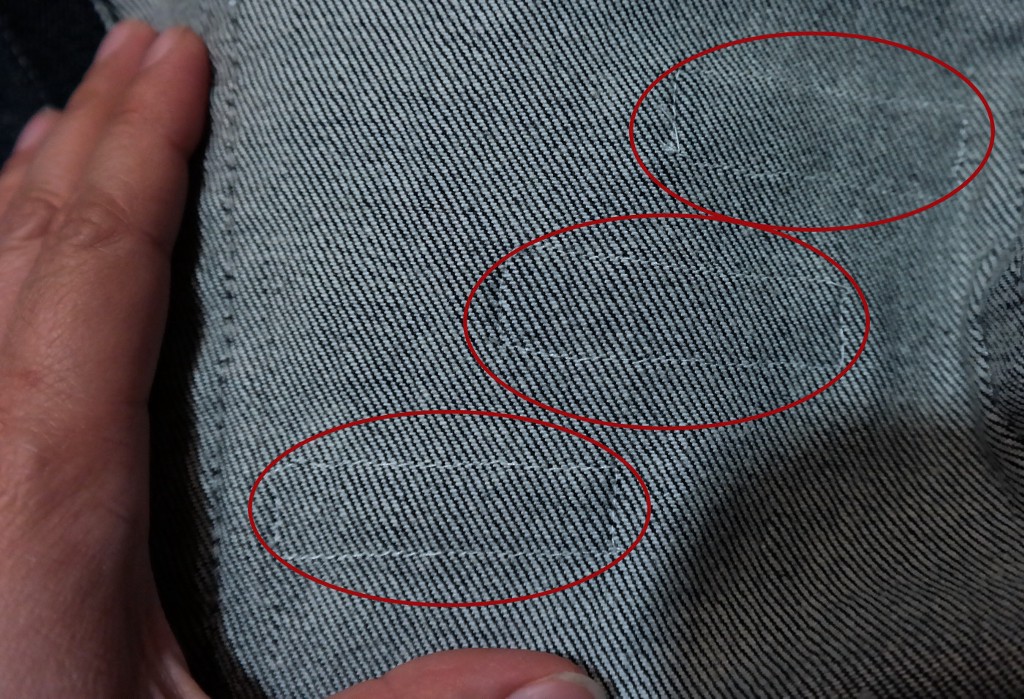
- 1 jean skirt (or a pair of jean)
- 1 t-shirt
- Sewing supplies such as sewing machine, thread, a pair of scissor
Step by Step Instruction
Here is the printable link to the instruction template!
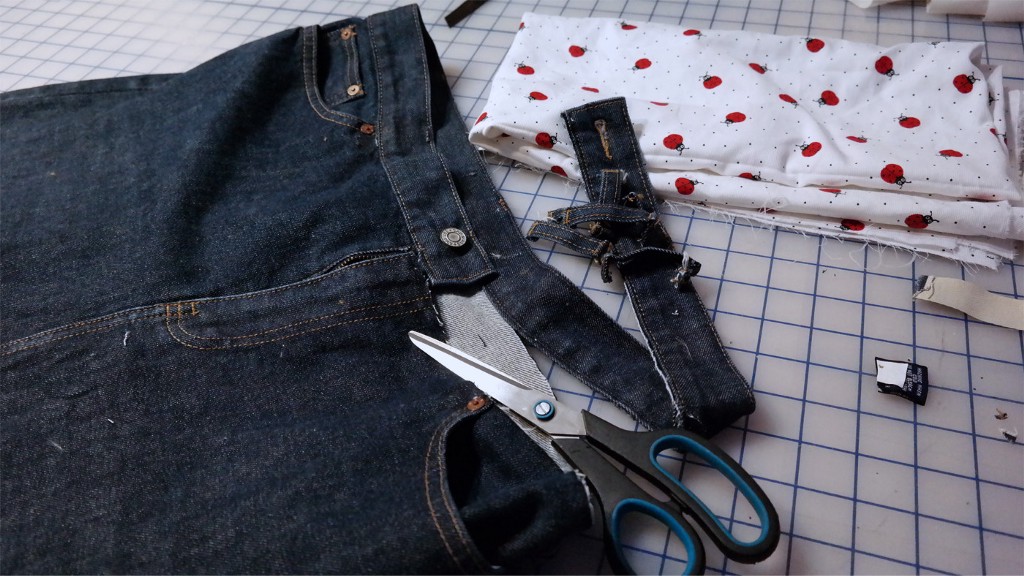
Remove the jean skirt belt loop. First carefully remove straps around the belt loop that are used to hold the belt in place. Afterward, use a scissor and remove the belt loop.
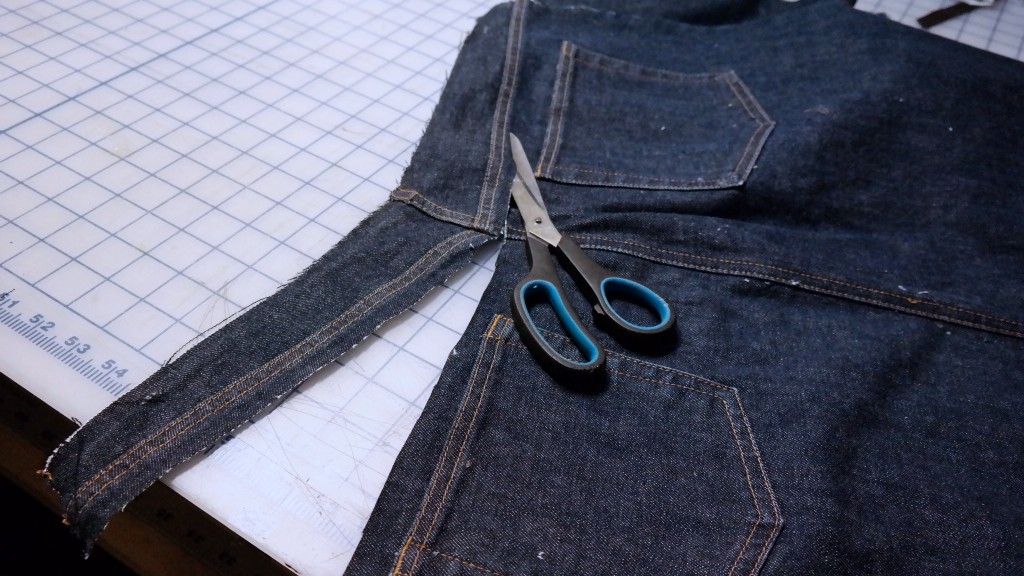
Using a scissor cut the skirt along both of the side seams (basically cut the skirt into half). Use the back side of the jean skirt for the apron because of the big pockets. If you are using a pair of jean, use the back side because those pockets are bigger than the front pockets.
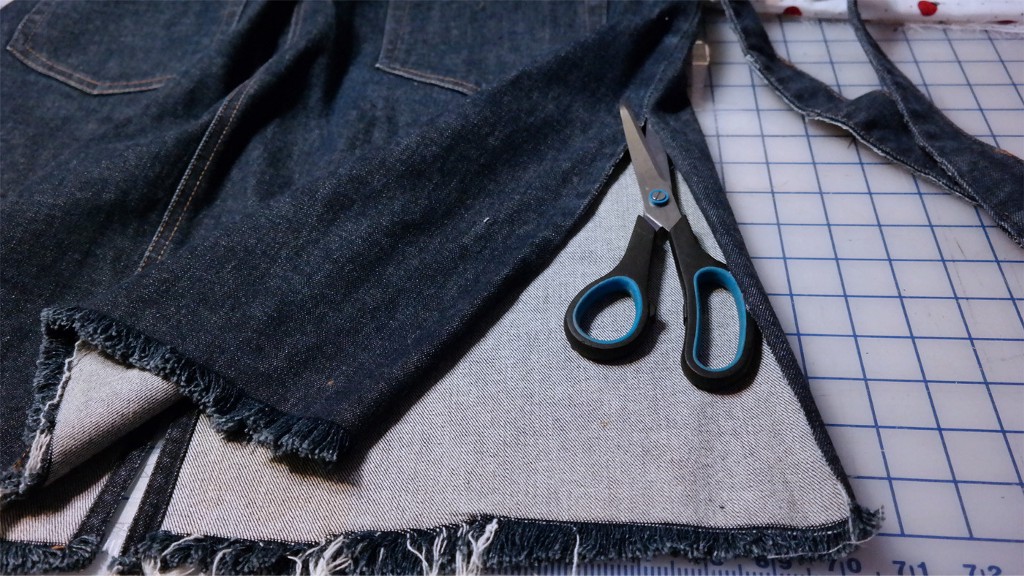
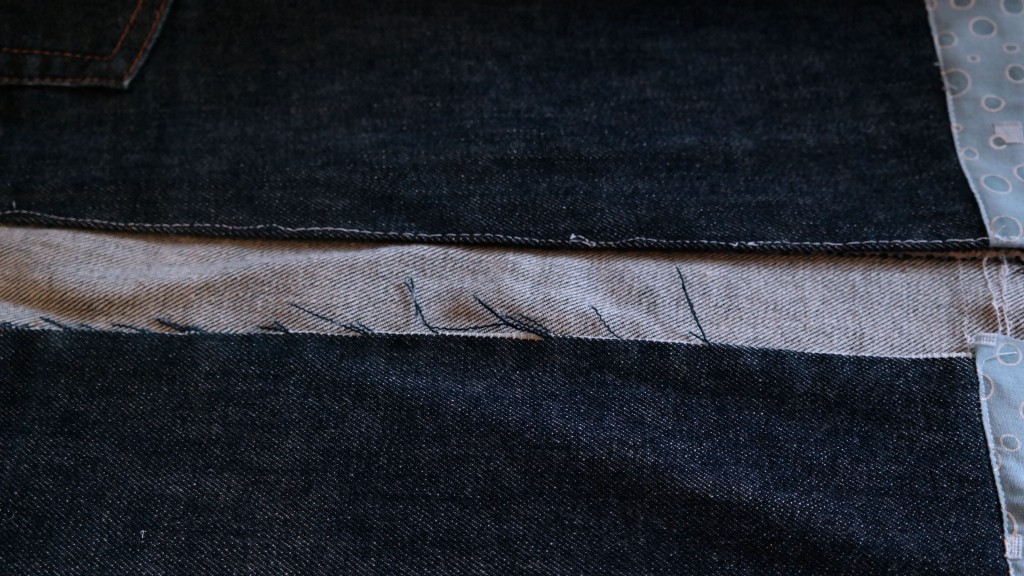
Cut of the top part of the back side of the jean skirt just like the picture. This remove that weird line of hemming. Skip this step if your jean skirt doesn’t have this.
Cut of the sides seams hemmed piece to make it easier for sewing later.
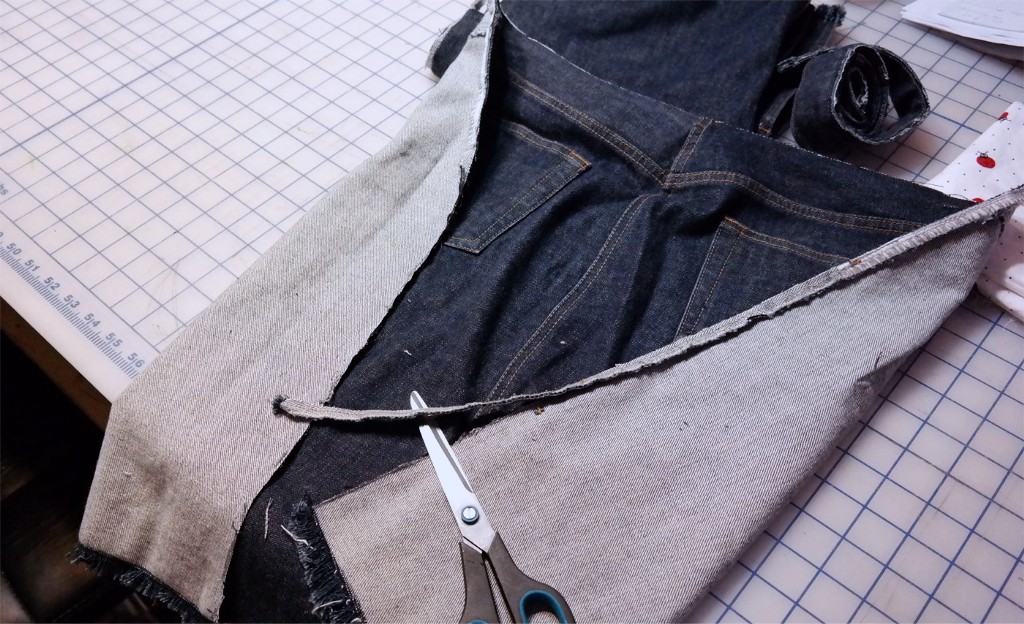
Fold the skirt bottom up to about 2–3 inches. Hold it in place with the sewing pins. Place this on along your leg and double check that this is the perfect length for your height, minus 1–2 inches for future hemming.
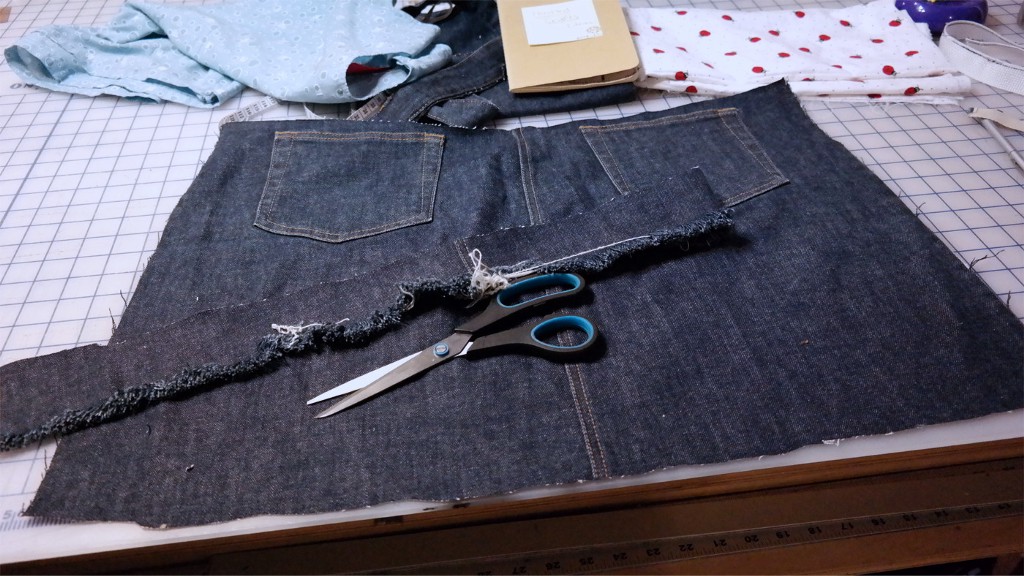
Once the length is perfect, use a scissor and cut along the sewing pins.
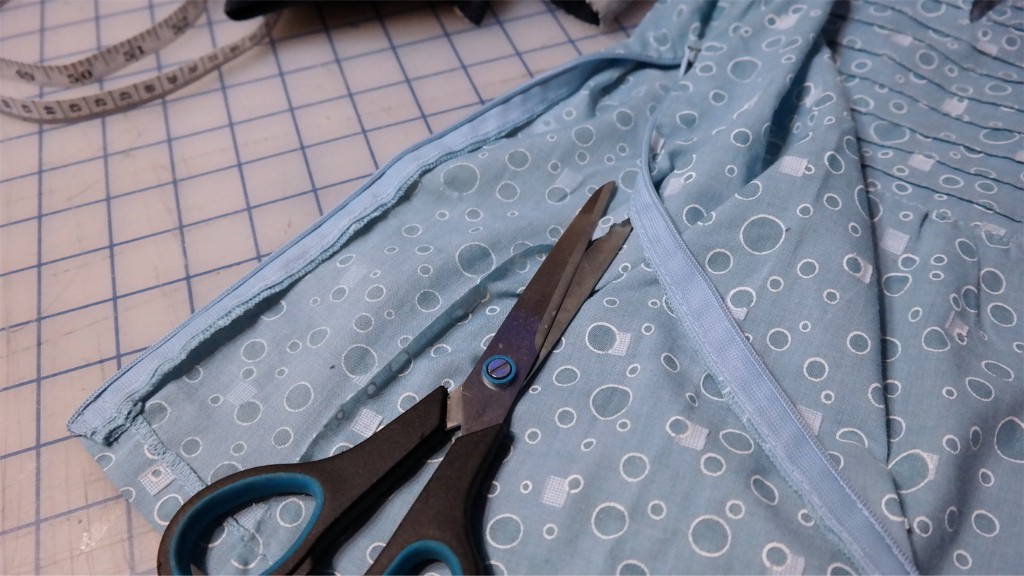
Remove the side hem of the shirt. If your shirt has a side zipper, remove that first with a scissor to save materials. Measure the size of the jean pocket. Cut out a square about 1 inch smaller than the jean pocket on the shirt.
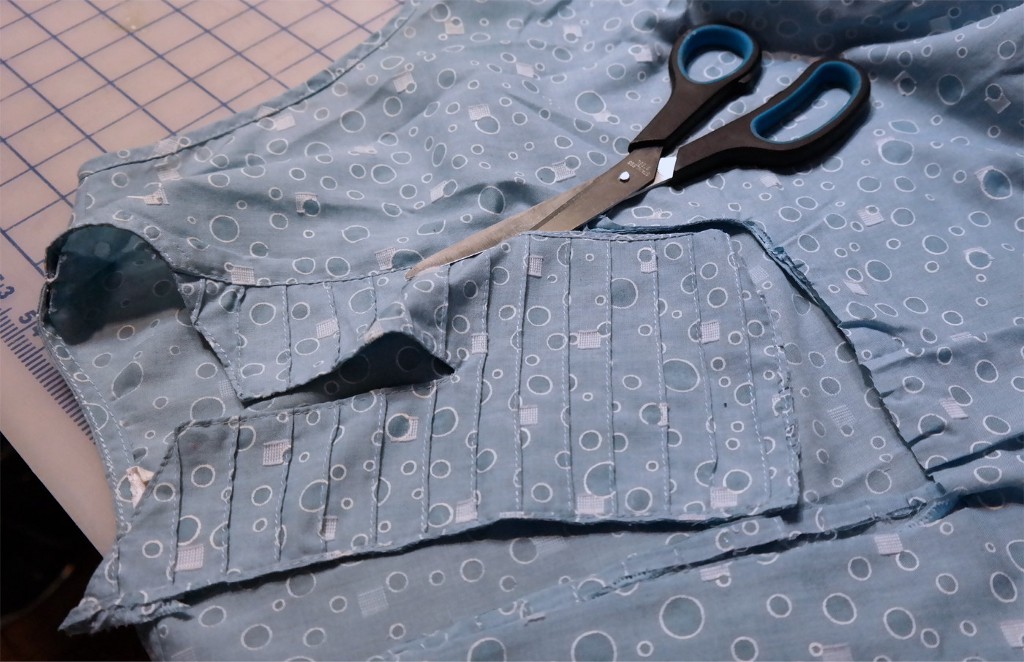
Note: for the shirt, I decided to use pieces of it to decorate my jean apron as well as add some extra pocket. I used the layered piece in the middle of the collar cut out section to make the pocket.

Hem the four side of the cut out squares. To do this, fold each side (4 sides total) in about .25 inch and sew it. Set aside.
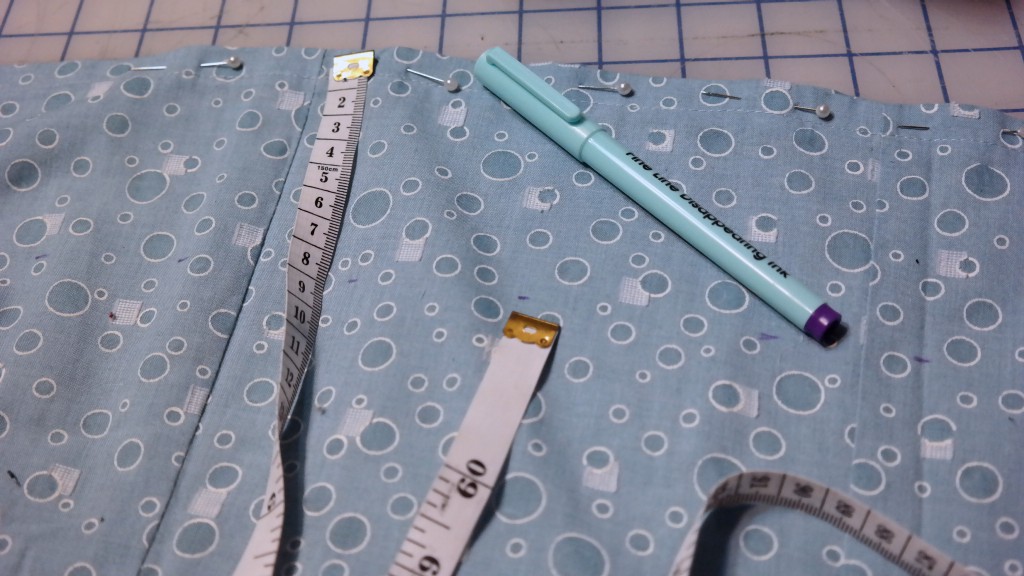
Cut about 2 inch thick strip from the shirt. The width need to be equal or longer than the jean skirt width. This will be sewn to the bottom of the jean skirt to add a nice color touch.
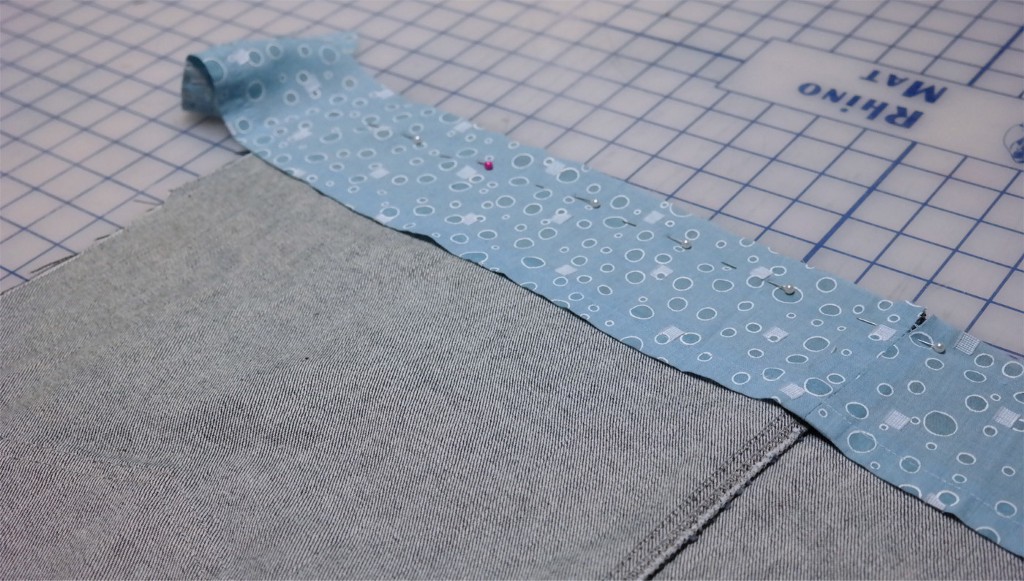
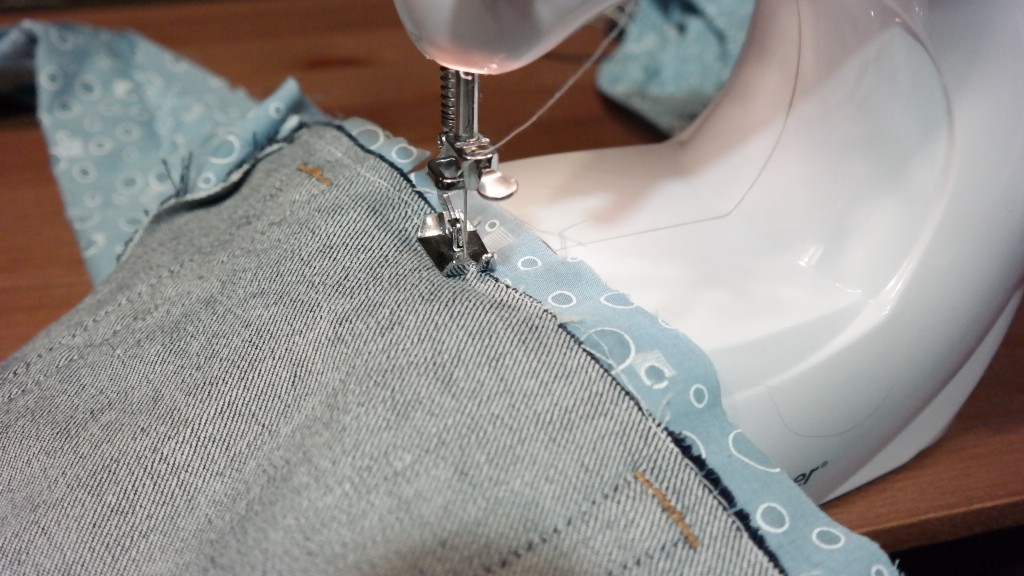
Place the 2 inch thick strip along the skirt bottom. Make sure that the right side of the jean skirt is on the table and the right side of the strip is facing up. Basically making a sandwich with both pieces right side facing outside away from each other.
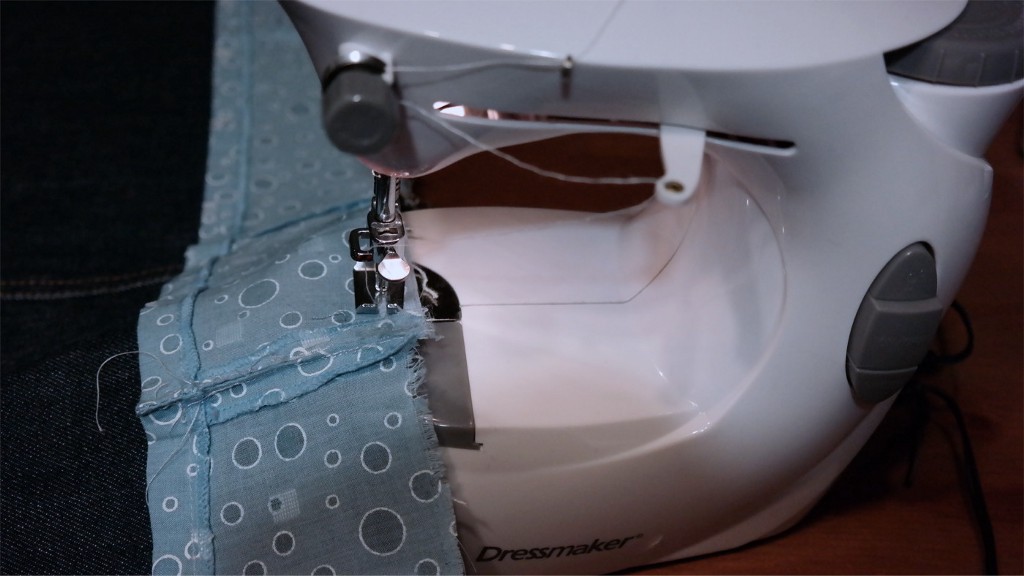
Sew along the end leaving ~ 0.5 inch.
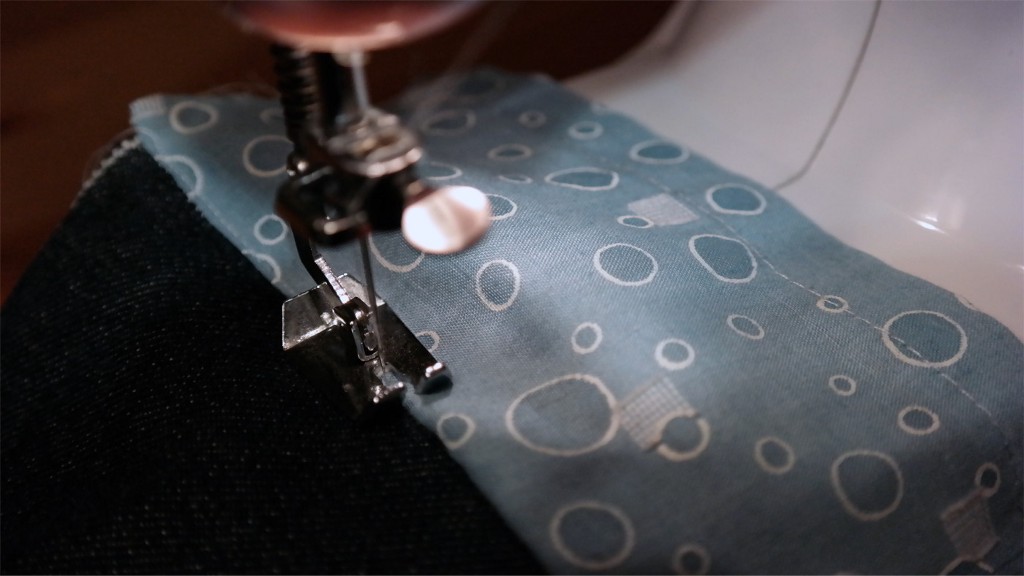
Flip it over and sew a thin layer on top of the jean apron.
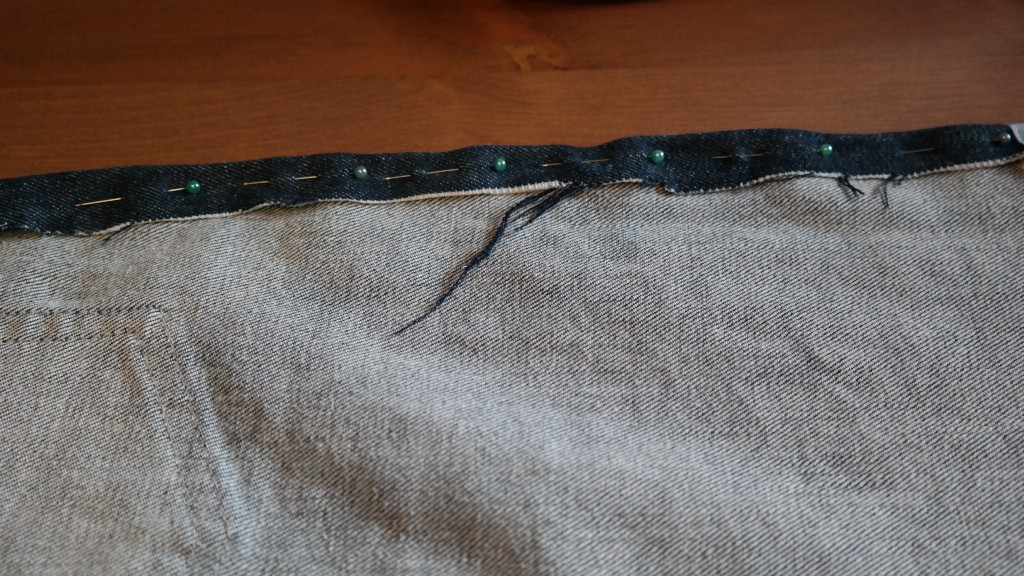
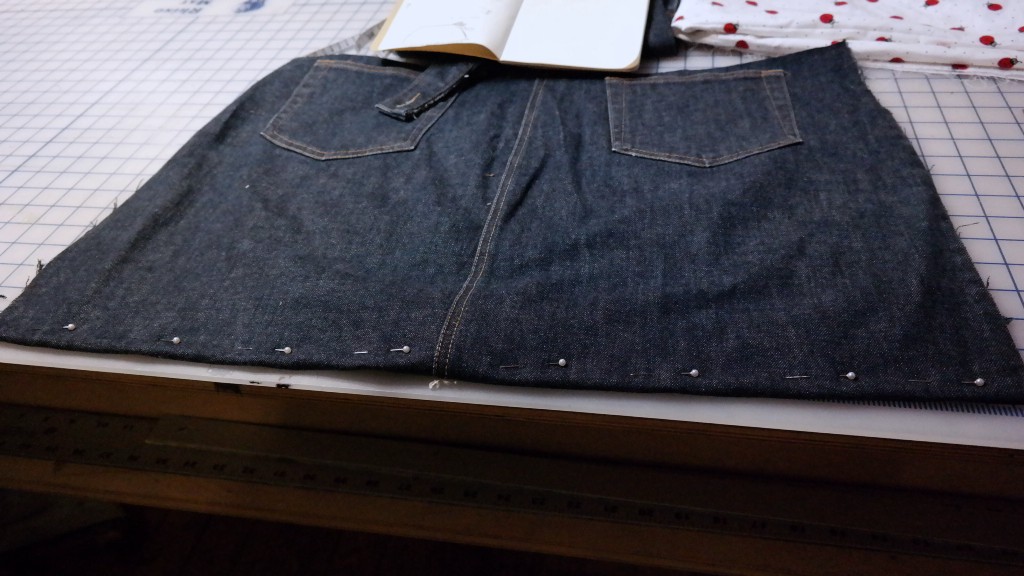
Fold in the sides of the jean skirt about 1 inch and use sewing pin to hold it in place.
Sew along the pin line. This will hem the two sides of the jean skirt.
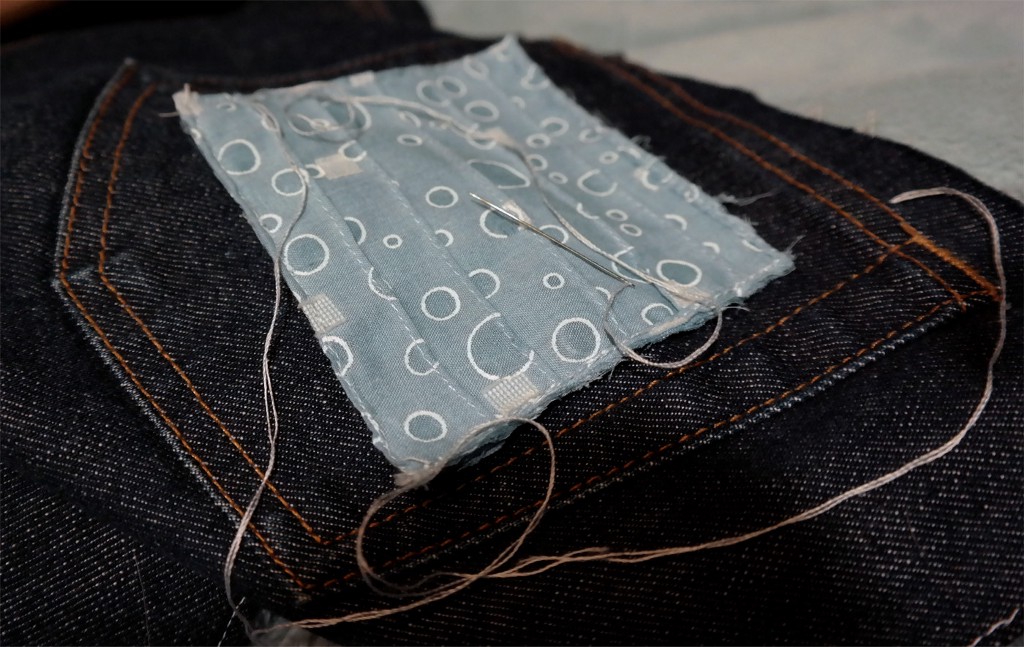
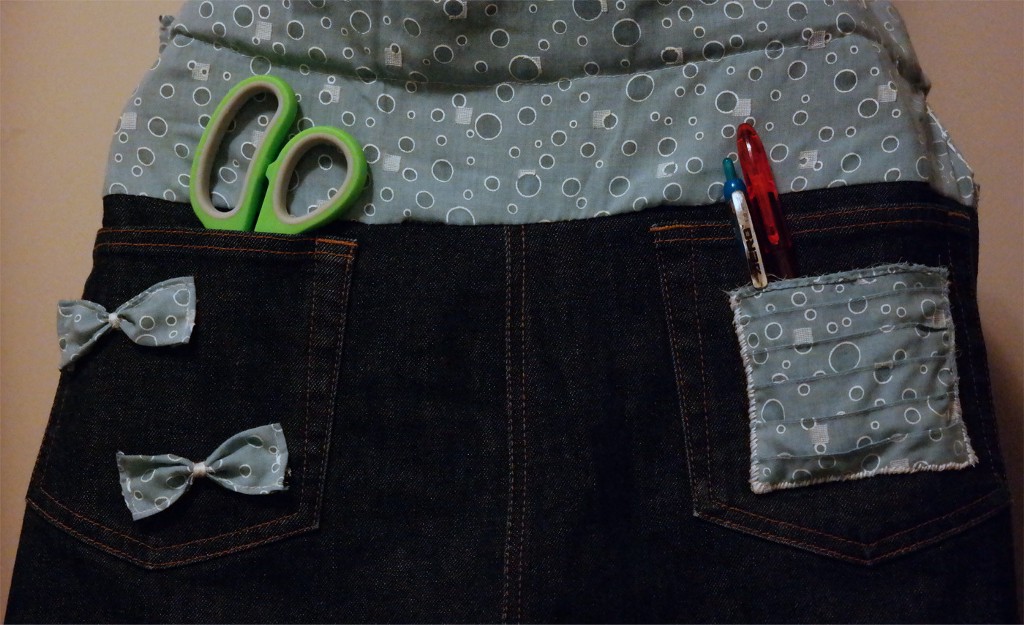
To make the pocket, lay the cut out square on the jean skirt pocket. Use 4 sewing pins to hold it in place. Carefully, hand sew it in place. Make sure not to poke the needle through the back of the jean skirt, but only through the inside of the pocket.

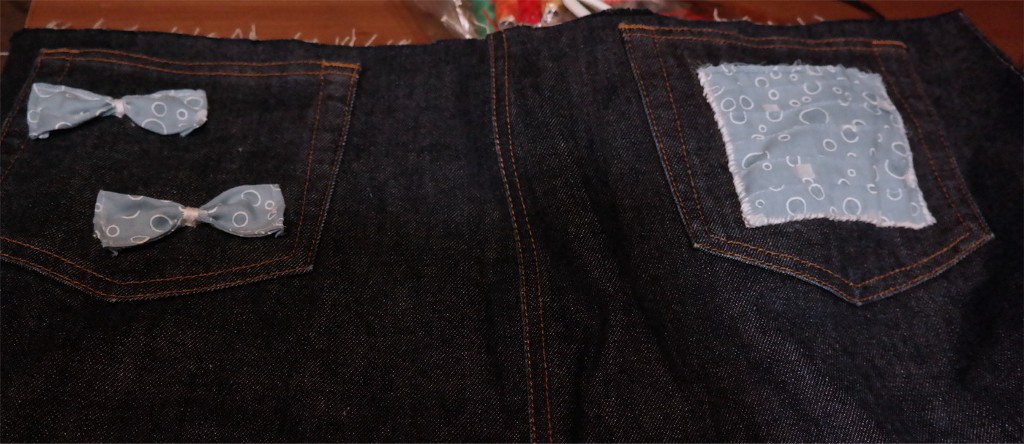
Cut out two 2 inches wide by 1 inch long rectangles from the shirt to make two bows to decorate the other side of the jean skirt pocket. Hem all four sides of the two rectangles. Fold the rectangles into zig zag pattern (in out and in) 3 times. Hand stitch the zigzag pattern in place in the center.
Feel free to add more pockets to the jean skirt if you like. I just got tired of sewing squares and hand sewing pockets.
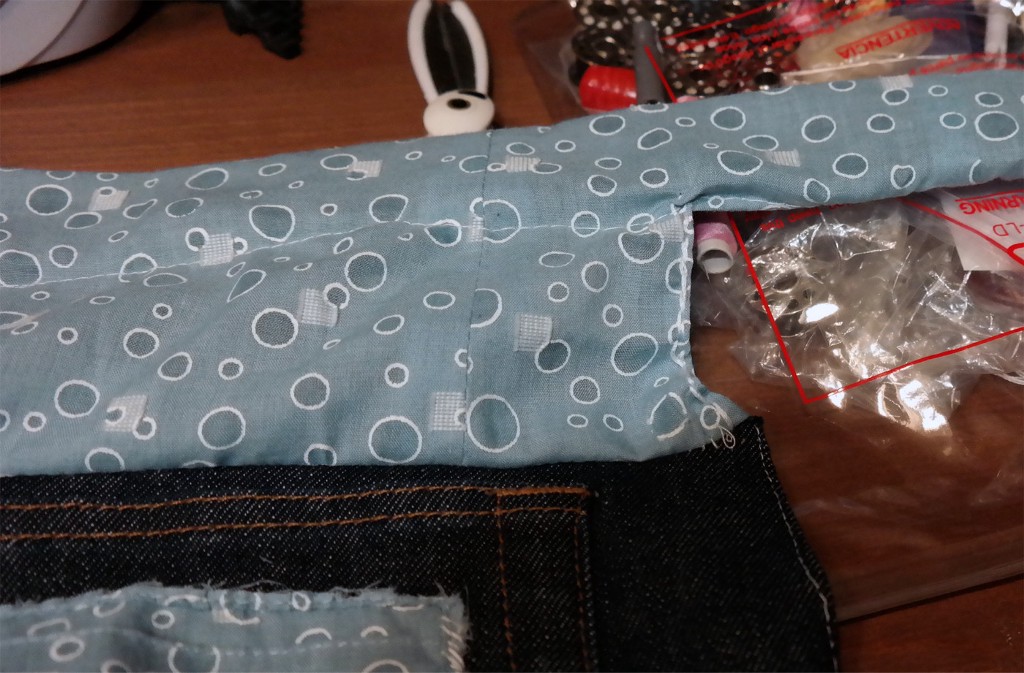
The jean apron is now almost complete. All we need left is a waist ribbon. You can definitely use ribbon and sew it to the top of the jean apron just like we did the bottom; however if there is enough material left from the shirt why not use that to make a ribbon?
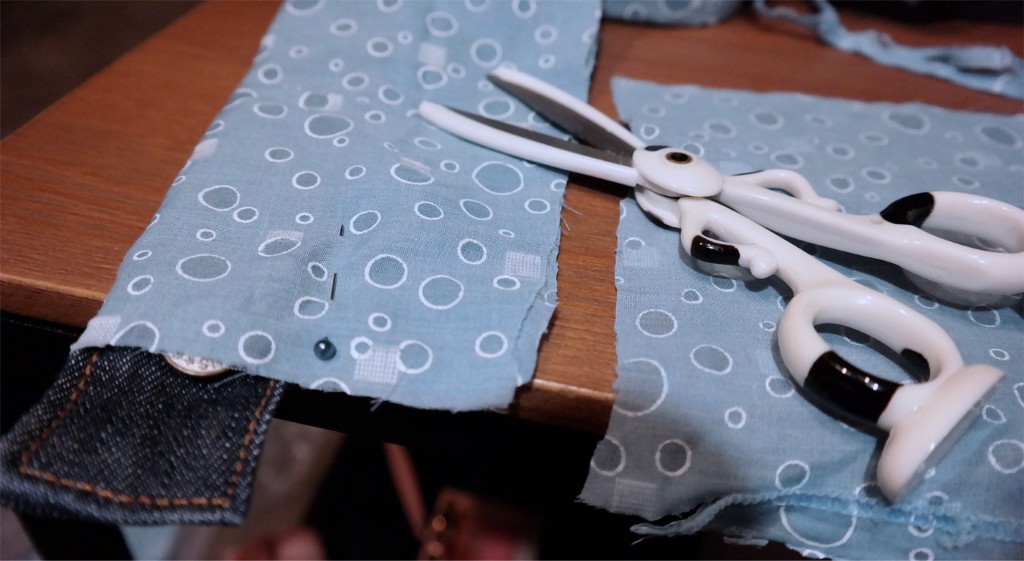
To make the waist ribbon, lay the cut out jean waist belt onto the shirt and cut out the strip, enough to fully cover the belt and has 2 inches extra. Make sure there is enough material to wrap the waist belt in.

Hem the top side of the cut out shirt piece. Sew that into the jean belt like the picture above.
Cut out a hole for the button to go through and a big enough slit on the other end of the belt. Since the skirt fit me perfectly, I decided to save the original jean skirt waist belt. If your waist is smaller than the original jean waist belt, feel free to remove the button and make the belt a little longer to use as a strap to tie the apron around your waist.
Lay the belt, right side facing the right side of the jean apron, and pin the two pieces in place using sewing pins. Sew along the edge of the two pieces. And that is it.
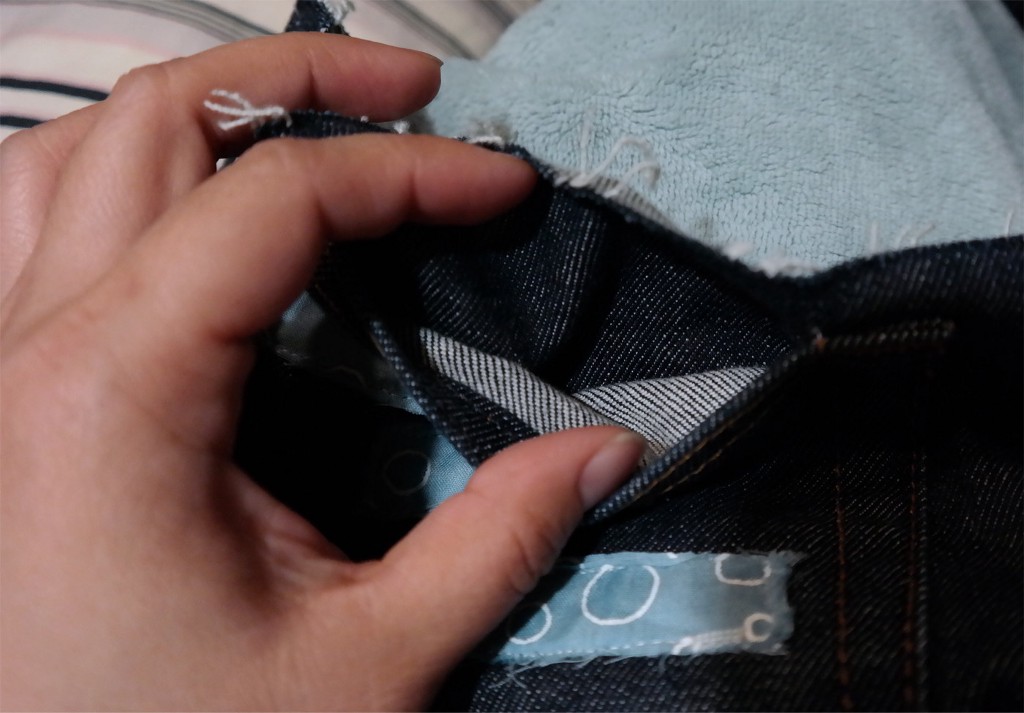
Oh I also cut the excess clothes off to align the apron with the belt. I hem the edges like the picture above.
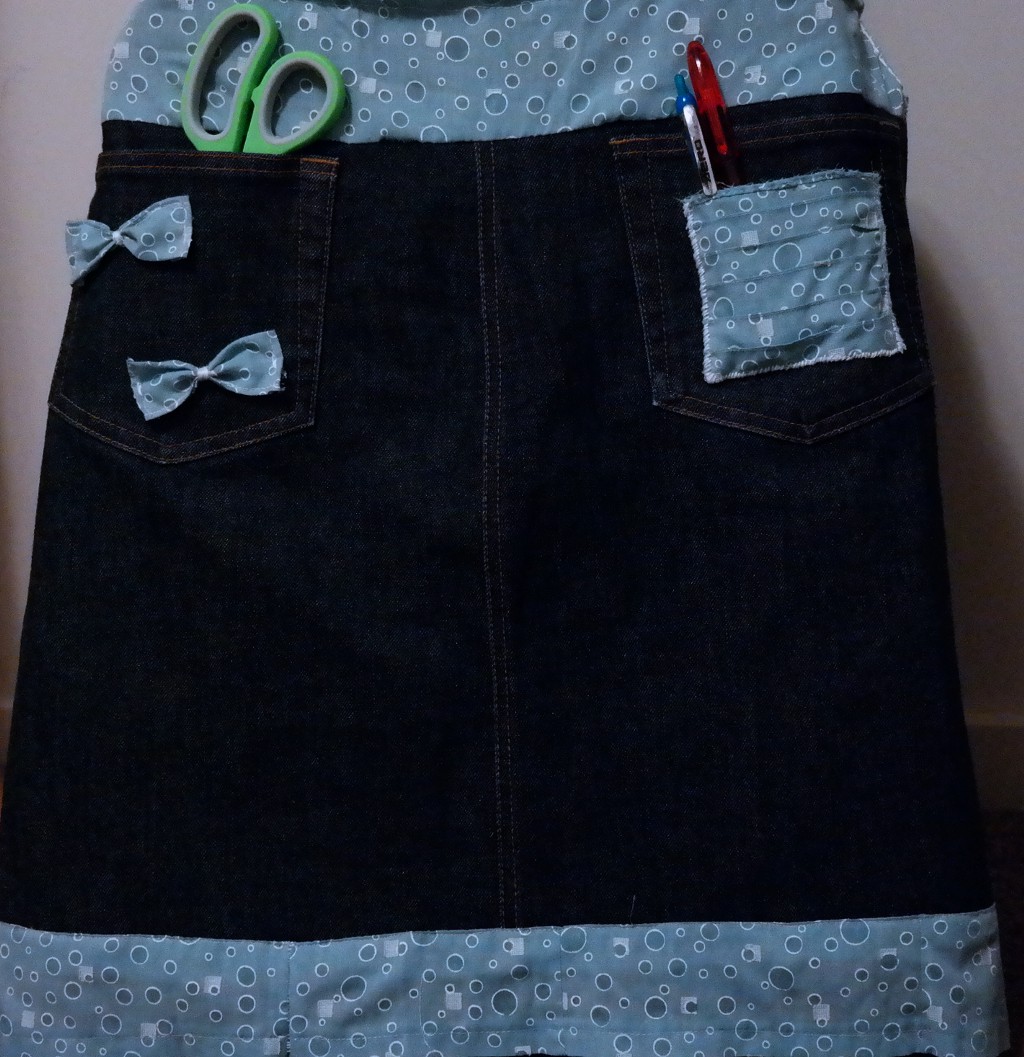
Final Product
Tips/Failure Experiences
Using a pair of jean instead of jean skirt
You can definitely use a pair of jean to make this apron. Just make sure you sew the two inseams together to form a single apron. I chose a jean skirt because this is my first time learning how to sew and the jean skirt will save me this extra step.

What if I don’t have a sewing machine?
You do not need a sewing machine to do this project. You can use fabric glue, which can be found at Joann or art and crafts stores. Another option you can use is buy a $20 mini sewing machine and use it for this project and other sewing projects. I used the mini dressmaker model.
Why we have to hand stitch the shirt pocket?
At first, I sew all the pocket using the mini dressmaker and was like wow that was easy. It wasn’t until I went to use the pocket, that I realize I couldn’t use the pocket as I expected because I had sewn through the apron. Don’t make the same mistake like me.
Jean Tool Apron | Project 1 was originally published in ThriftedCrafts on Medium, where people are continuing the conversation by highlighting and responding to this story.