Jean Phone Case | Project 2

How I redesigned my own phone case using thrifted items
I always dream of having a jean phone case with a cute design cardholder, so I decided to redesign my own phone case. It is not a manufacturer’s perfection, but it has all the designs and functions that I wanted. The only problem I have is it looks great, but has some flaws in its functionality.
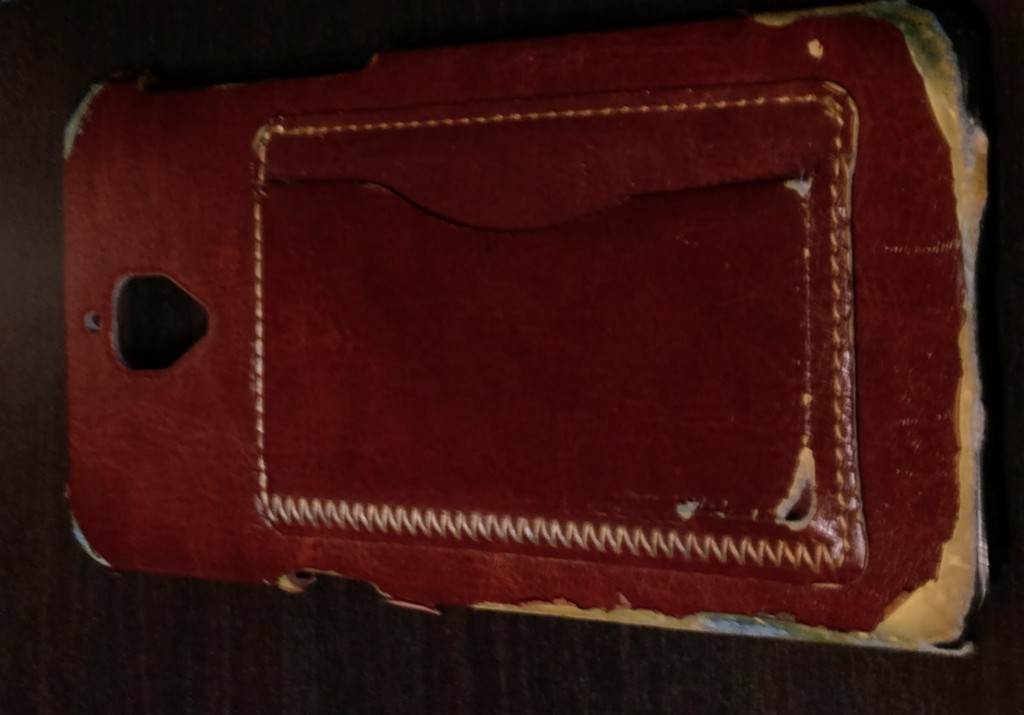
My phone case before
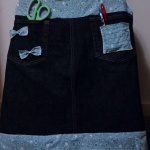
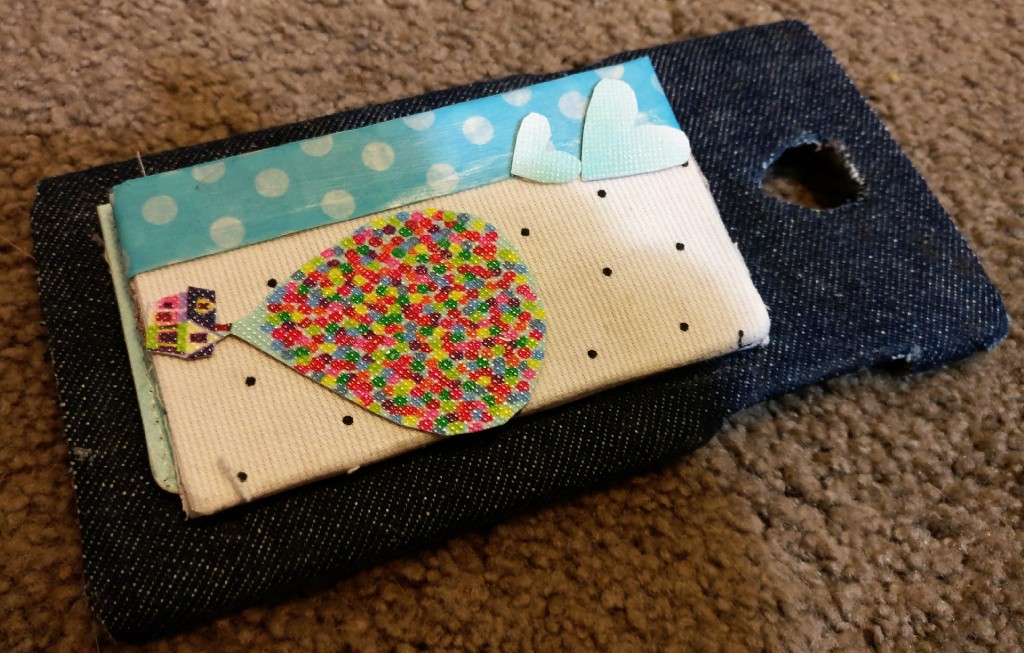
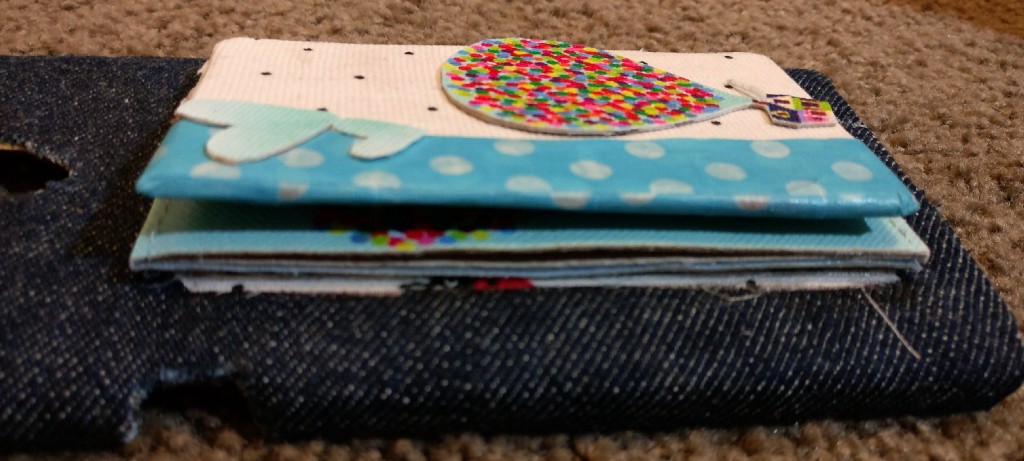
My phone case after
What do you guys think? Pretty right?
Materials I used
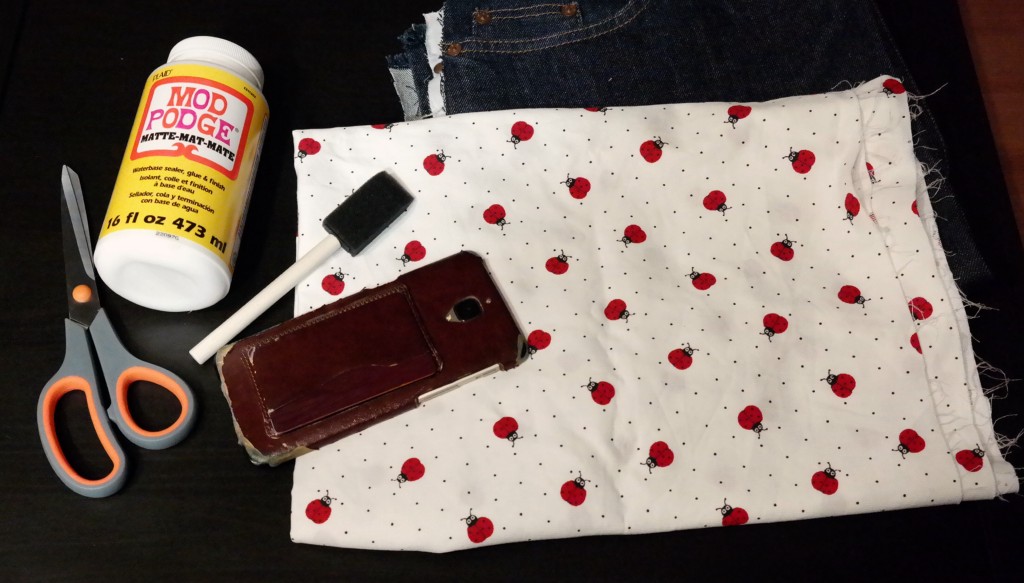
- Old phone cases
- Old jean skirt and other fabric (got some extra leftover from my first project)
- Mod Podge
- Scissors
- Other cutting tools (nail filer, nose trimmer, sewing tools, etc…)
- Washi tape
Step by Step Instructions
Here is the printable link to the instruction template
Taking the phone case apart
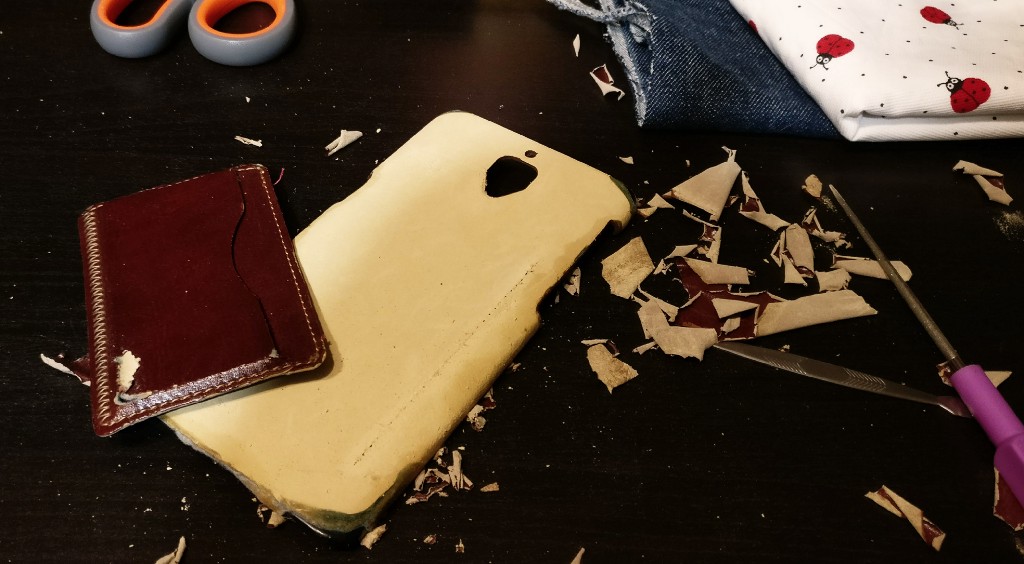
The first thing I did was took my phone case apart. My phone case had this faux leather wrap around it. I removed the faux leather to help the Mod Podge sticks better. The faux leather was not hard to remove as it already started peeling. To help me peel the leather without hurting my finger, I used a nail filer and a bead rimmer (got it from my jewelry making kit).
I cut the cardholder pouch off with a scissor. This made it easier for me to completely remove the leather from the area beneath the cardholder pouch.
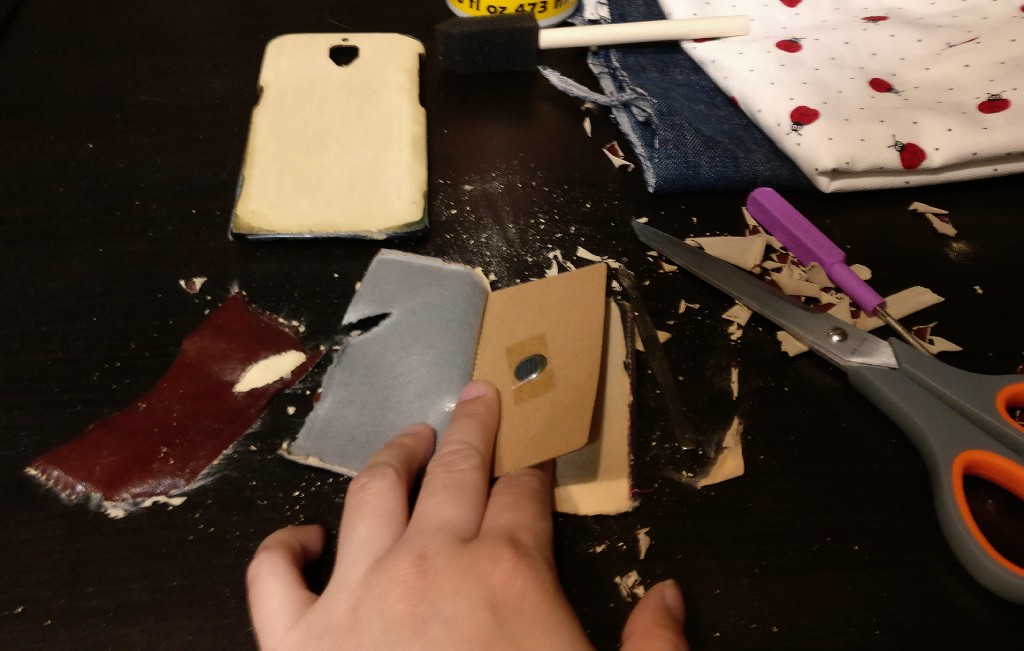
I wasn’t able to remove the leather from the cardholder pouch, so I decided to cut it apart. My goal was to preserve the magnets and the cardboard so that I can recreate another cardholder pouch.
Covering the case in fabric
At first for the design, I decided to go with jean fabric for the phone case and a ladybug fabric design for the cardholder wallet.
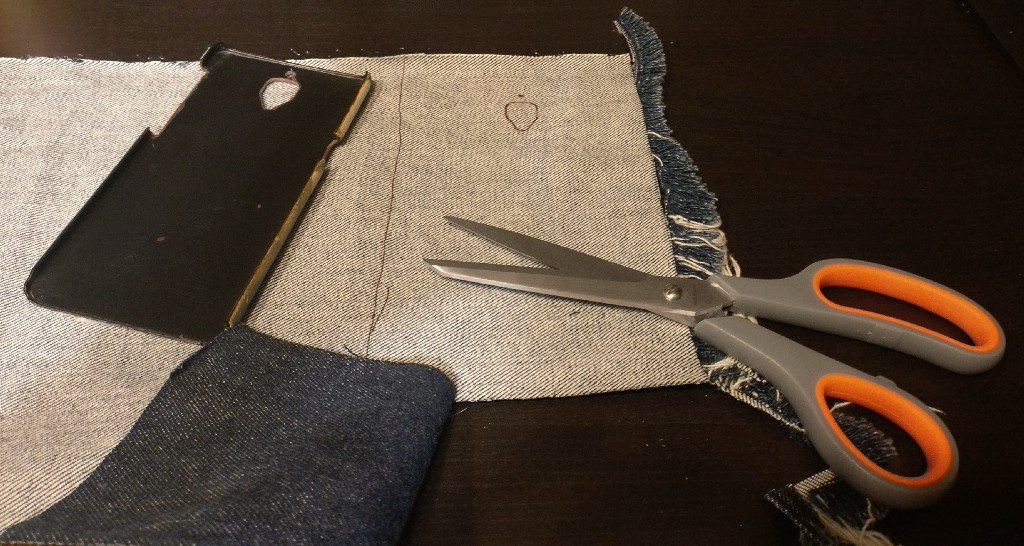
For the phone case, I measured and cut out a piece of jean fabric with 2” gap on all four sides. I covered the phone case with Mod Podge and carefully glued the jean fabric onto the phone case. I used the nail filer to help remove any bubbles and smoothen out the fabric (the same technique used to apply phone screen protectors).

To fully cover the inside edges, I added some Mod Podge and use a magnetic paper clamp to help hold the fabric in place during the drying process.

For the cardboard piece, I measured out the amount of fabric needed to cover one side, cut it out, and glued it onto the cardboard using Mod Podge. When cutting the fabric out, I left about 1 in gap on all sides to cover the four edges and corner.
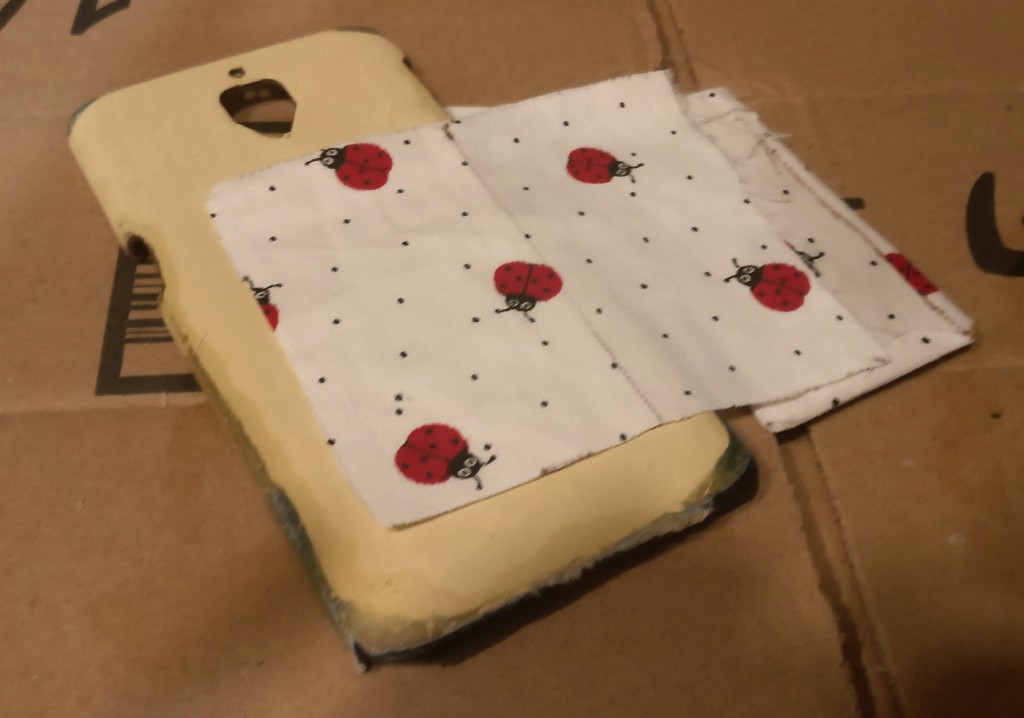
Basically, I cut out one piece of fabric the size of the cardboard and the other with 1” gap. Then I realized I couldn’t make it flip, so I cut out another piece of fabric that was double the width of the cardboard size. I attached the cardboard to the back of the phone.
Adding the wallet pouch back
I have to admit, I made mistakes by not thinking about how I was going to turn the cardboard pieces into a cardholder pouch before attaching it to the phone case. I decided to use another old iphone case that had a cardholder pouch. This is one of my most favorite phone cases.
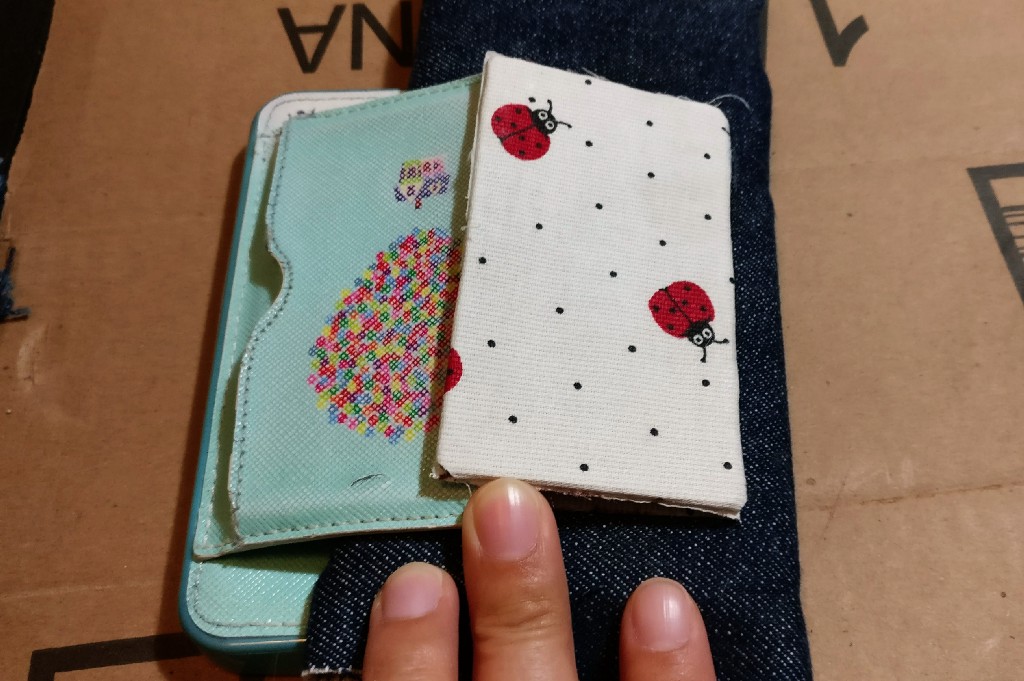
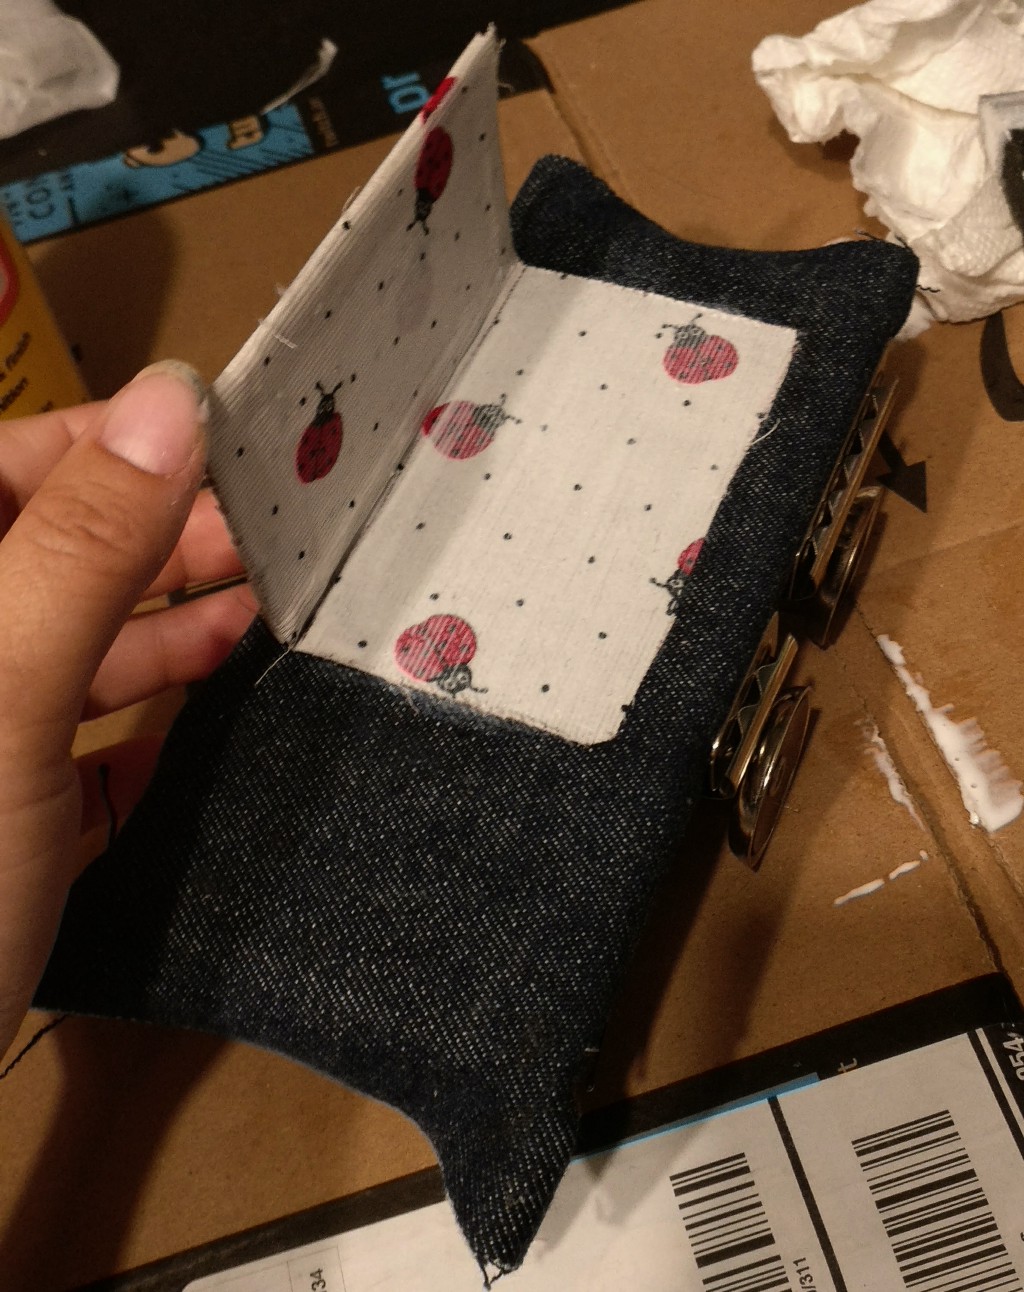
I removed the cardholder pouch from the old iphone case and glued it to the inside of the cardholder flap that I made earlier.
Redesign the design
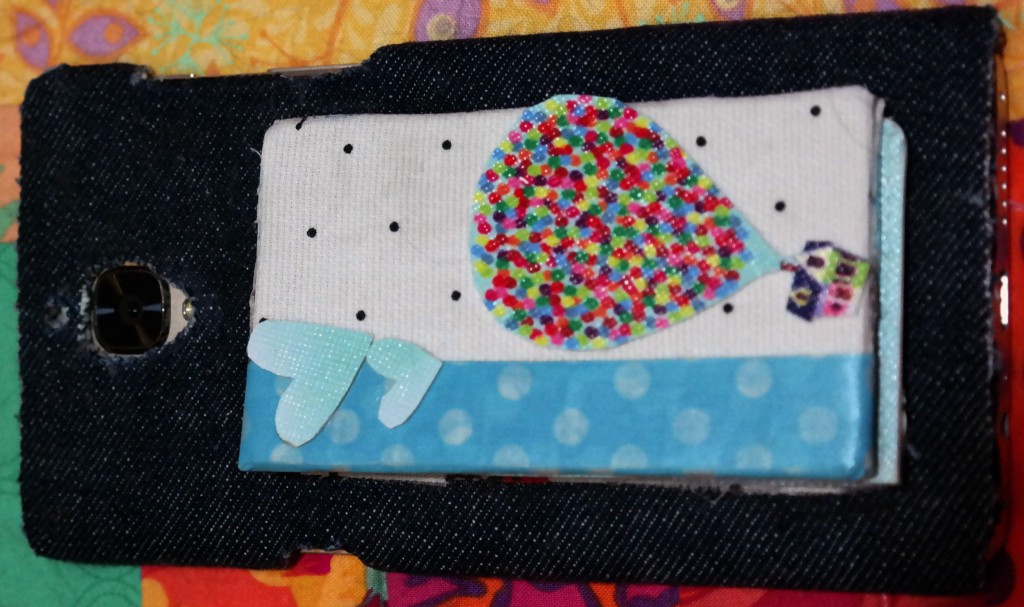
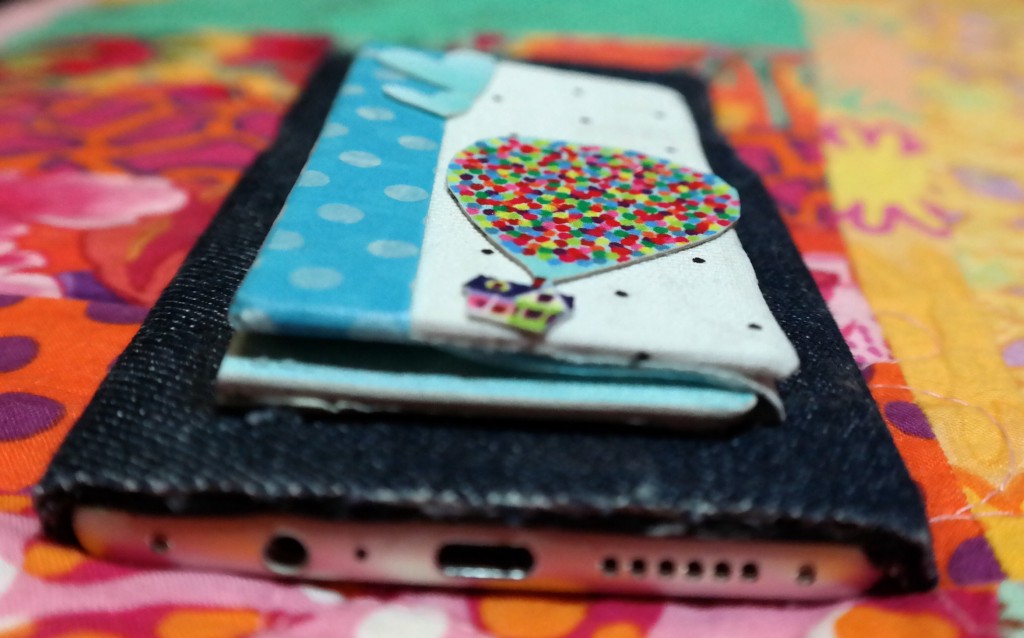
My iphone case design was blue and it didn’t go well with my ladybug theme. There were two ways I can go about fixing up the design. One was to cover up the blue cardholder pouch with the ladybug fabric I have or figure out how to redesign with the blue cardholder theme. I love the Up theme so much, I decided to redesign the look of my case.
This meant that I have to now cover up the ladybug. They were cute, but not a good fit for the Up theme. The floating balloon house was big enough to cover the lady bug on the right corner, so I didn’t have to worry about that. The left corner ladybug was too big for me to use the heart cut out pieces to cover it up.
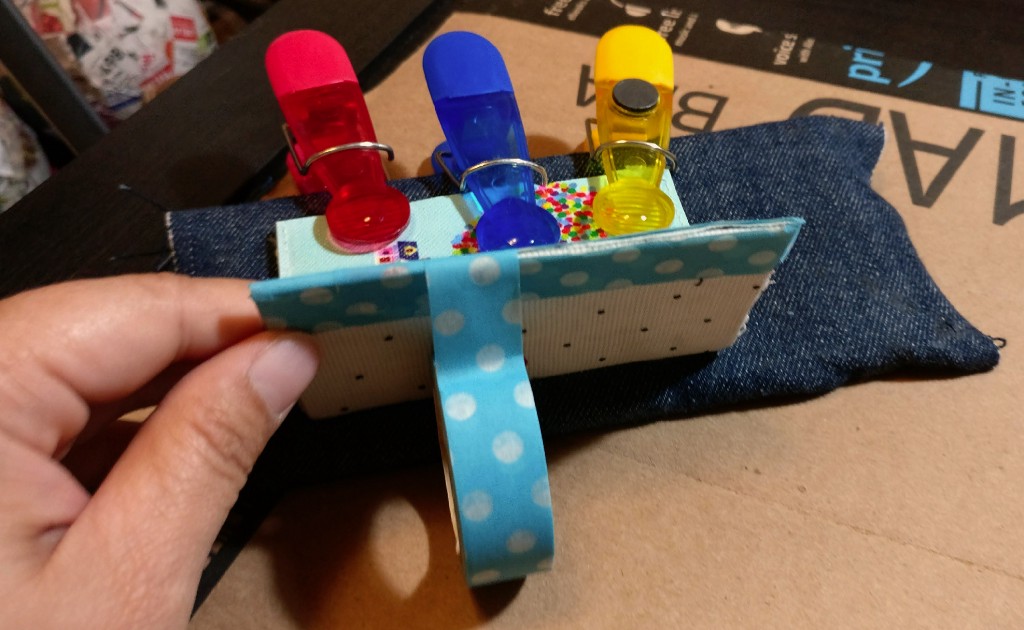
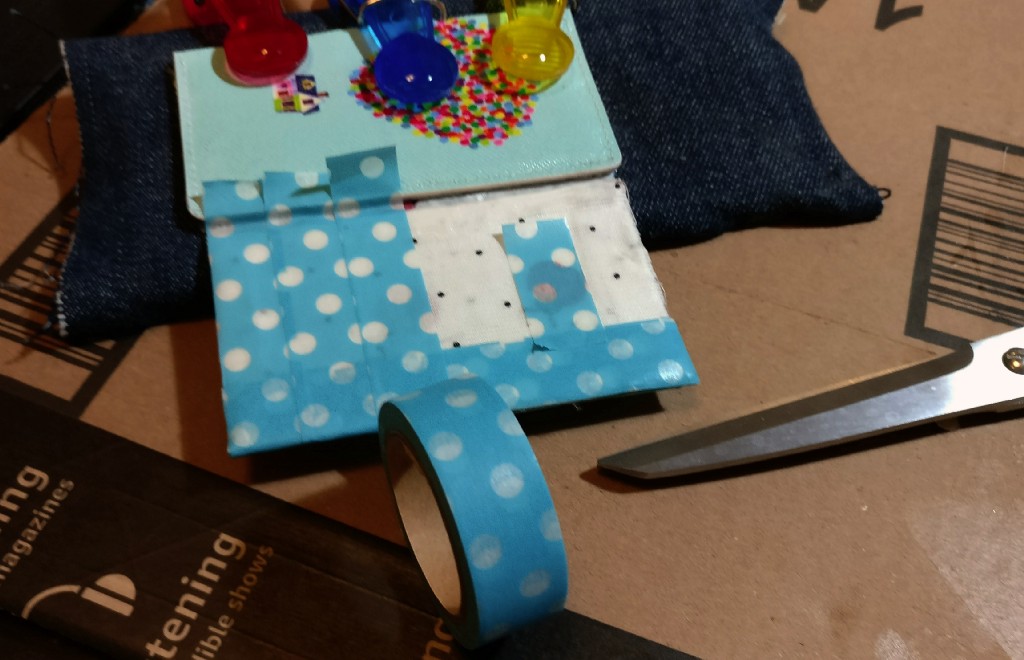
I then decided to use some of my blue washi tape to make a edge accent to cover up the left corner ladybug.
It looked pretty good, until I open up the cover and see the ladybug on the back side of the cover. :’( I then decided to cover the inside of the case with the same blue washi tape.
To do so, I carefully covered the inside of the case and use a razor to remove the extra around the edges. To ensure the washi tape feel the same as the fabric, I brushed on a little bit of Mod Podge on top.
I let it set and dried overnight. This project took a total of 3 days because I had to wait for the Mod Podge to dry before proceeding to the next steps.
Cleaning up the trim
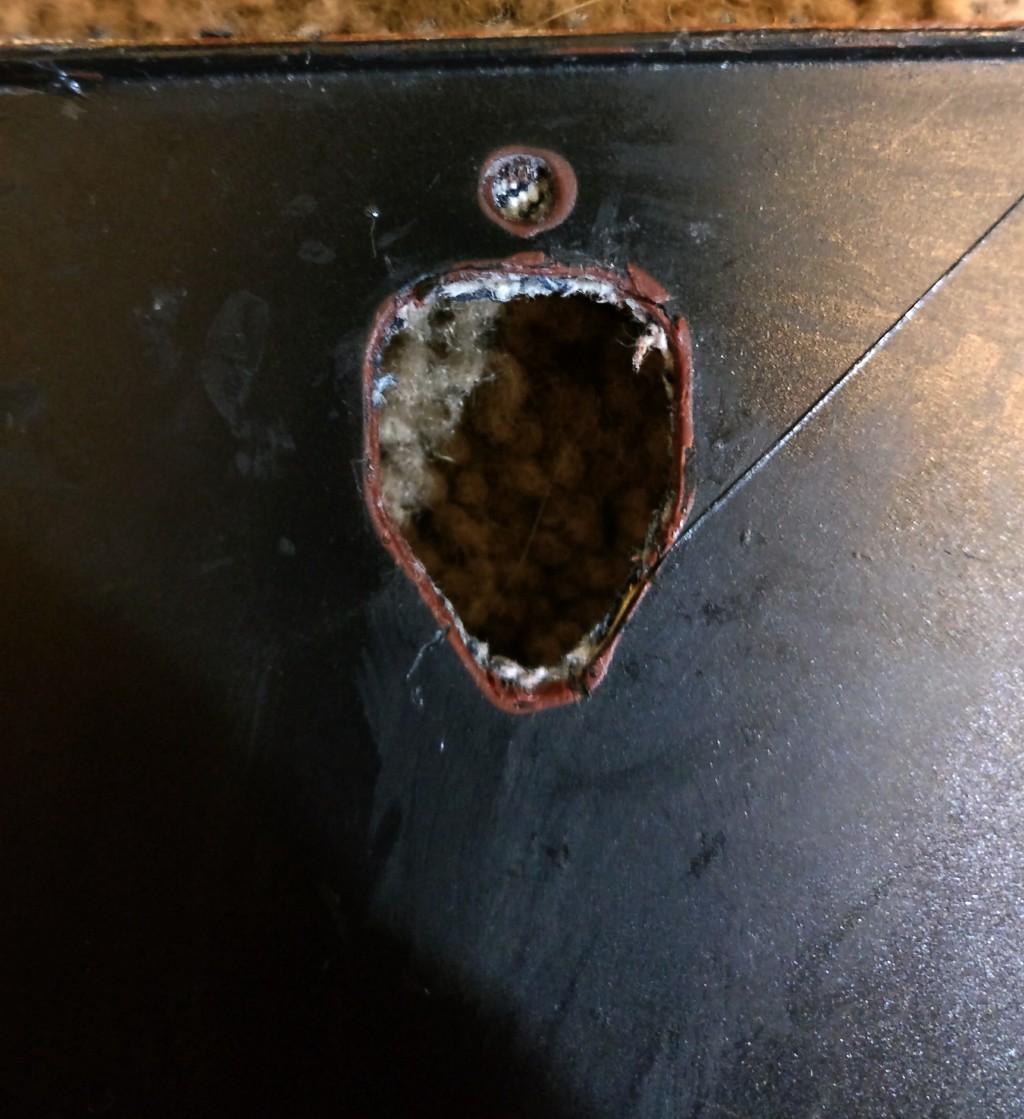
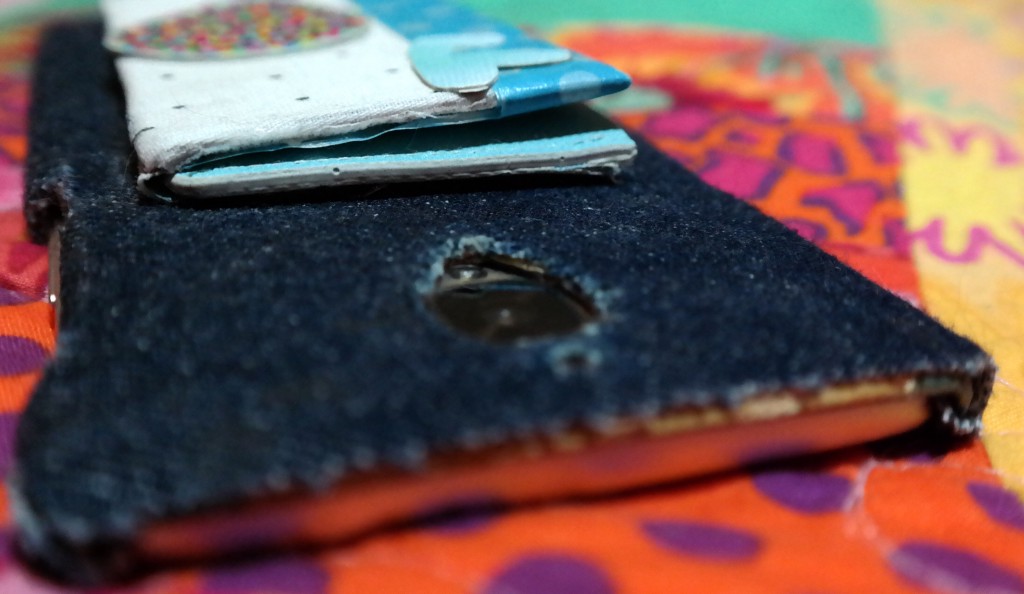
Using a nose trimmer and a razer blade, I cut out holes for the camera and the sides buttons.
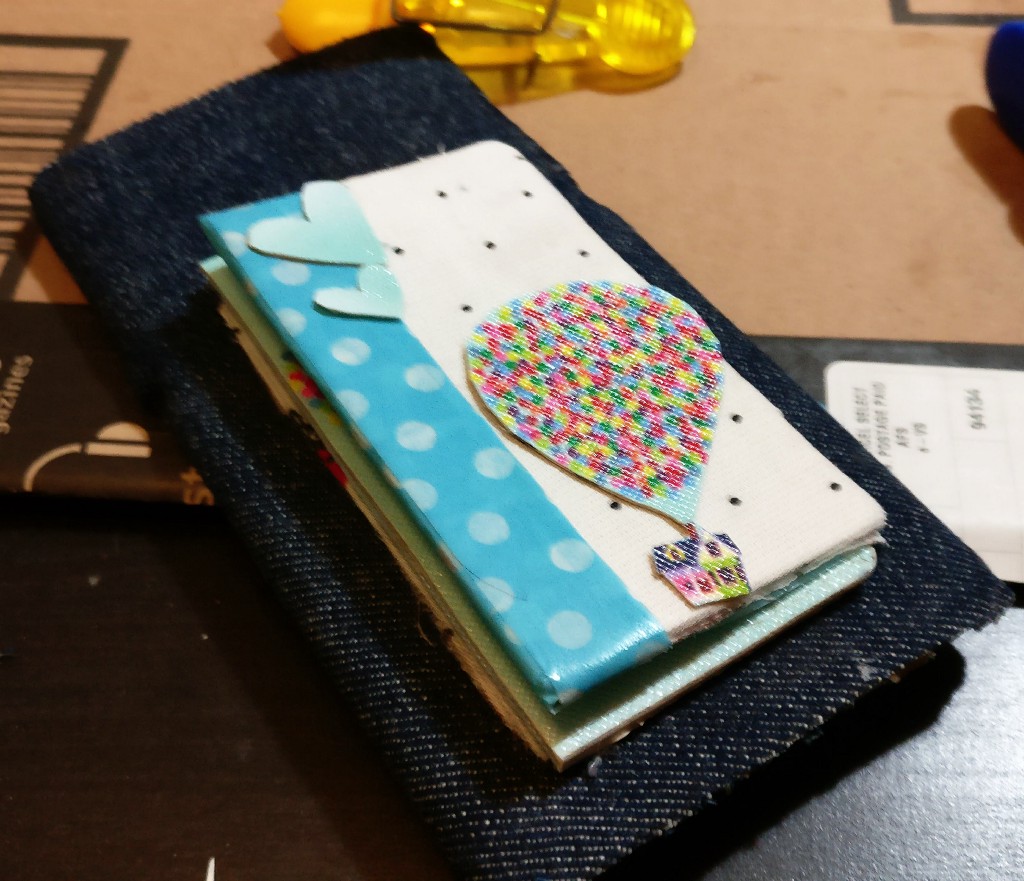
Final Product
Here is how the final product turned out. I am loving this overall design.
Tips/Failure Experiences
Conclusion
Over all the design turned out super cute. The card holder ended up with divider sections, which was not planned, a plus! The functionality of cardholder is on point.
Failures
After using it for 2 days straight, I realized that the pouch was too bulky. It was so bulky that I couldn’t clip it to my car phone holder.
It was difficult at first to get the case onto the phone. The jean fabric was a little too thick around inside of the four corners. To fix that, I ended up trimming a lot more off of the jean fabric.
The top and bottom sides are not fully cover in jean fabric.
The jean fabric around the corner show sign of wear and tear after two days of use. It makes the phone case more rustic, but hopefully this case will last long.
Suggestion and Improvement Ideas
- Finalized your design prior to start to prevent wasting the material. I wish I have sketch out the layout of my phone case prior to starting the process.
- Change the type of cardholder pouch. Instead of reusing the iphone card holder pouch, I should have done elastic band. That way it is not too bulky when adding the cards in.
Jean Phone Case | Project 2 was originally published in ThriftedCrafts on Medium, where people are continuing the conversation by highlighting and responding to this story.