Fruit Basket Fairies Garden | Project 3

Fairies garden made of fruit basket, crystal ball, diy fairies hut, and succulents
When I got my own first big cubicle at work, I got so excited. I was so excited, not because of how big the space is, but because it is my own, which meant I can decorate it. I love creating cute succulents centerpieces, but I can’t have it at home because Sunrise (my cat) love eating them. So, guess what? I decided to create one for my huge cube.
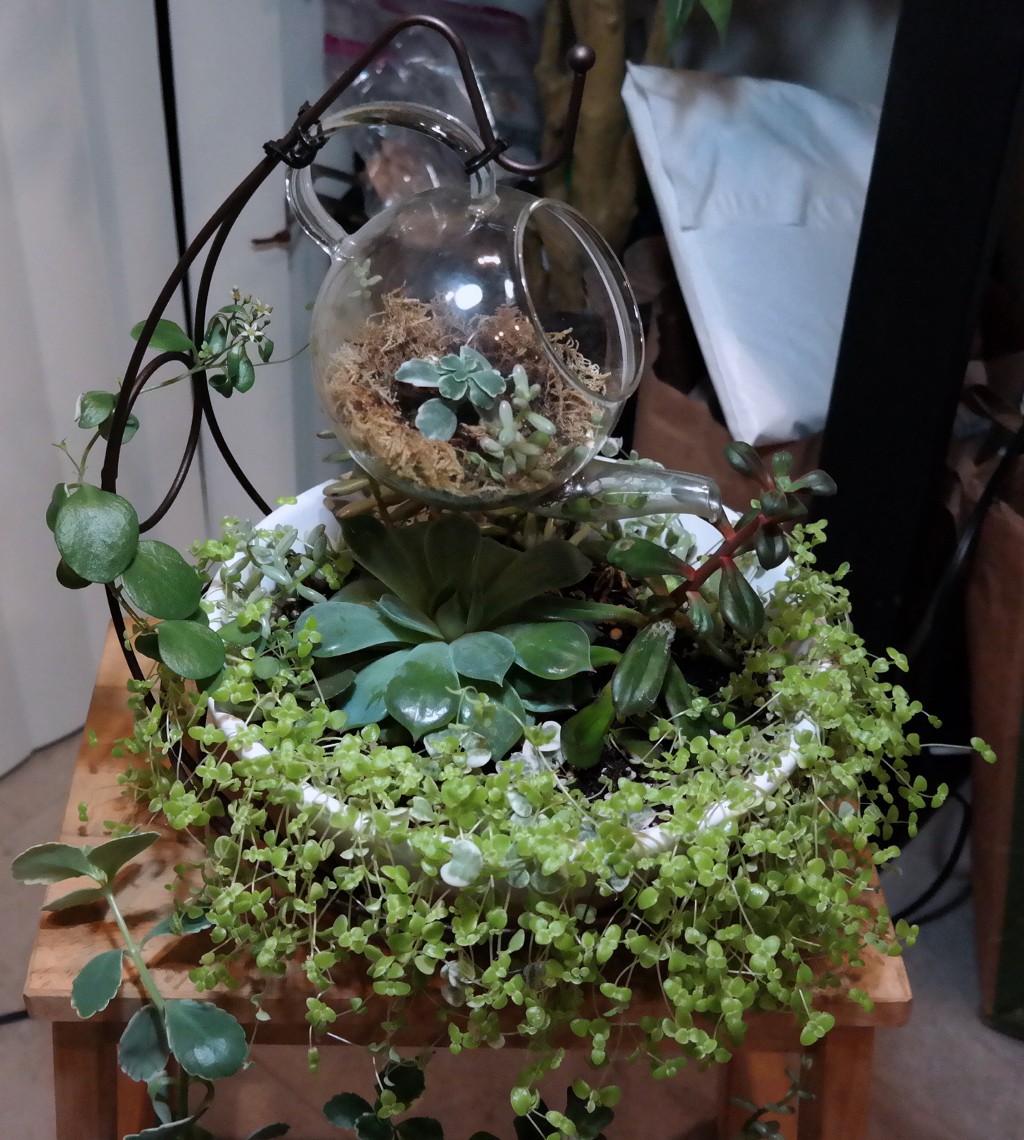
This centerpiece was influenced by this picture I found on Pinterest. I recreated this succulent centerpiece using a glass teapot, a banana fruit basket, and a pot. I found the glass teapot at a Thrift store, but was unable to find a fruit basket and a pot big enough to fit into the basket. Funny thing is after I bought the basket and pot, I ended up finding a tons of fruit baskets and big pots at Thrift stores. This centerpiece is one of my most favorite succulent pot I have ever made.
After a year, all the succulents are overgrown, and the pot became too small for the plants. I decided to redesign this centerpiece into a fairy garden.
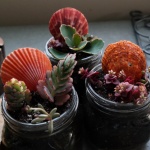
Before and after photos
Before
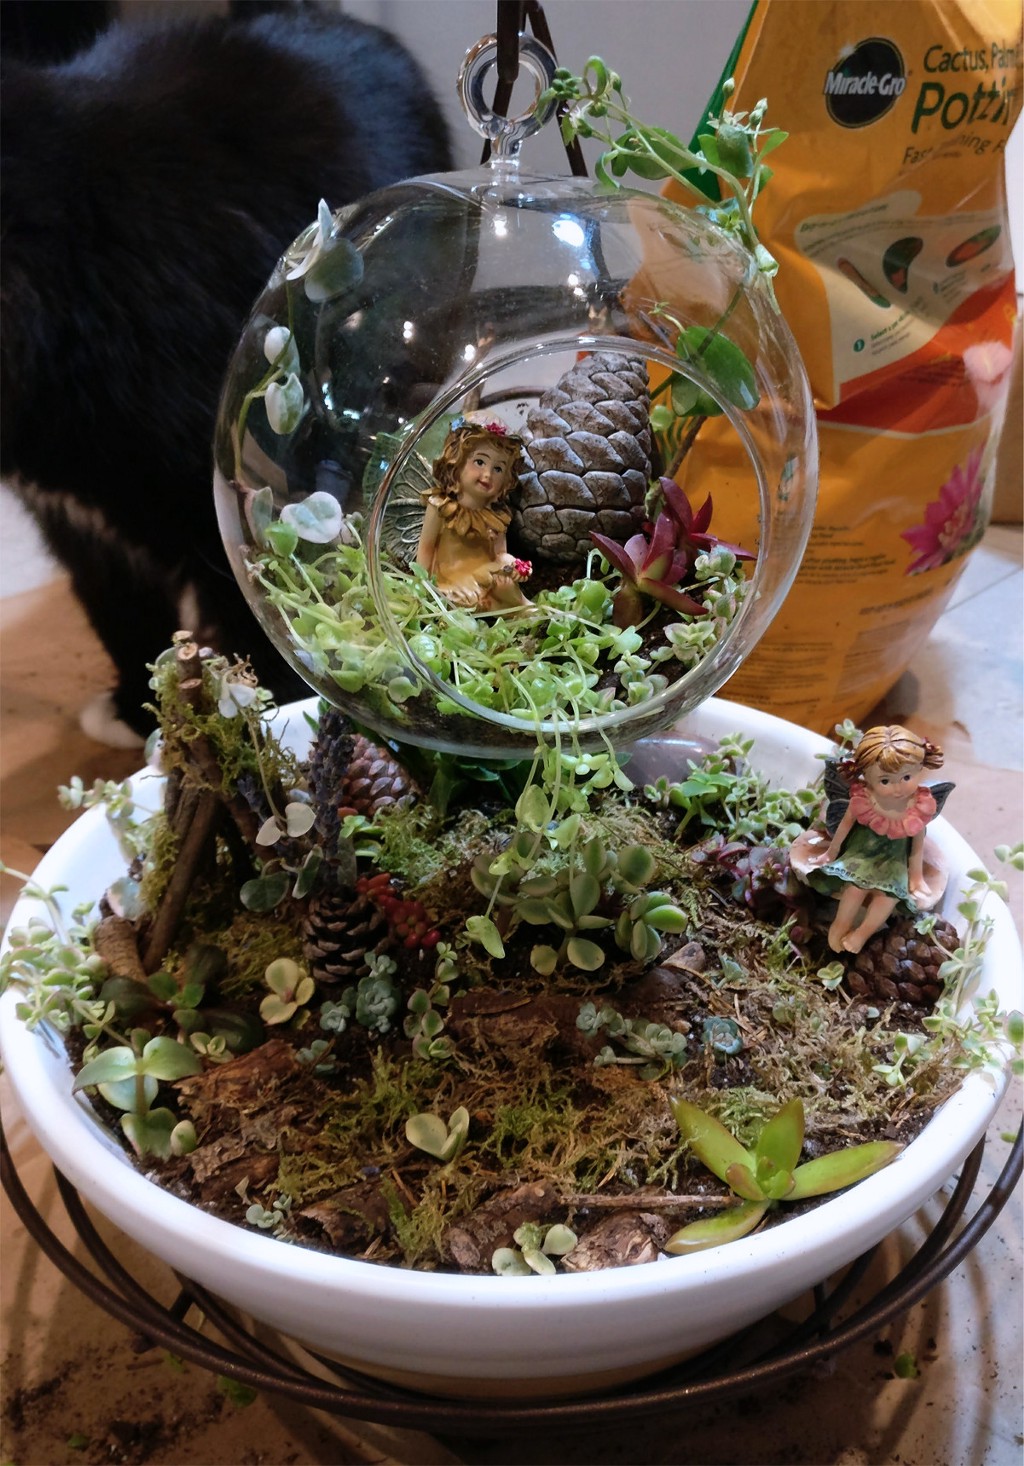
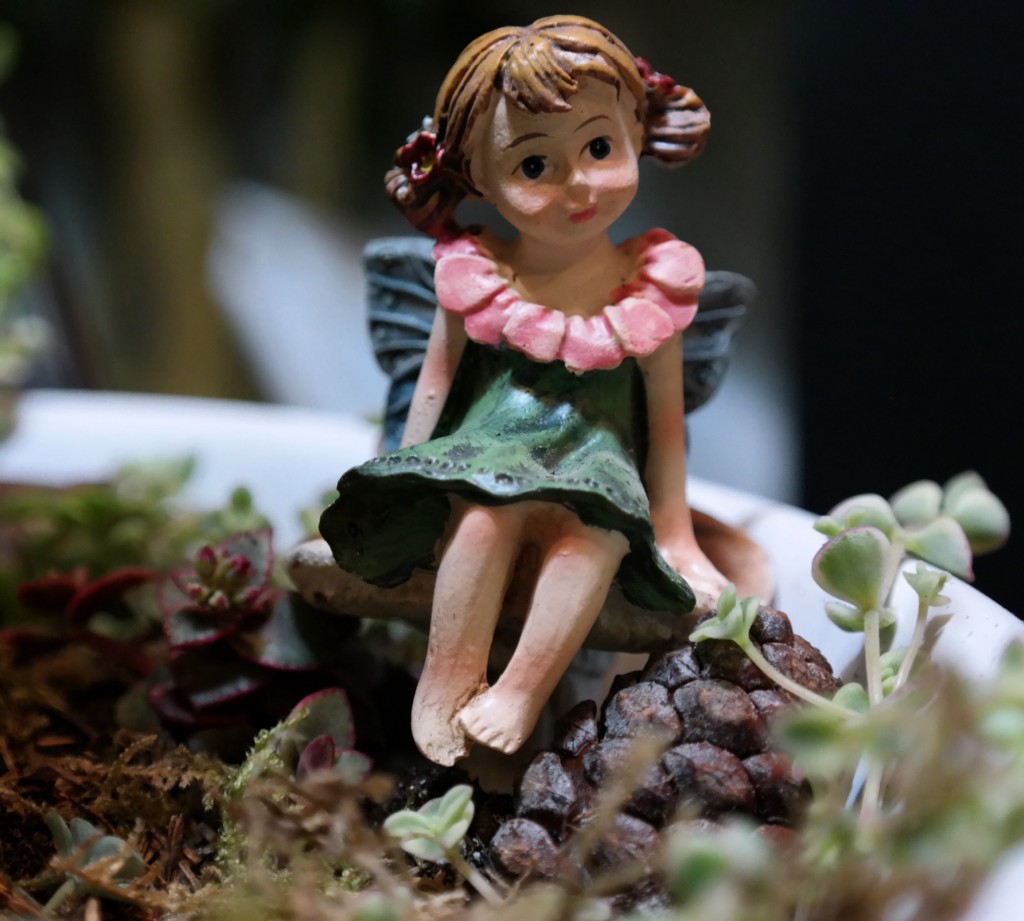
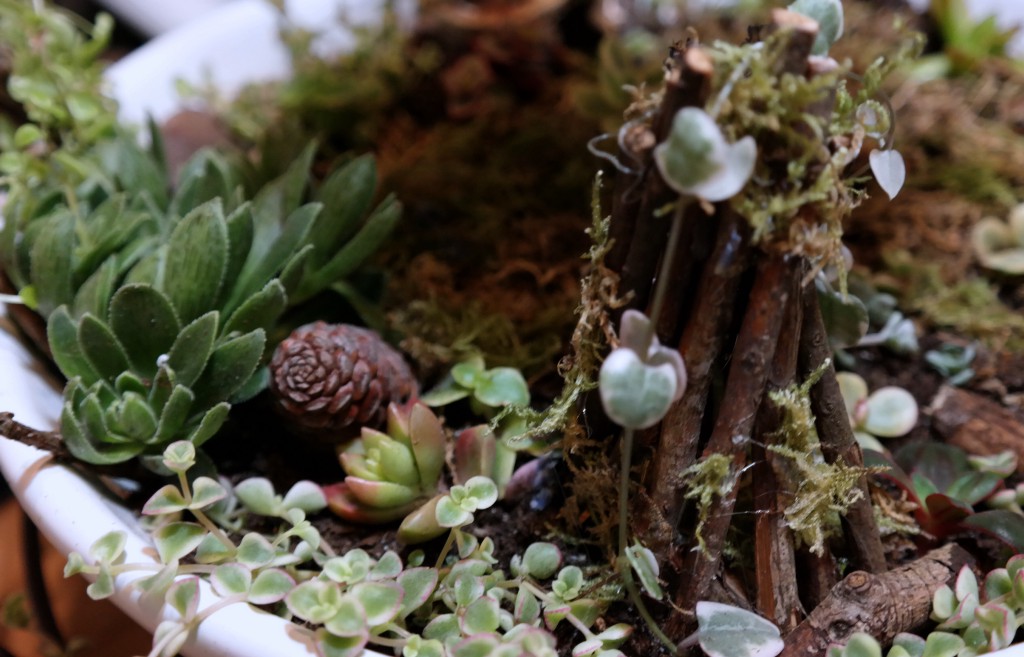
After
Now I have a new centerpiece to make me happy when I am stressed!
Materials I used
- 1 Banana fruit basket
- 1 Hanging glass succulent ball
- Succulents of choice (Recommendation: choose succulent in the color of your theme)
- 9” pot
- sphagnum moss (from Lowes)
- Succulent dirt
- Perlite (optional)
Fairies crafts
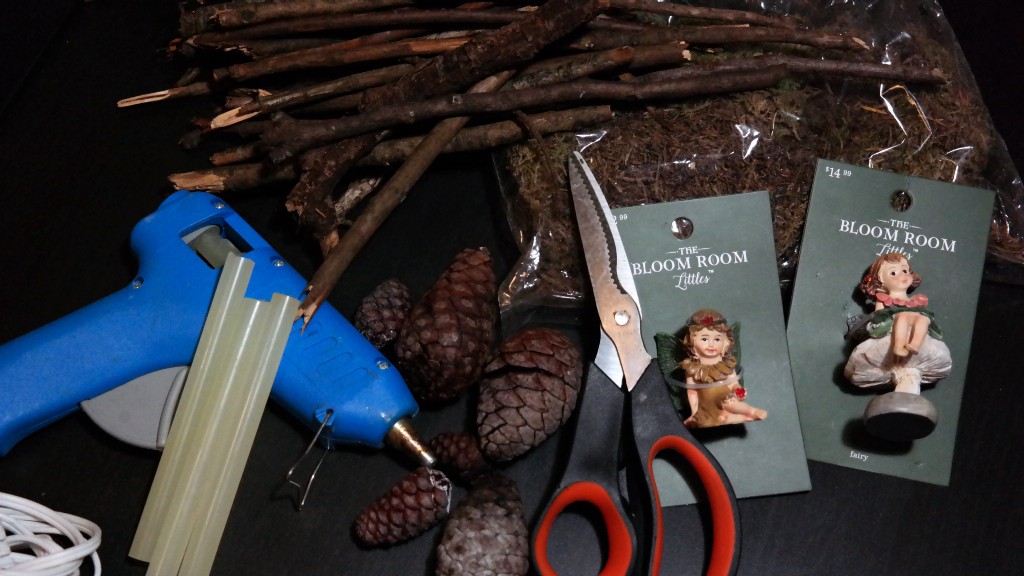
- Hot glue + hot glue gun
- Twigs (got my from the park)
- A couple small pinecones (got my from the park)
- 2 mini fairies sculptures (Found my for 70% at Joann Fabric)
Step by Step Instruction
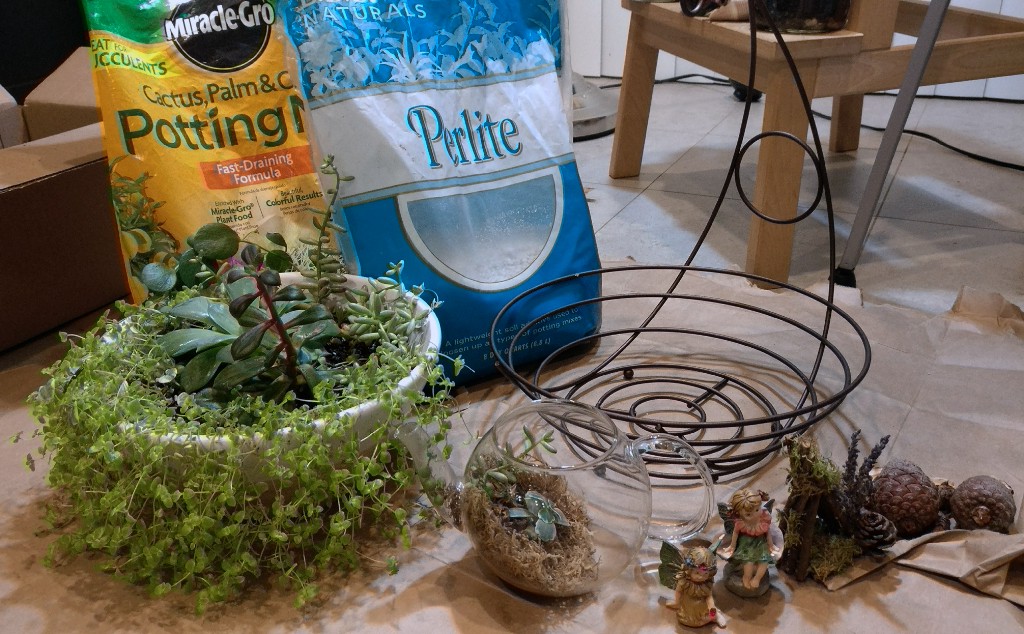
Gathering all the materials
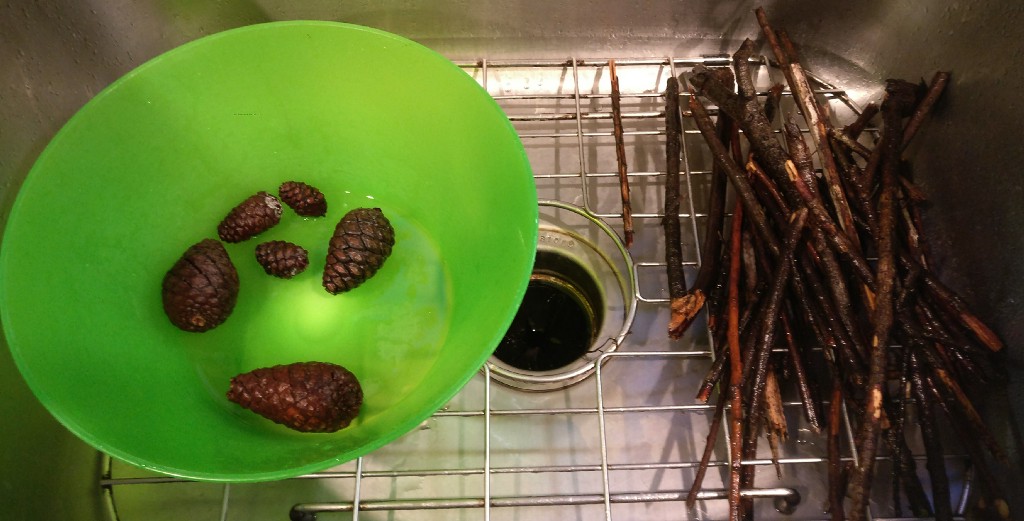
For this project, I decided to make my own fairies houses from scratch instead of purchasing it from the store. I wanted to make a cute fairies hut using twigs from the park around me. I collected a handle of small twigs and pinecones. After collecting them, I soaked them in soapy water overnight, rinsed, and dried them in the sun for one full day. Hopefully, these steps got rid of the bugs and spiders.
Making the hut
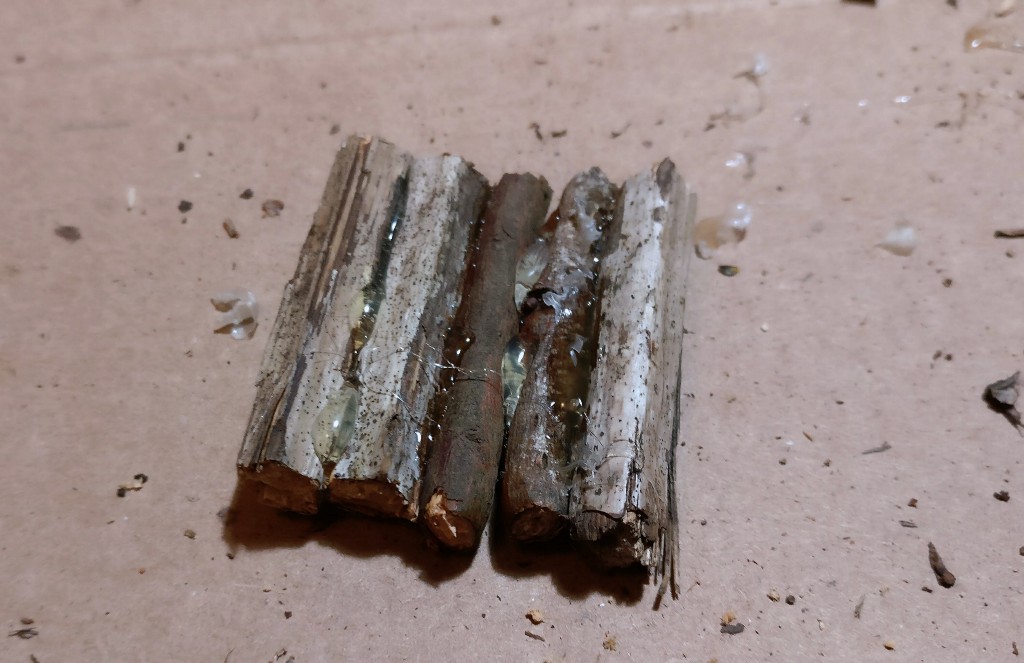
I made a square with twigs. I cut the twigs into equal pieces and hot glued them to each other until it look like a square.
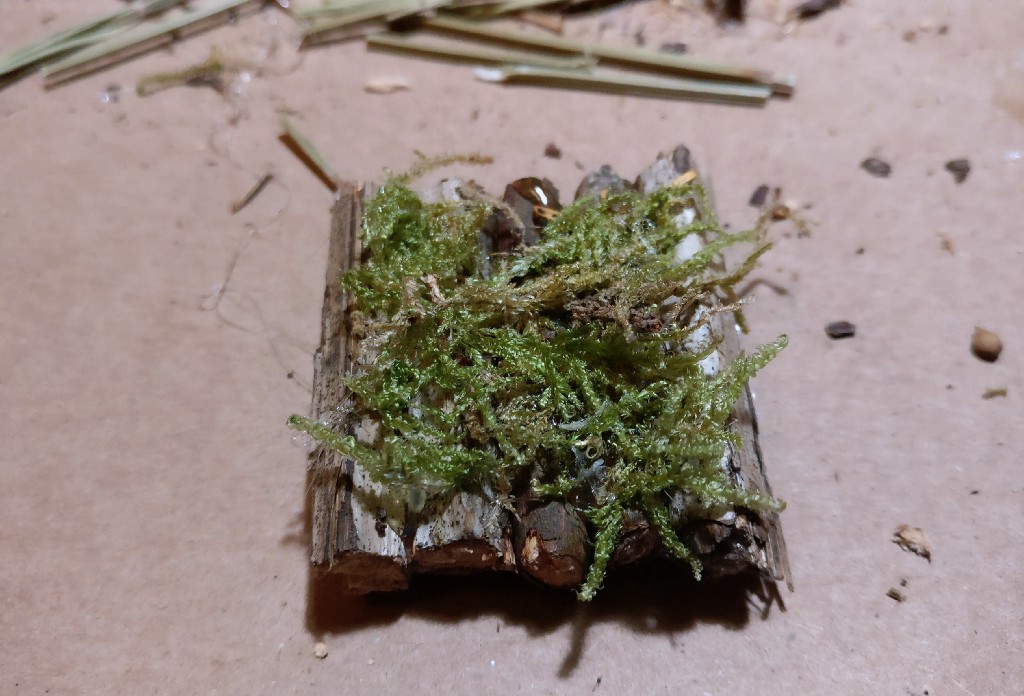
I covered the square with moss.
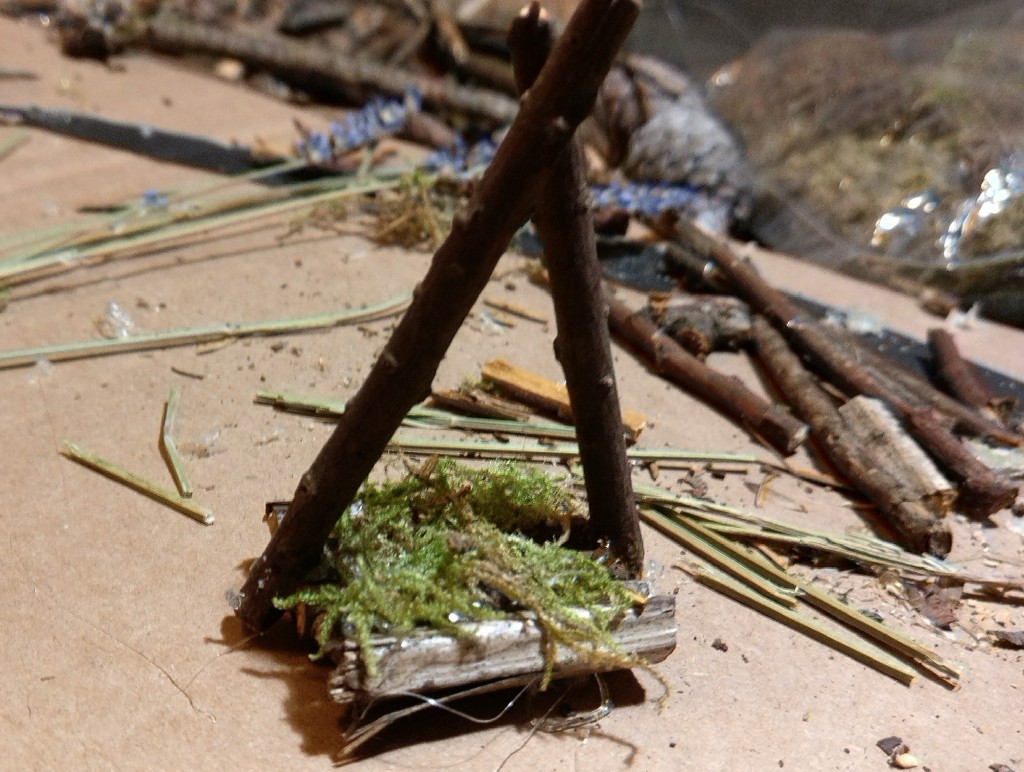
After that I used the twigs to form a triangle above square.
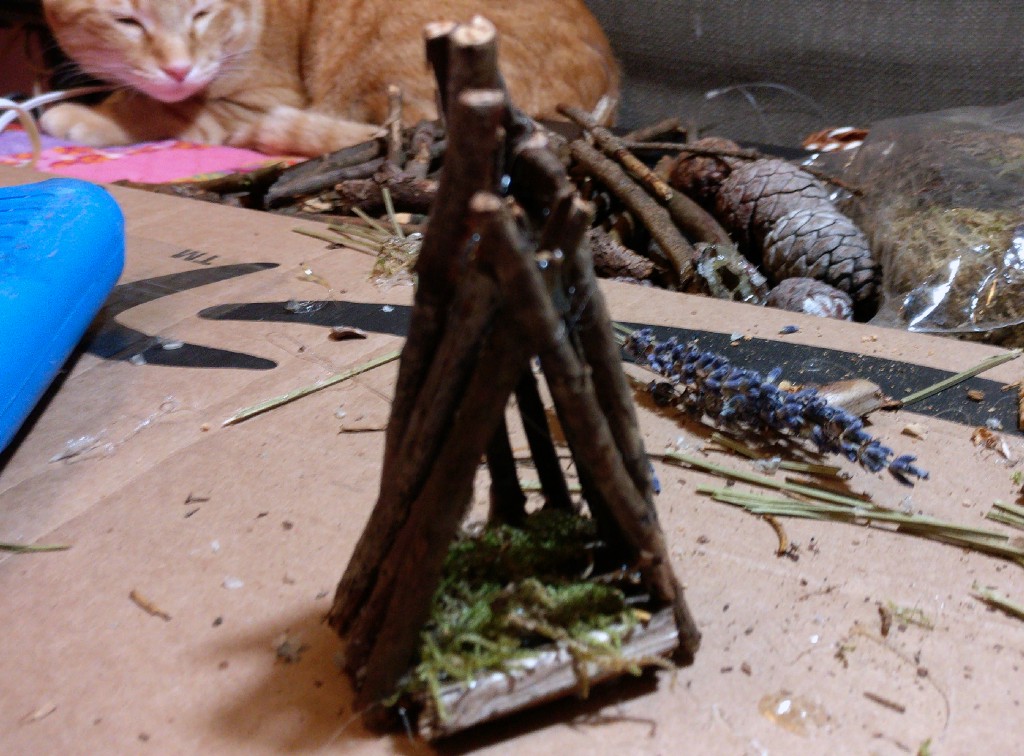
I continued stacking and hot glued all the twigs around the triangle until it covered all three sides.
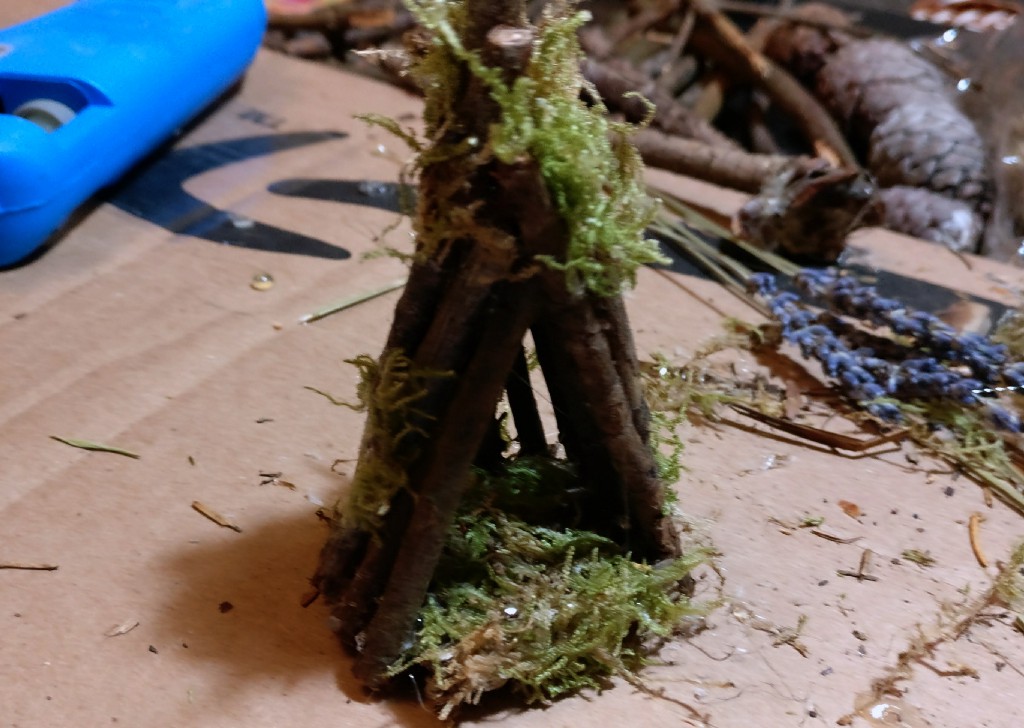
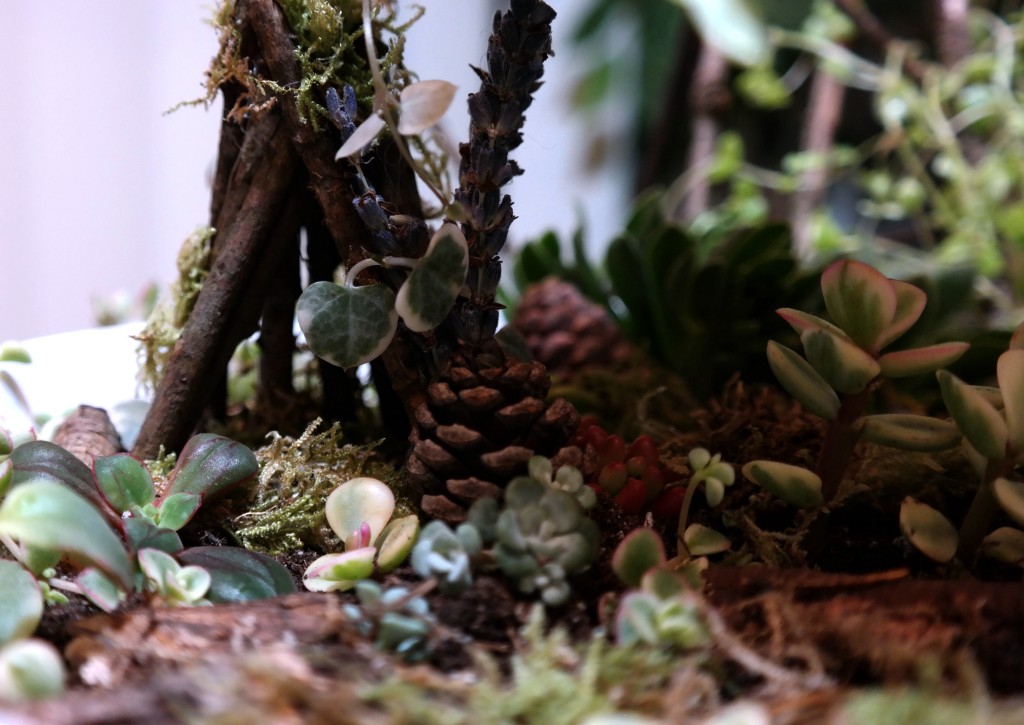
Then to add in that magic touch, I hot glue some moss onto and inside the hut. I had some dried lavender, so I added that and the pinecone. I also ended up cutting some of thicker branches into halves. I used this to make the steps.
Cleaning out the old centerpiece
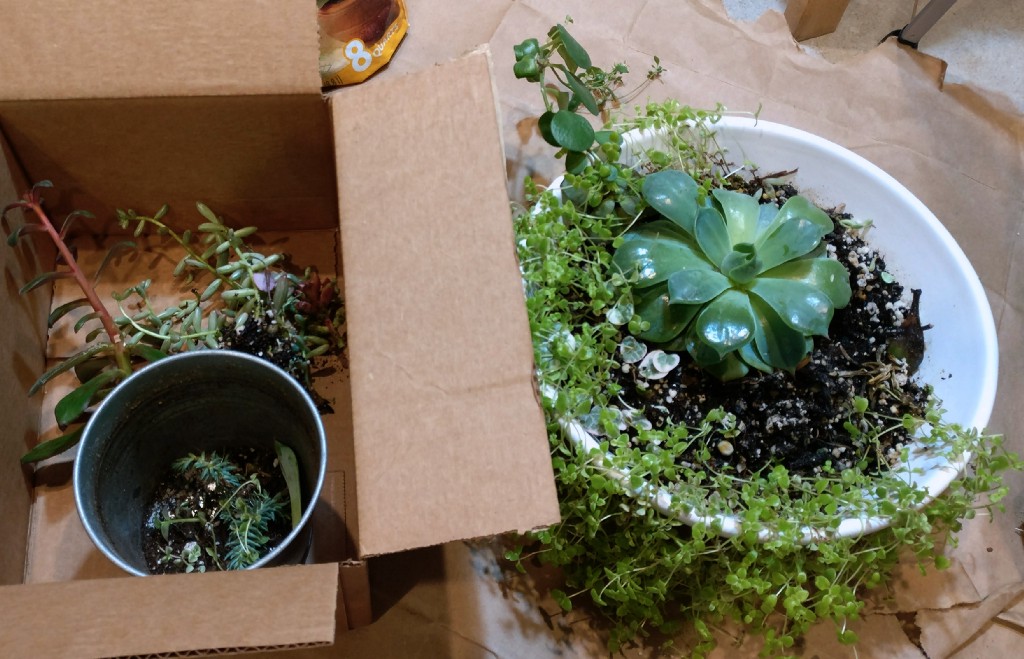
I carefully removed all the succulent in the pot and throw away the old succulent dirt. You can feel free to recycle this dirt. I didn’t do it because I over watered my succulent a couple days before this and the dirt was way too wet.
Making the succulent dirt mix
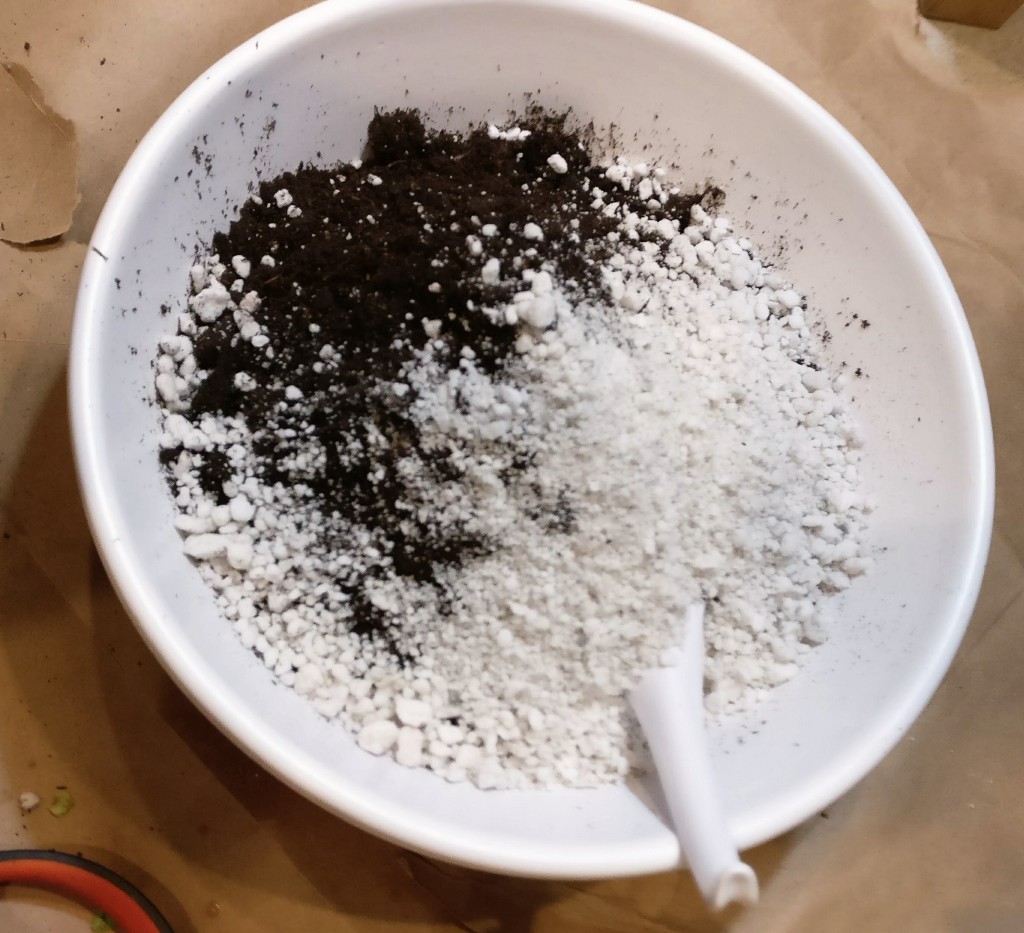
Since this centerpiece will be indoor, I decided to add more perlite to help drain the water. Another trick I learned is to add rocks to the bottom of the pot if you don’t want to use perlite. Both ways always work for me. I added ~ ¼ part of perlite to 1 part of dirt and mixed them up really well.
Time to do figure out where things go
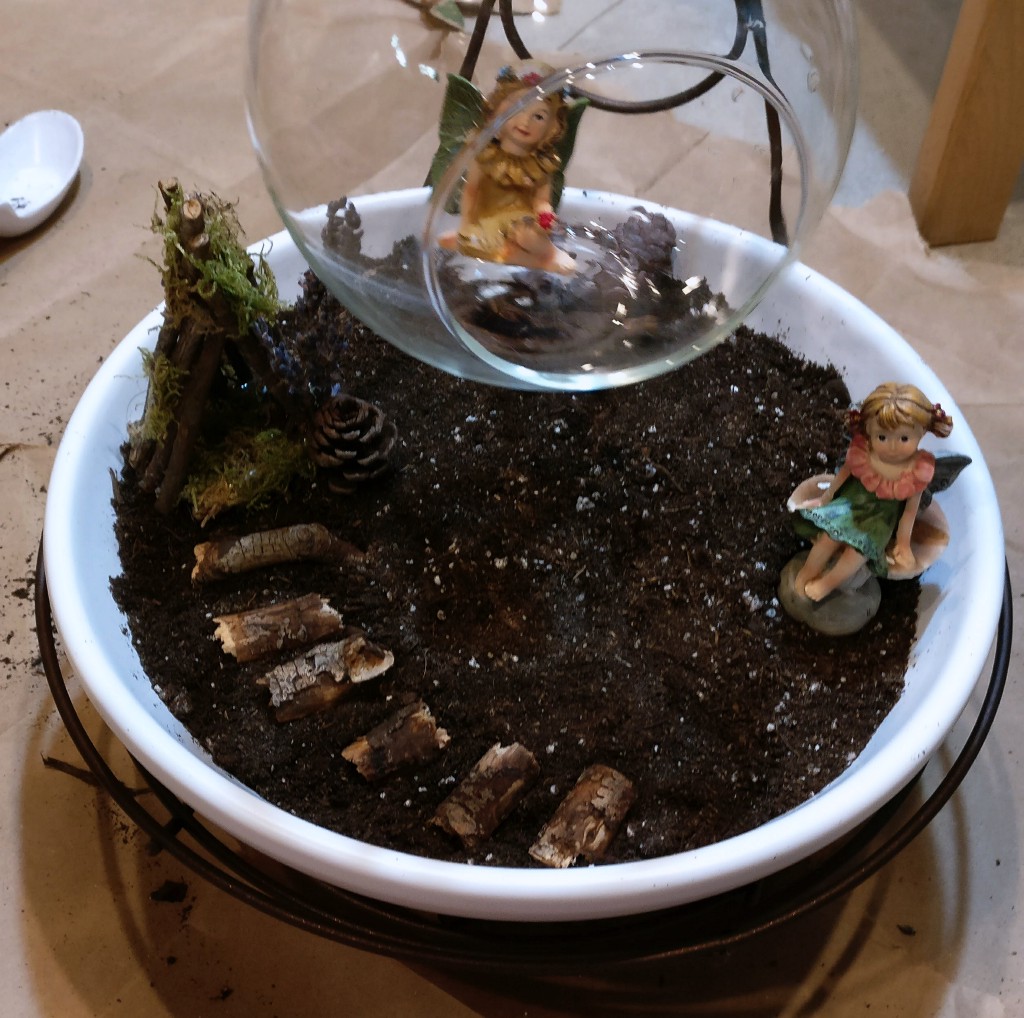
Before planting, I laid out all my fairies garden pieces to see where a I want each pieces to go. I couldn’t put the hut underneath the crystal ball because it was too tall. I thought it was so cute to put one of the fairies inside the hanging crystal ball so that what I went with.
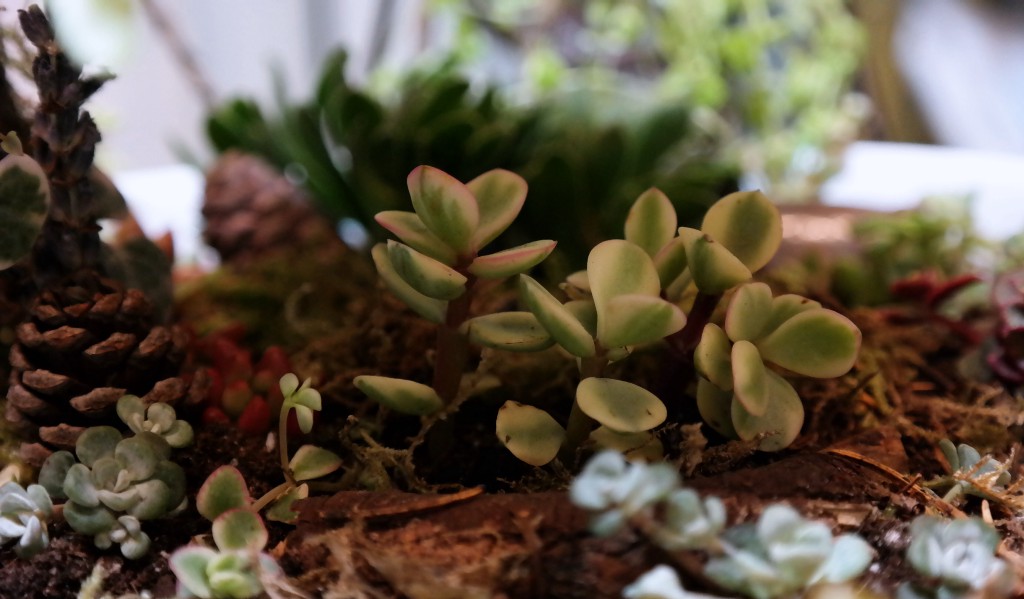
After that, I laid out my succulents. I went with a magical selection of color: pink, red, and white.

I ended up deciding to use the extra twigs to make a trellis along the back of the basket. I wanted to use this trellis to help my string of heart succulent climb up.
Once finalized, I planted the succulents in place. Succulents grow really fast, so one trick I learned from growing succulent over the years is to trim them down. I trimmed all of the succulents down, leaving a thin stalk at the bottom to stick into the dirt.
Decorating the crystal ball
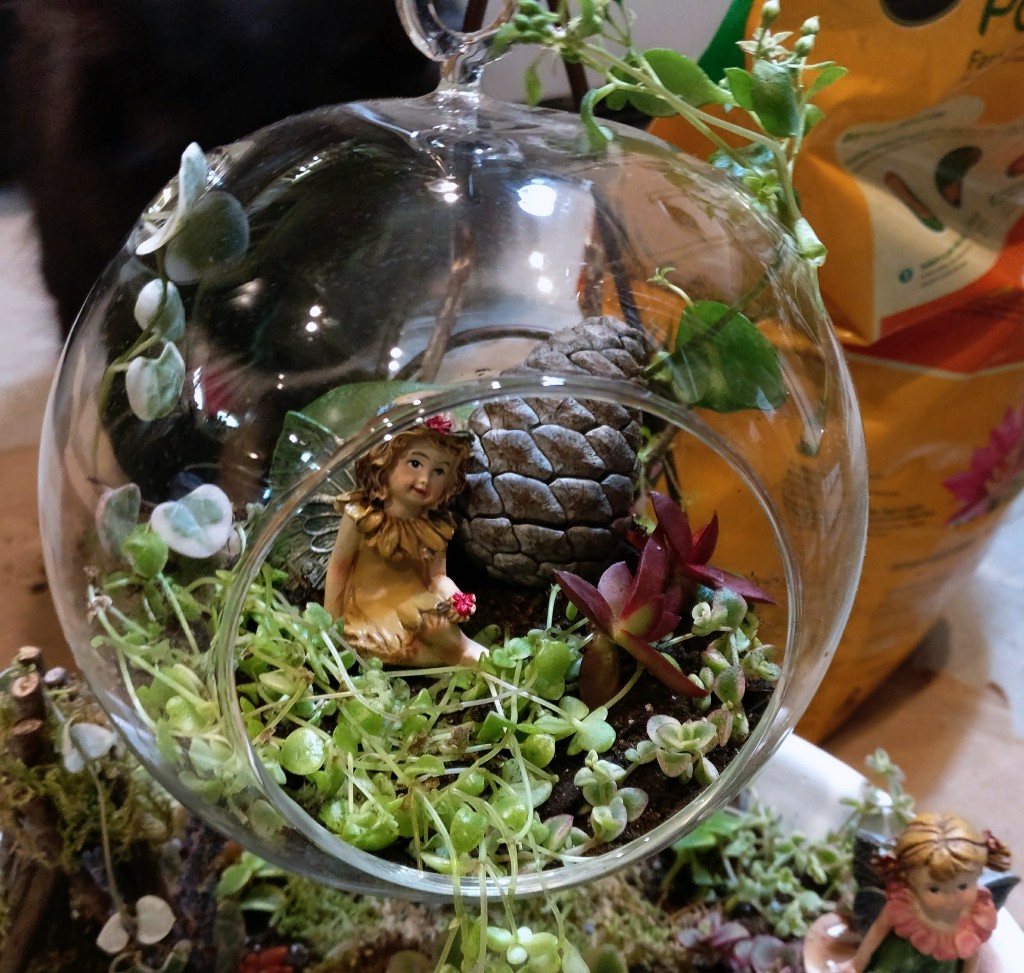
Since I have so many string of heart succulents, I decided to use them to cover the dirt inside the crystal ball. This step can be replaced with moss. I added some dirt, just enough to plant the succulents inside the crystal ball. Once that is done, I planted the succulent. The key was to showcase the sitting fairy.
Final touch
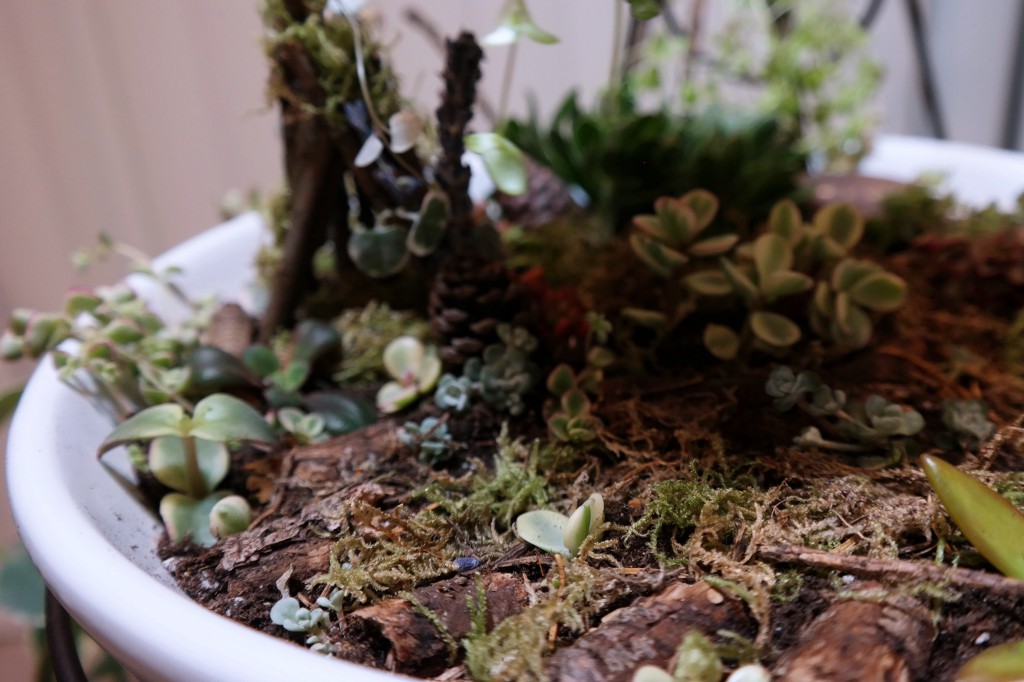
To cover all the extra dirt space on the pot, I added moss. I used the moss to to cover all dirt area around my succulents and fairies.
Afterward, I used a small teapot and carefully watered all the succulent. After that I left the basket outside to sun bake for a couple days before taking it to my work cube. This will helps the succulent grow and take root.
Final Product
Tips/Failure Experiences
Conclusion
Overall I love the succulent centerpiece. I wish I can put more succulents, but I have to limit myself. The succulents need room to grow. This is a perfect succulent pot to grow succulent cuttings. 😉
Failures
I wish I can make this succulent centerpiece using all thrifted items. However, I searched all my Thrift stores and can’t really find mini fairies sculptures. I guess fairies garden is too popular right now. Everything else is thrifted and/or recycle items.
My original plan for this centerpiece was to use the glass teapot and have the fairies sit in a swing hanging from the teapot. Unfortunately, I had so much trouble making the swing out of leaves and twigs, so I changed my plan. I decided to use the succulent glass ball that I got from my last company outing. It was just sitting my yard without anything in it.
Suggestion and Improvement Ideas
- The hanging glass succulent ball can be expensive to buy, so feel free to replace it with a teapot from the thrift stores.
- Search the thrift stores for banana fruit basket, pot, and mini craft decorating pieces.
- If you are not down to spend $8 dollars on fairies sculpture, you can make more huts and swings out of twigs. You can also make polka dots fairies mushroom using a wine corks and bottle caps like these. Be creative and create your own fairies sculptures. 😉
Fruit Basket Fairies Garden | Project 3 was originally published in ThriftedCrafts on Medium, where people are continuing the conversation by highlighting and responding to this story.