Cute Laptop Bag Transformation | Project #7
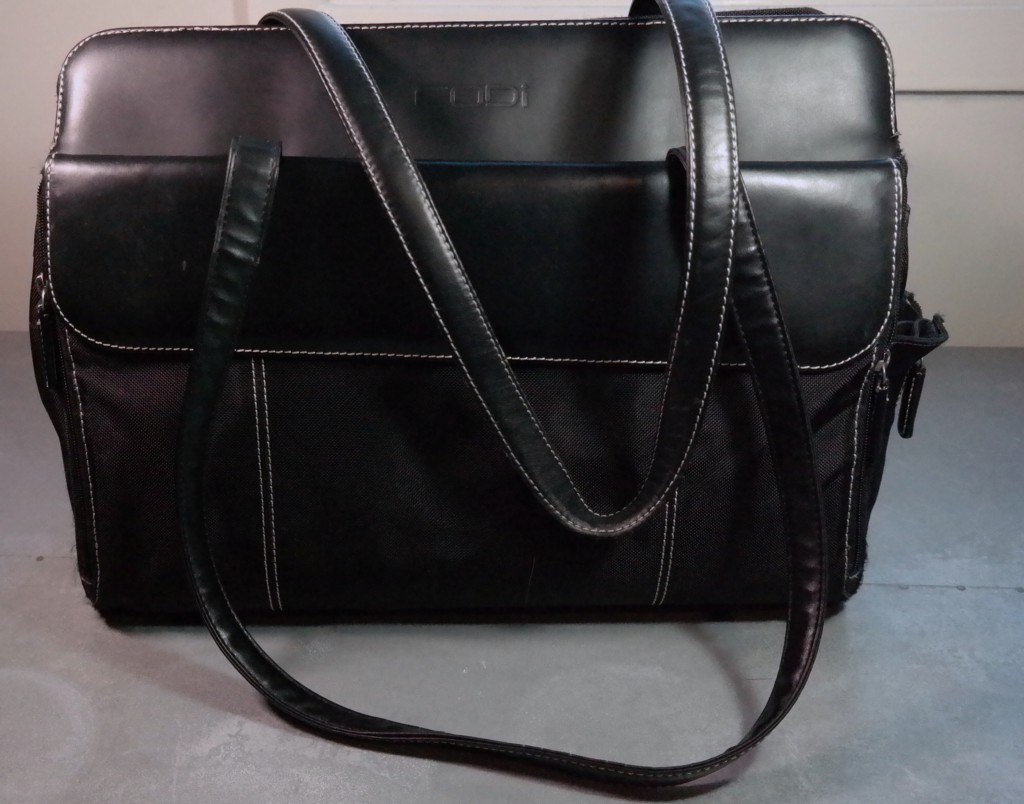
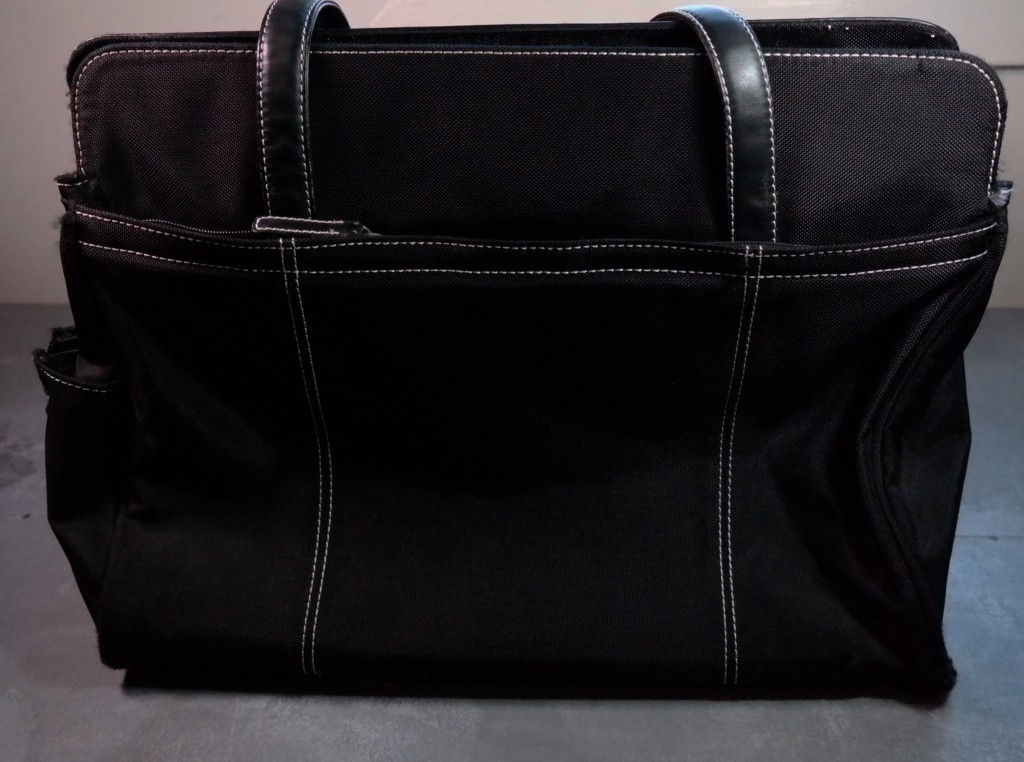
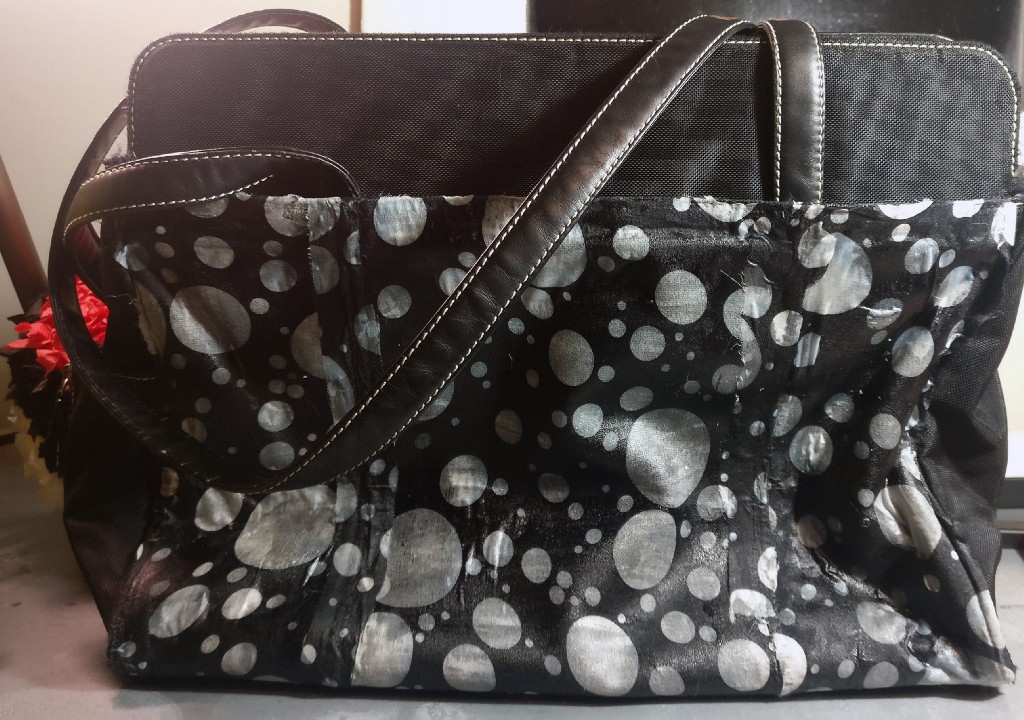
When I found this laptop bag in the recycle bin, I was so excited my colleagues probably thought I was crazy. Little did they know I envisioned a cute treasure. Even though the bag looks simple, the inside is filled with many sections and pockets. I love it. The only problem is that the outside looks too plain.
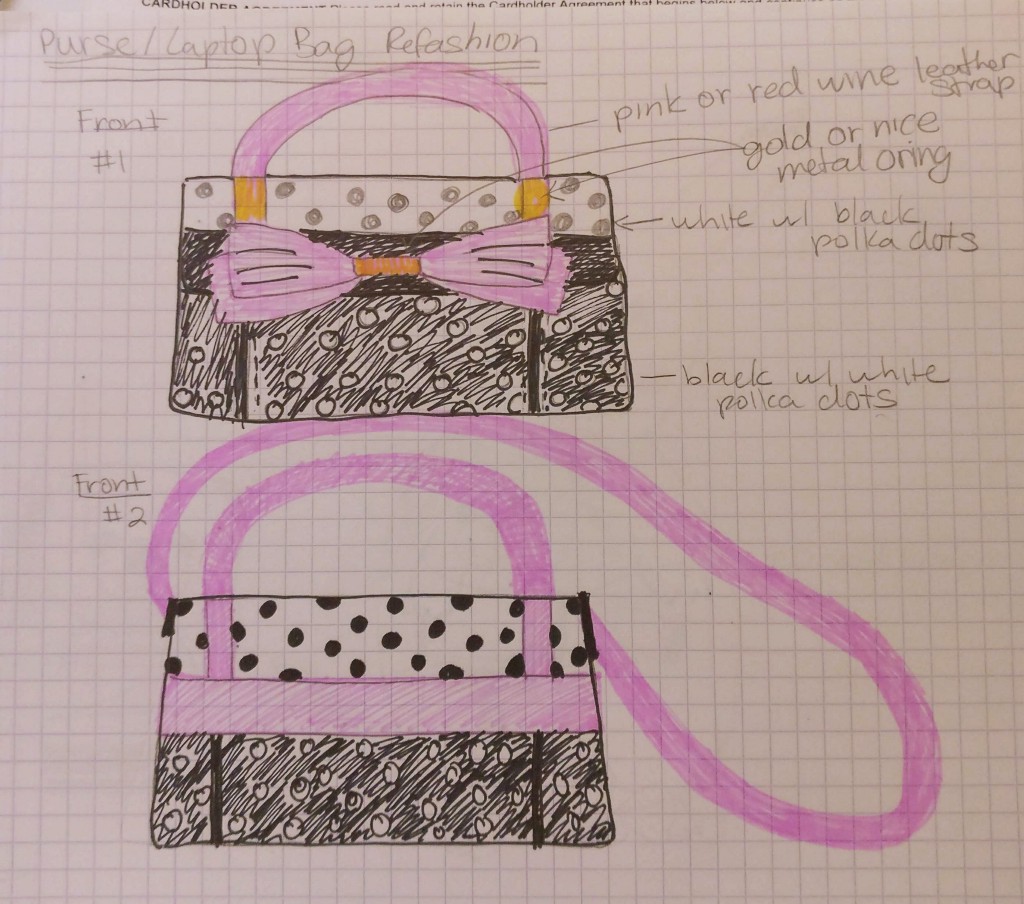
Here is what I want the laptop bag to look like. Isn’t it way cuter?
Materials
This was my first time using fabric Mod Podge, so don’t forget to check out the tips/failure section to avoid making the same mistakes. 😉
- Fabric Mod Podge
- 2–3 disposable sponge brushes
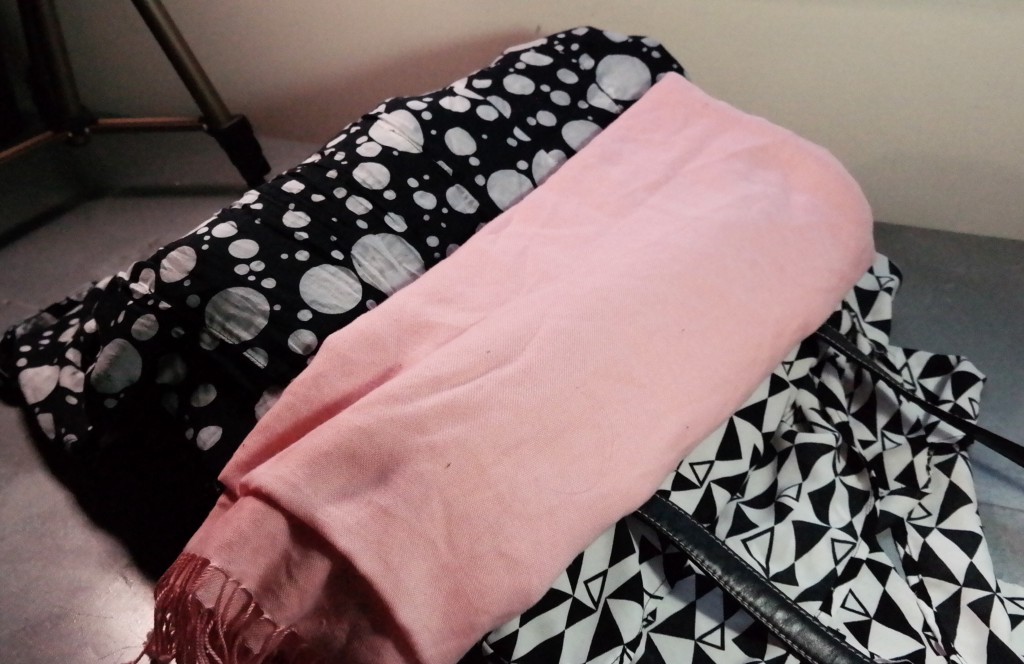
- Old dress and scarf for fabric (color: pink, black, and white)
- Scissor
- Plastic small clamps (binder clips works too)
- A fake pearl (can be subs. w/ some sort of bling)
- White thread
- Needle
- Sewing machine
- Washi tape
Step by Step Process
To start, I laid out the fabrics onto my bag. Once I liked the color and the design, I started to cut out squares of fabrics to fit my bag.
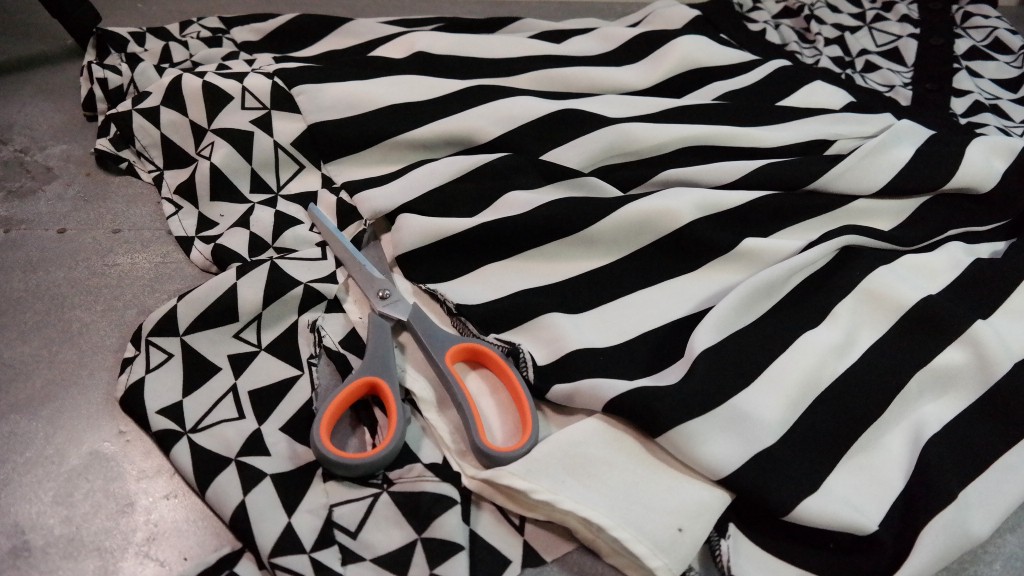
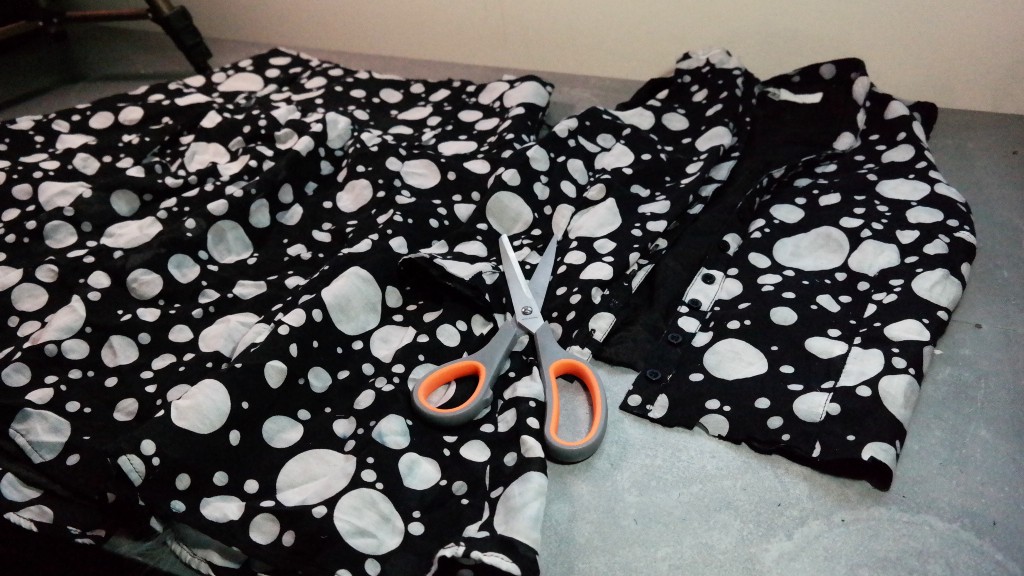
I got my fabrics from old dresses and scarf I found at a Thrift store.
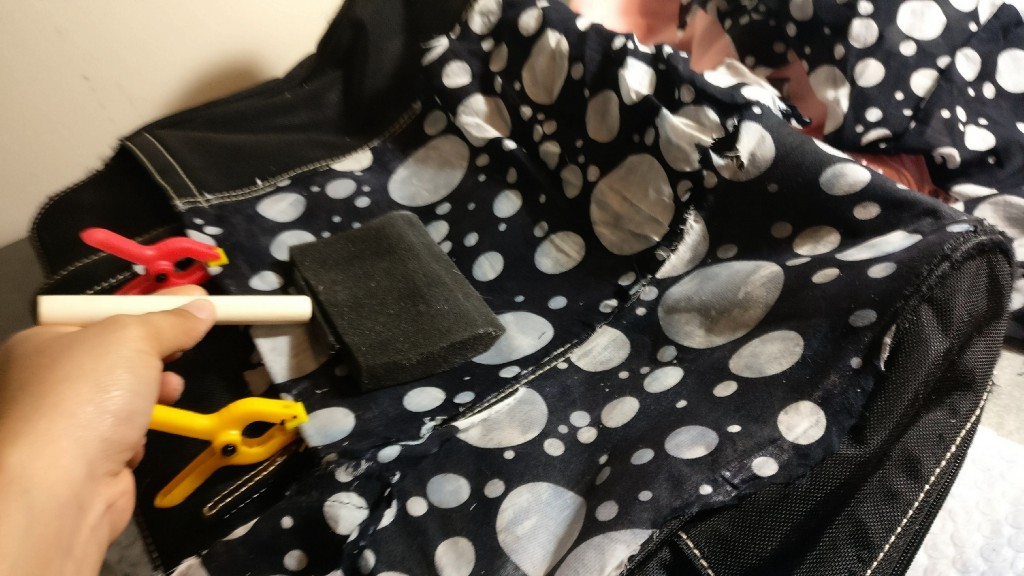
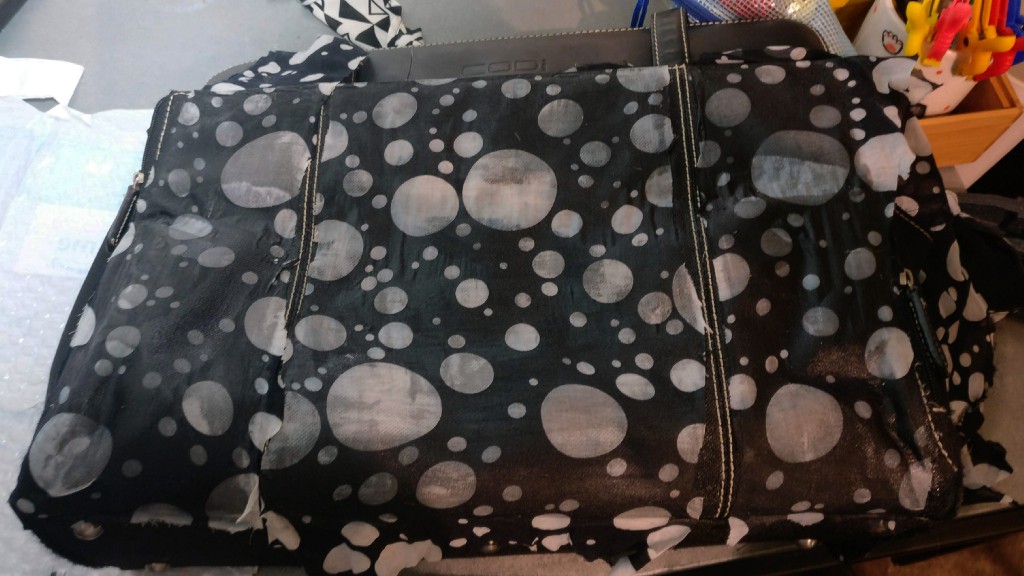
Using a sponge brush, I brushed a thin layer of Mod Podge over my bag and quickly placed the fabrics on top. I used a new clean sponge brush to press down the fabrics so that the Mod Podge sticks to the fabric. I repeated this process until I finished covering all of the bag fronts and backs with the black fabrics. I used the clamp to help me hold the fabrics in place during the drying process.
I let it dried for 2 hours before applying a thin top coat of Mod Podge. At first, I didn’t read the directions (sigh…right?). Instead of letting it dried for 2 hrs., I immediately applied the top coat. All of the fabrics ended up sticking to brush. Letting it dry for 2 hours before applying the top coat helped the fabric stick to the bag better.
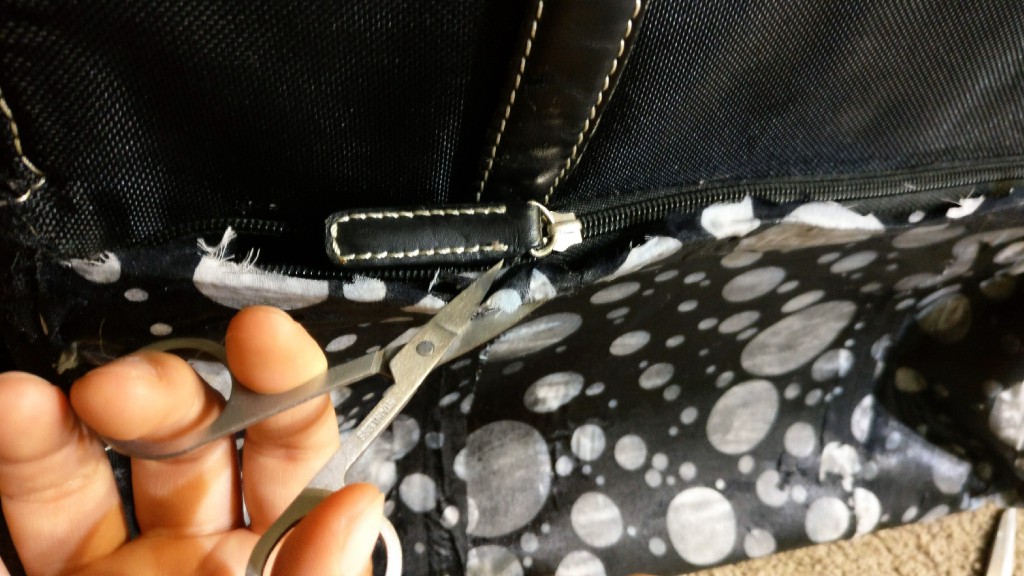
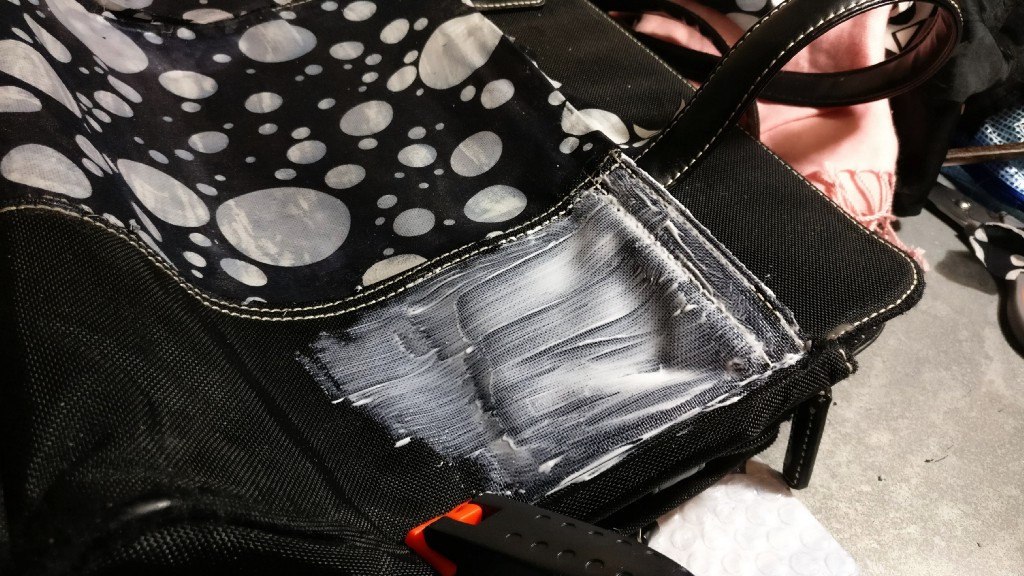
Once dried, I used a tiny scissor to trimmed off excesses fabrics that hanged off the edges.
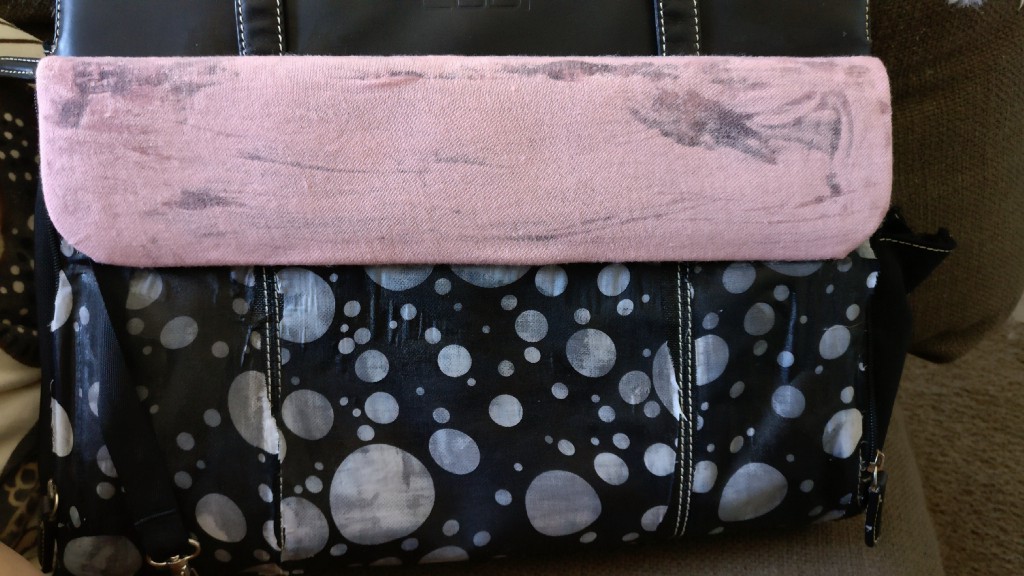
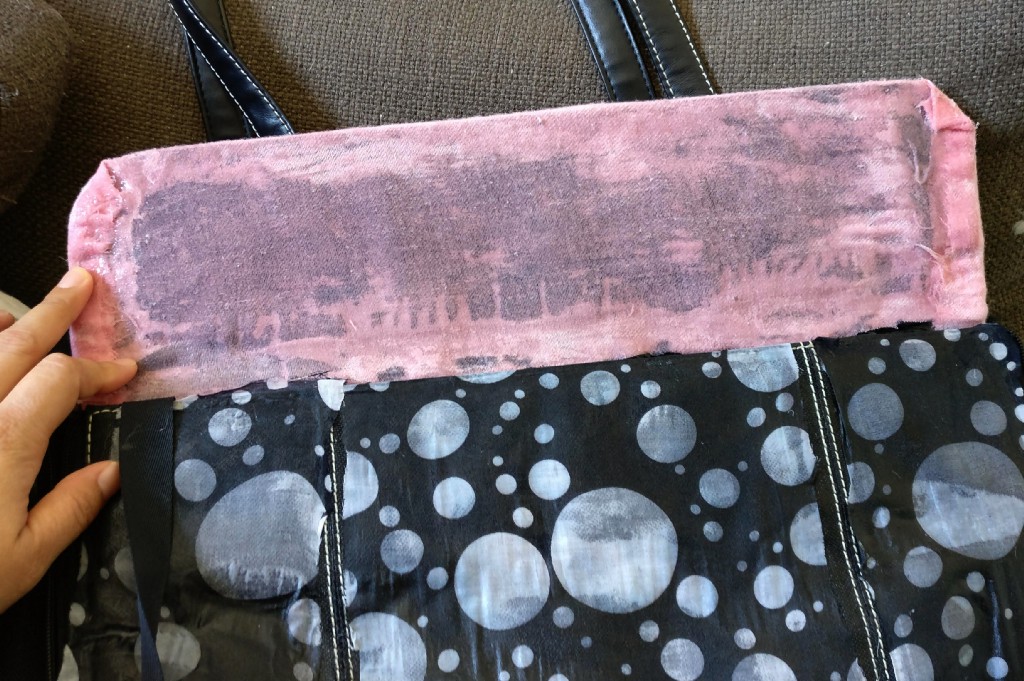
I repeated the steps to glue my pink fabric onto the bag front flap. Before applying my top coat, I realized that the pink scarf fabric was way too thin. The Mod Podge penetrated through and created hard spots.
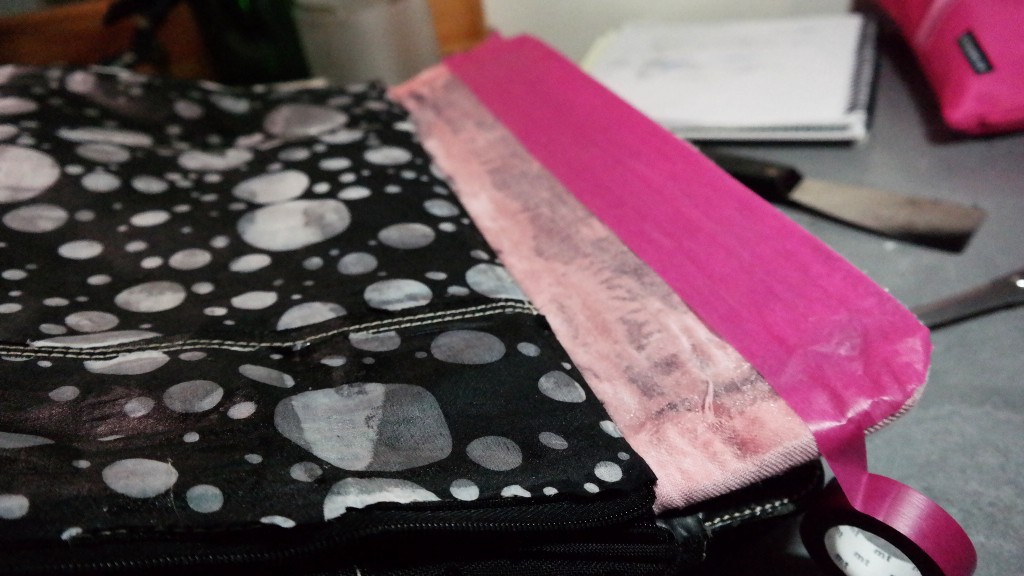
The fabric Mod Podge worked so well, I can’t remove the pink fabric. I was left with no choice. I decided to use dark pink washi tape (the only pink color of washi tape I have in my craft supplies) to cover up the inside of the front flap.
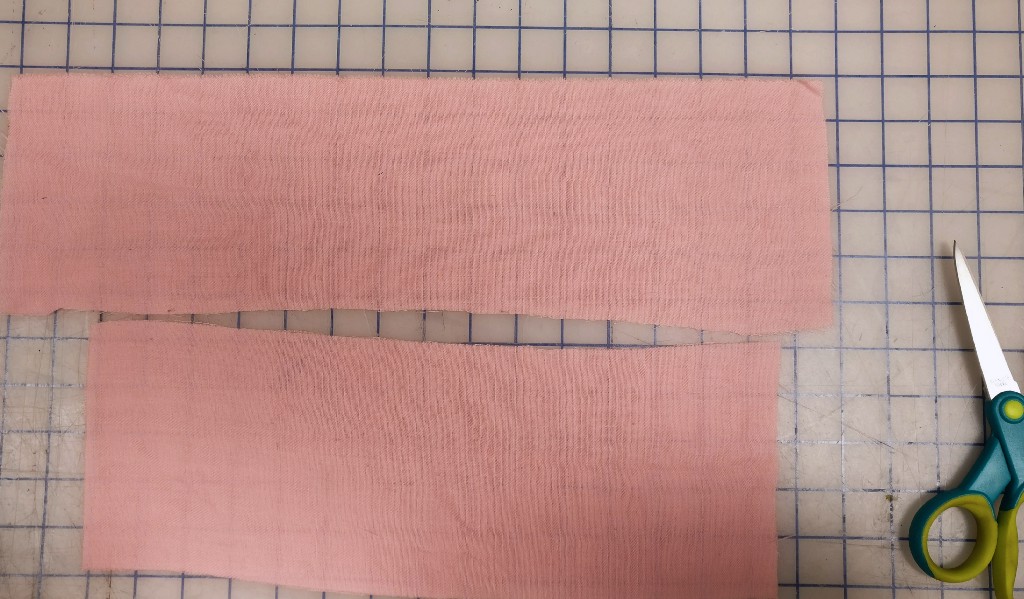
For the outside, I decided to make a bow. To make the bow, I cut out two rectangular pieces of the same pink fabric. One had the length and height of the flap and the other has 2 inches shorter on all four sides.
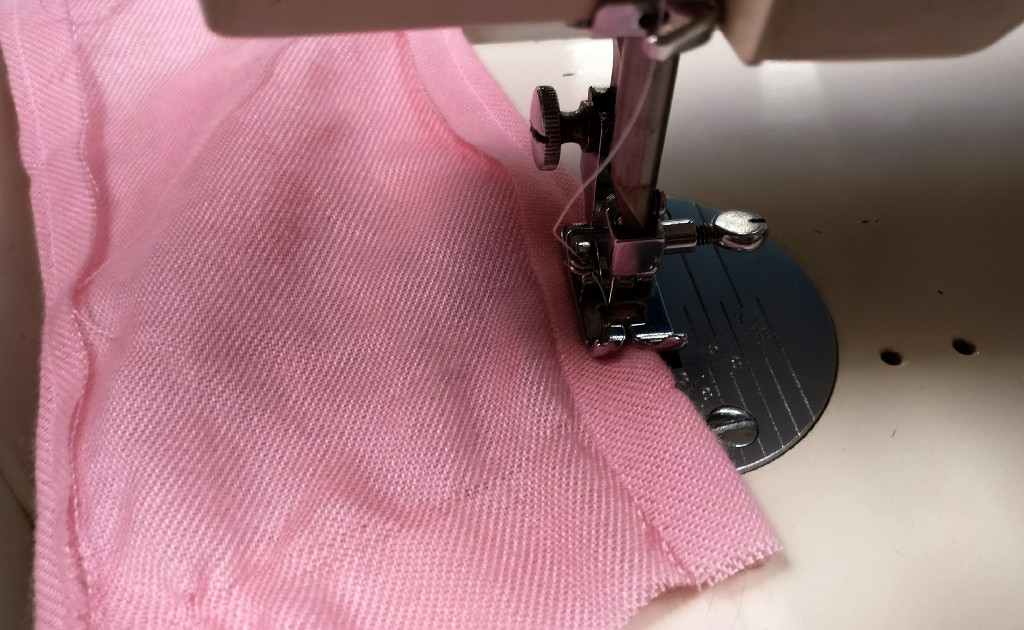
I hemmed the edges with the sewing machine.
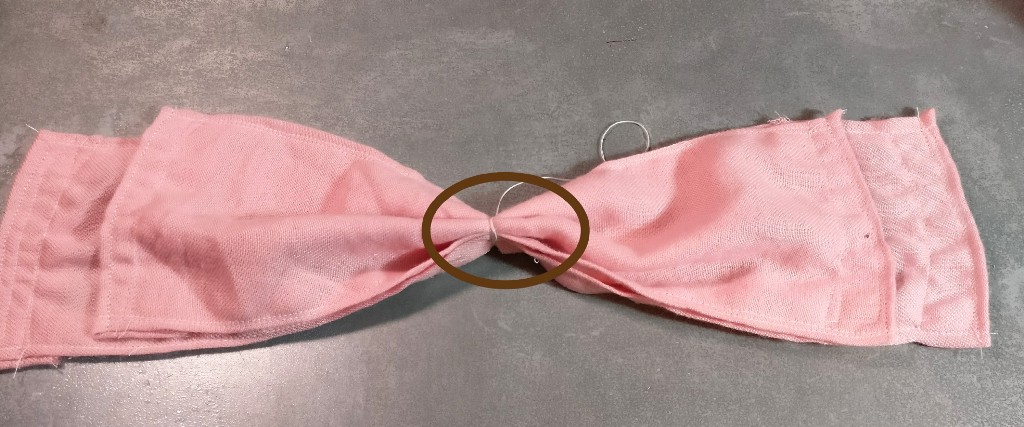
To make the bow, I stacked the smaller one on top and used a needle to hand stitch 3 stitches in the middle of both rectangles. I lightly pulled the stitches to gather it. This method formed a bow. To cover up where I knotted my bow middle stitches, I sew on a pearl.
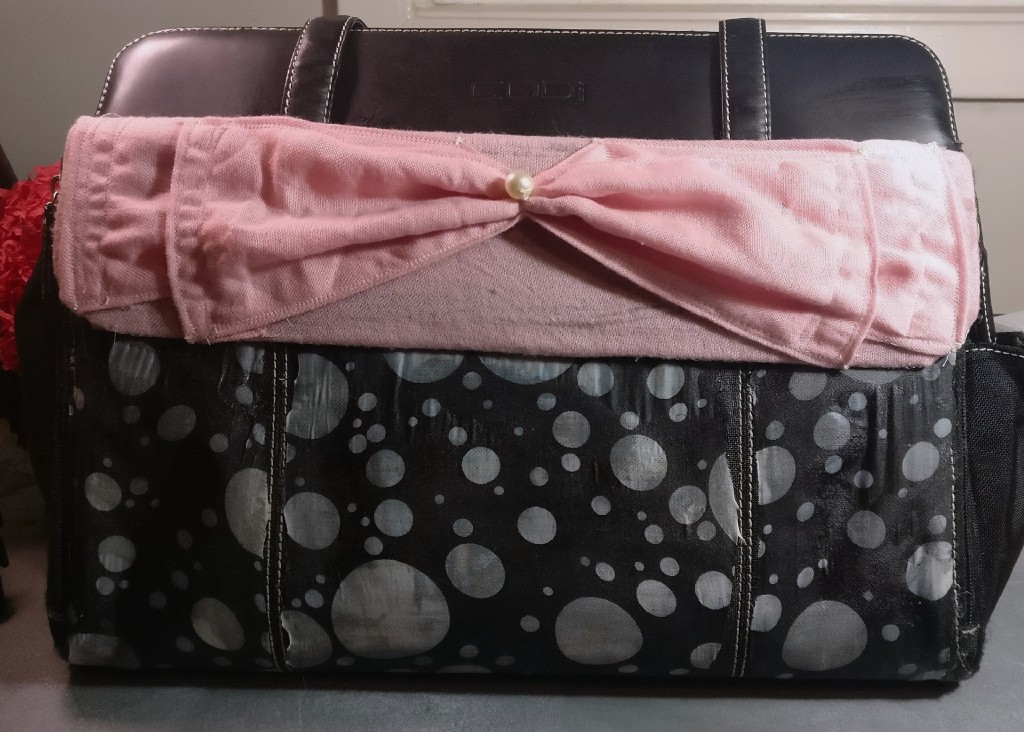
Final Product
Tips/Failures
The final product doesn’t look like the sketched image
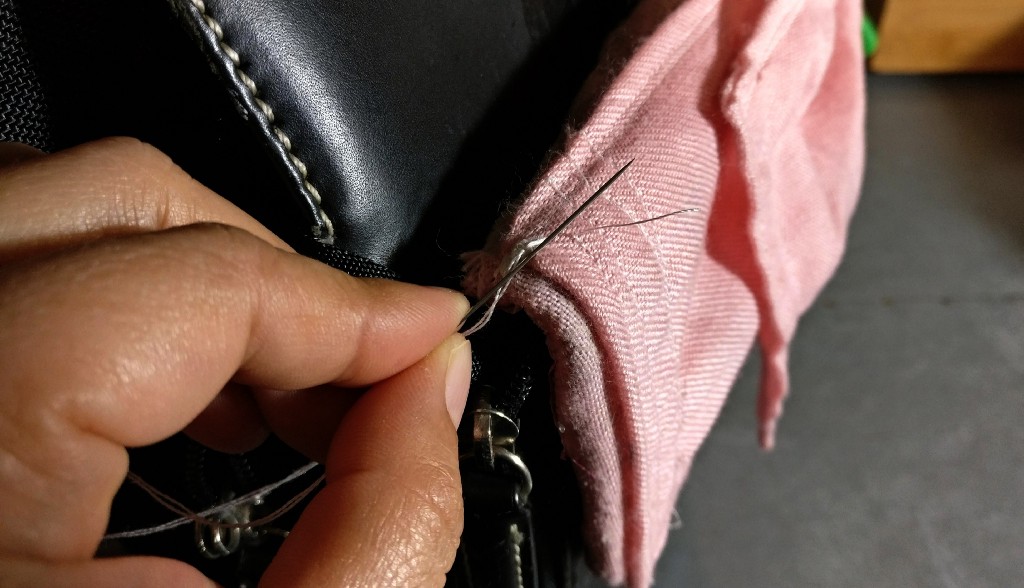
- One of the problems was that I can’t find the matching fabric to the design I originally had in mind. I didn’t cover the strap. The strap is made of faux leather, and it started to peel. Unfortunately, I didn’t have a lot of luck with using Mod Podge on the pink scarf fabrics, so I didn’t want to risk running ruining the strap. If you have any ideas on how to do this part, leave me a comment below. Additionally, I didn’t cover up the top section of the bag. The bag looks too pretty after I added the bow, so I just left it as is.
How to use Mod Podge
- Read instructions on the Mod Podge bottle first before using it. I didn’t read the instructions at first and applied top coat immediately after gluing the fabric to the bag. The results were a terrible mess. The fabric kept on sticking to the brush during the top coating process.
No sewing machine
- Instead of sewing the bow, another method to make a bow is to glue the fabric together or hand sew. When doing gluing, ironing the fabric beforehand will help cease the bowline making it easier to glue the fabric.
Avoid using too thin of a fabric
- I learned from my experience that the scarf fabric was way too thin. The Mod Podge went through the fabric and formed several hard glue spots. Thicker fabrics seem to work better with fabric Mod Podge.
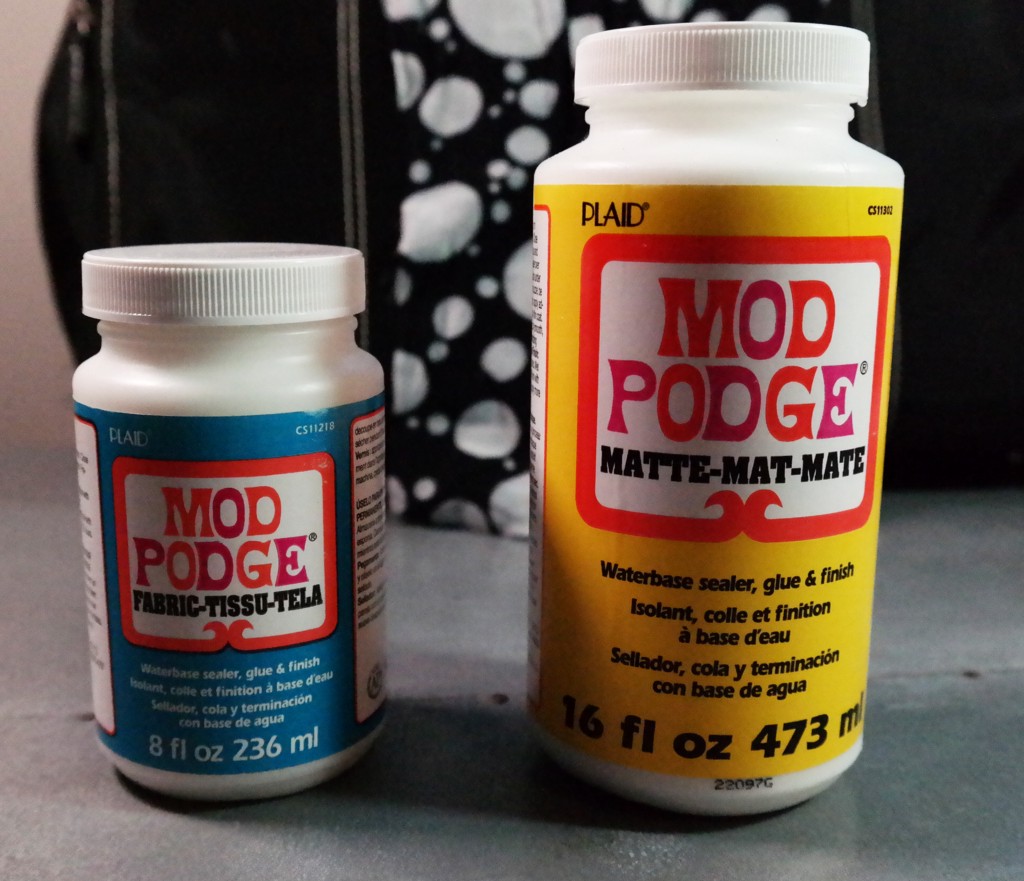
Regular Mod Podge vs. fabric Mod Podge
- Are there any differences between the two? I am not really sure, but based on my understanding, fabric Mod Podge is meant for gluing fabric material as it helps eliminate fraying and threadbare. Fabric Mod Podge is also washable. Here is a cool article I found that talks about the differences between the different type of Mod Podge.
If you make one please don’t forget to send me a photo.
Follow me on Facebook @ https://www.facebook.com/ThriftedCrafts
Follow me on Instagram @ https://www.instagram.com/thriftedcrafts
Cute Laptop Bag Transformation | Project #7 was originally published in ThriftedCrafts on Medium, where people are continuing the conversation by highlighting and responding to this story.